Open-Source Admin Dashboard coded in Flask Framework by AppSeed Web App Generator - features:
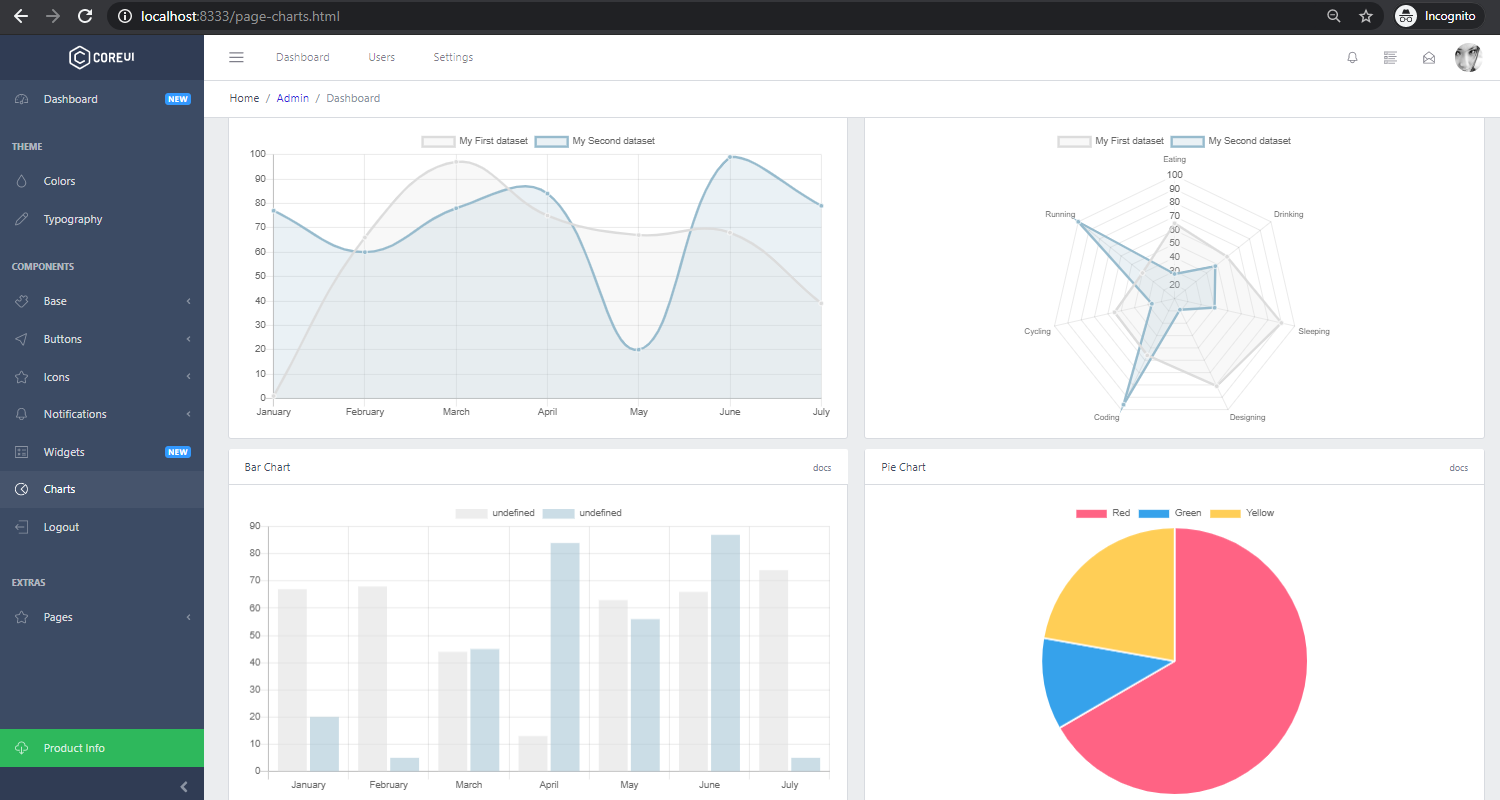
- UI Kit: CoreUI Dashboard (Free version) provided by CoreUI
- UI-Ready app, SQLite Database, Django Native ORM
- Modular design, clean code-base
- Session-Based Authentication, Forms validation
- Deployment scripts: Docker, Gunicorn / Nginx
- MIT License
- Free support via Github
- Paid Support 24/7 LIVE Support via Discord
Links
- Django Dashboard CoreUI - Product page
- Django Dashboard CoreUI - LIVE Demo
- Django Dashboard CoreUI - Docs
- More Django Admin Dashboards - index hosted by AppSeed
- Free Admin Dashboards - index hosted by AppSeed
PRO versions include Premium UI Kits, Lifetime updates and 24/7 LIVE Support (via Discord)
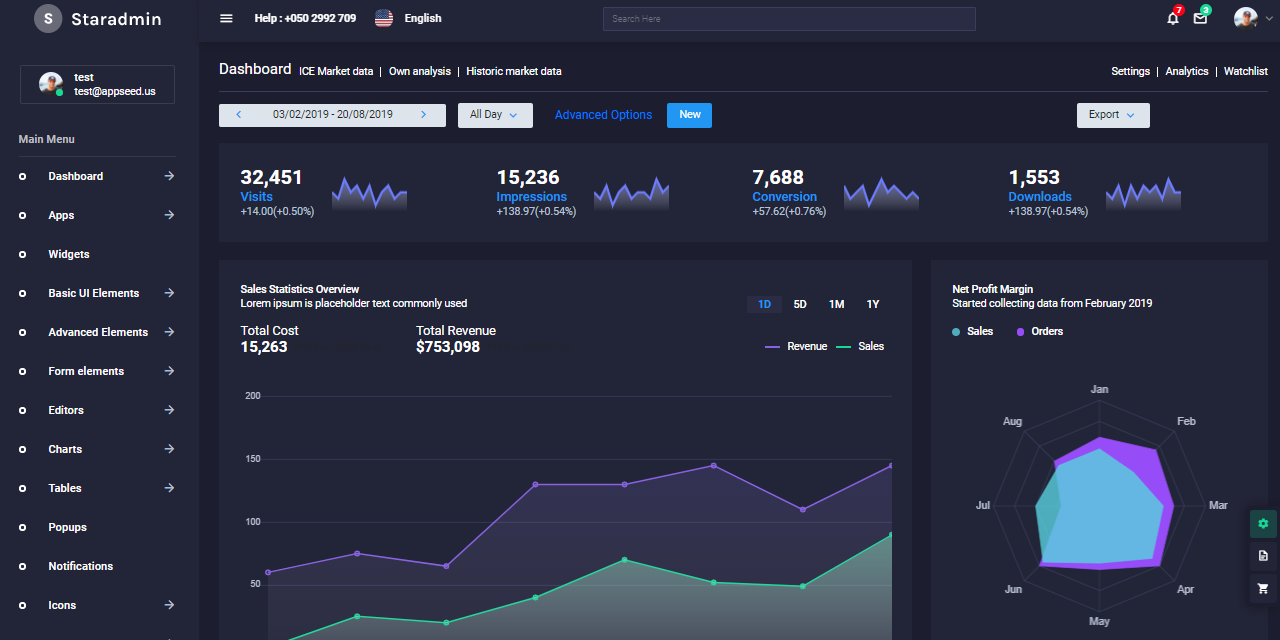
| Django DattaAble Dark PRO | Django Dashboard Black PRO | Django StarAdmin Dark PRO |
|---|---|---|
 |
 |
 |
# 1. Get the code
$ git clone https://github.com/ASRG/asrg.io.git
$ cd asrg.io/django_app/

# 2. [Unix] Virtualenv modules installation
$ virtualenv env
$ source env/bin/activate

# 2. [Windows] Virtualenv installation (Windows):
python -m pip install --user virtualenv
python -m virtualenv env
.\env\Scripts\activate

# 3. Install modules - SQLite Storage
$ pip install -r ./django_app/requirements.txt

# 4. Create tables
$ python manage.py makemigrations && python manage.py migrate

# 5. Start the application (development mode) default port 8000
$ python manage.py runserver

# 6. To use PostgreSQL add this line to ~/asrg.io/django_app/.env
DATABASE_URL=postgres://changeme:changeme_pass@asrg-postgres:5432/asrg

# 7. (OPTIONAL) Start the app - custom port
python manage.py runserver 0.0.0.0:<your_port>

# 8. Access the web app in browser:
http://127.0.0.1:8000/The app is provided with a basic configuration to be executed in:
The application can be easily executed in a docker container. The steps:
Get the code
$ git clone https://github.com/ASRG/asrg.io.git
$ cd asrg.io/django_app
$ touch .env
# [Windows] Then proceed to add the required properties.
# type nul > .envA hidden file used by Dockerfile and docker-compose, in order to enable environment variables while running/building with docker commands.
- Make sure this file is
.gitignoredbut present in path:~\asrg.io\member-portal\django -dashboard-coreui\django_app\.env - We need to specify Django to connect using this specific DB. By default, it will use sqlite if not declared.
- If you wish to change the ports for NGINX you can change them in this file
- If you want to test with a local https certificate you can add the path to the certificates on
the below config file.
- Uncomment the line from
docker-compose.ymlwith this path is also necessary, as well as uncommenting the lines from the nginxconfig(./nginx/asrg.conf)
- Uncomment the line from
# DJANGO CONFIG
# Set to false in PROD
DEBUG=True
DATABASE_URL=postgres://changeme:changeme_pass@asrg-postgres:5432/asrg
# Uncomment this in development if you want gunicorn to update automatically
# REALOAD_GUNICORN=True
# Modify this line if you want to add other ALLOWED_HOSTS
ALLOWED_HOSTS="localhost","127.0.0.1"
ASRG_APP_PORT=5005

# POSTGRES CONFIG
POSTGRES_USER=changeme
POSTGRES_PORT=5432
POSTGRES_DB=asrg
POSTGRES_PASSWORD=changeme_pass
PGDATA=/var/lib/postgresql/data/asrg/

# NGINX CONFIG
# Change this with the path to your certs
CERTS_PATH=./nginx
NGINX_HTTP_PORT=8080
NGINX_HTTPS_PORT=443
SERVER_NAME=localhost
DOLLAR=$
Pull image and start the app in docker-compose
# [Unix] To get rid of the containers that were renamed
$ sudo docker-compose pull && sudo docker-compose build && sudo docker-compose up -d --remove-orphans

# [Windows] To get rid of the containers that were renamed
docker-compose pull && docker-compose build && docker-compose up -d --remove-orphans
Visit http://localhost:8080 in your browser. The app should be up & running.
- For login
Stop and remove the app with docker-compose
# [Unix]
$ sudo docker-compose stop && sudo docker-compose rm -f

# [Windows]
docker-compose stop && docker-compose rm -f
Build (update) the whole app (db, ui, etc.) with docker-compose
# [Unix] To get rid of the containers that were renamed
$ sudo docker-compose stop && sudo docker-compose build && sudo docker-compose up -d --remove-orphans

# [Windows] To get rid of the containers that were renamed
docker-compose stop && docker-compose build && docker-compose up -d --remove-orphans
Build (update) specific container (db, ui, etc.) with docker-compose
The docker container for asrg-app is using a volume as mount binding point between the host files and the running docker container.
It also exists an option for gunicorn to reload every time it detects a change, so we don't have to restart the Docker container each time changes are done. This is only when DEBUG is set to True (DO NOT run --reload for gunicorn in production).
~\django_app\gunicorn-cfg.py
if DEBUG:
    reload = True
If a rebuild stills required after some changes. You can run the next commands to update an specific container:
# [Unix] Stop and re build only the dashboard-ui for updates: asrg-app
$ sudo docker-compose stop asrg-app && sudo docker-compose rm -f asrg-app &&\
sudo docker-compose pull asrg-app && sudo docker-compose build asrg-app &&\
sudo docker-compose up -d --remove-orphans asrg-app

# [Windows] Stop and re build only the dashboard-ui for updates: asrg-app
docker-compose stop asrg-app && docker-compose rm -f asrg-app && docker-compose pull asrg-app && docker-compose build asrg-app && docker-compose up -d --remove-orphans asrg-app
###CSS Files location
- The css for the Landing Page: django_app\landing_page\static\landing_page\css\main.css
- The css for the Member Portal: django_app\asrg\static\assets\css\style.css
django-csp 'Django Content Security Policy'.
Install using pip
$ pip install django-cspGunicorn 'Green Unicorn' is a Python WSGI HTTP Server for UNIX.
Install using pip
$ pip install gunicornStart the app using gunicorn binary
$ gunicorn --bind=0.0.0.0:8001 core.wsgi:application
Serving on http://localhost:8001
Visit http://localhost:8001 in your browser. The app should be up & running.
Waitress (Gunicorn equivalent for Windows) is meant to be a production-quality pure-Python WSGI server with very acceptable performance. It has no dependencies except ones that live in the Python standard library.
Install using pip
$ pip install waitressStart the app using waitress-serve
$ waitress-serve --port=8001 core.wsgi:application
Serving on http://localhost:8001
Visit http://localhost:8001 in your browser. The app should be up & running.
The database gets populated with the chapters that already exist before the creation of this django app, further chapters need to be added from the Admin interface.
If you want the events as well, there is a migration already created for this: /member-portal/django-dashboard-coreui/django_app/events/migrations/0003_populate_initial_data.py, in order for this to work you need to add the file asrg_events.csv to the following path:
/member-portal/django-dashboard-coreui/django_app/events/migrations/. The asrg_events.csv file has the following header:
ASRG,Host,Event,Check,Presenter,Organization,Type,Status,A,,Location,Start,End
Solution: The issue was fixed, after latest changes update.
ERROR: for CONTAINERID_asrg-postgres Cannot create container for service asrg-db: Duplicate mount point: /var/lib/postgresql/data
ERROR: for asrg-db Cannot create container for service asrg-db: Duplicate mount point: /var/lib/postgresql/data
ERROR: for asrg-postgres Cannot create container for service asrg-db: Conflict. The container name "/asrg-postgres" is already in use by container "
Solution: This issue is related to older docker volumes (mount points for db), not being properly removed from older builds. To fix this issue we need to:
# 1. Check all containers for Exited, Stopped, etc related to *asrg*
$ docker container ps -a
# 2. Stop all these specific containers related to the db (use ID or name)
$ docker container stop asrg-postgres asrg-nginx asrg-app
# 3. Remove failing container due to old version
$ docker container rm -f asrg-postgres asrg-nginx asrg-app
# 4. Check docker volumes for old versions
$ docker volume ls
# 5. Remove old docker volumes
$ docker volume rm django-dashboard-coreui_db_data
# 6. Check docker networks for old versions
$ docker network ls
# 7. Remove old docker networks
$ docker volume rm django-dashboard-coreui_db_network django-dashboard-coreui_web_network
# 8. Clean for space (<none> images)
$ docker image prune
# 9. Finally, pull, build and run the dashboard (clean/fresh)
$ docker-compose pull && docker-compose build && docker-compose up -d --remove-orphans
# 10. Check all containers running then go to the site:
http://localhost:8080/login/
ERROR: for asrg-postgres Cannot create container for service asrg-db: status code not OK but 500: FDocker.Core, Version=3.3.0.62907, Culture=neutral, PublicKeyToken=null Docker.Core.DockerException
Solution: The issue relates to a missed building of the asrg-db application.
# 1. Build the Database independently
$ docker-compose build asrg-db
# 2. Re-run the starting command
$ docker-compose pull && docker-compose build && docker-compose up -d --remove-orphansSolution: As Admin CMD or CLI run the next command.
# 1. Install python library required
python -m pip install psycopg2-binary
# 2. Re-run the installation of requirements
pip install -r ./django_app/requirements.txt
# 2.1 OPTIONAL If it fails again upgrade the version to psycopg2==2.8.6
# 2.2 OPTIONAL Upgrade: pip install --upgrade pipasrg-postgres | running bootstrap script * [83] FATAL: data directory "/var/lib/postgresql/data/asrg" has invalid permissions
Solution: If you have a password change policy in your Windows machine (corporate network) PLUS using WRONG Environment file on ~/asrg.io/django_app/.env, must be ~/asrg.io/.env
# [Windows] Update docker credentials
# 1. Go to Credentials Manager in your Windows Search bar
# 2. Select Windows Credentials
# 3. Locate and update the credentials for 'Docker Host Filesystem Access'
# 4. Remove the ./asrg.io/db_backup directory and empty your recycle bin
# 5. Remove the docker asrg application image named 'asrgio_asrg-app'
# 6. DO NOT FORGET to restart your docker machine or docker for windows
# 7. Check you are using the proper file .env on this specific directory ~/asrg.io/.env
# 8. Re-build and re run the whole application
# 9. Run for user creation in CLI: docker exec asrg-app python manage.py create_test_users --force
# 10. Open Django CMS and login with admin on http://localhost:5005/ and create a dummy page
# 11. Access the app on http://localhost:8080/index.htmlIndex with UI-ready admin dashboards generated by the AppSeed platform in Django Framework. Start fast your next Django project by using functional admin dashboards enhanced with Database, ORM, authentication flow, helpers and deployment scripts.
What is Django
Django is a Python-based free and open-source web framework, which follows the model-template-view architectural pattern. It is maintained by the Django Software Foundation, an independent organization established as a 501 non-profit. Django's primary goal is to ease the creation of complex, database-driven websites.
A dashboard is a set of pages that are easy to read and offer information to the user in real-time regarding his business. A dashboard usually consists of graphical representations of the current status and trends within an organization. Having a well-designed dashboard will give you the possibility to act and make informed decisions based on the data that your business provides - definition provided by Creative-Tim - Free Dashboard Templates.
CoreUI Dashboard admin dashboard delivers a bunch of responsive, customizable, and reusable components you need to create modern, beautiful, responsive apps. CoreUI makes app development lightning-fast - provided by CoreUI.
Django Dashboard CoreUI - Provided by AppSeed Web App Generator.