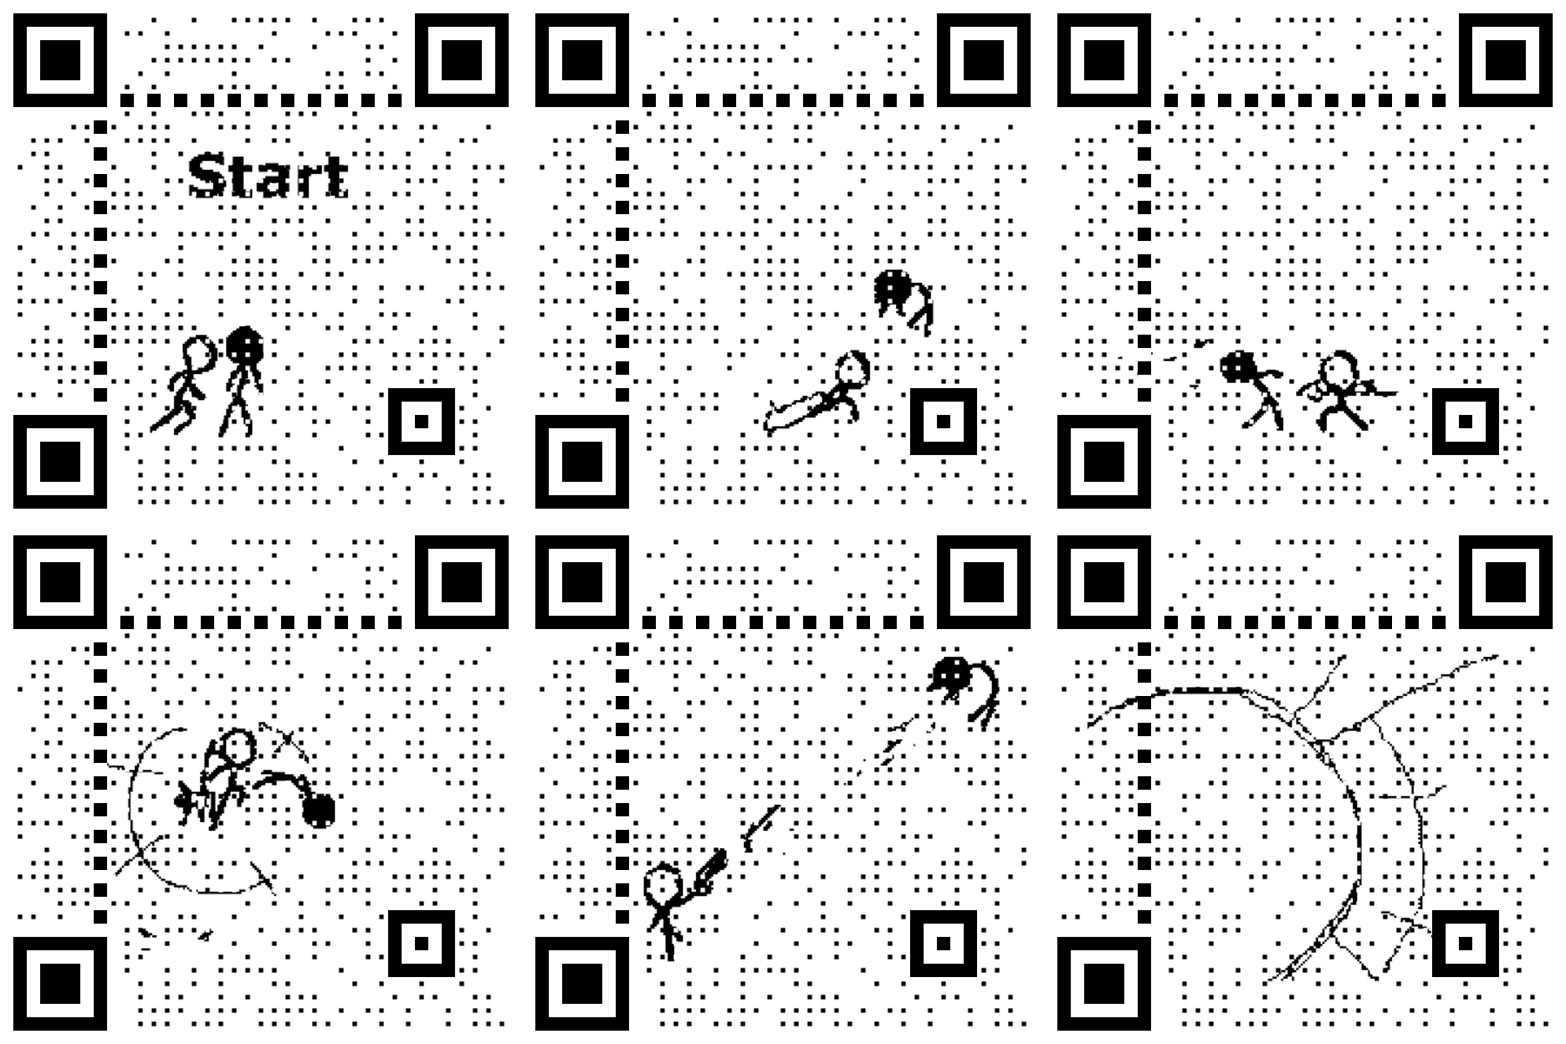
NOTE: Want to explore EFQRCode interactively? Get our user guide as Swift Playground here.
There are two equivalent ways:
EFQRCode.recognize(CGImage)or
EFQRCodeRecognizer(image: CGImage).recognize()Because of the possibility that more than one QR code exist in the same image, the return value is a [String]. If the returned array is empty, we could not recognize/didn't find any QR code in the image.
Again, there are two equivalent ways of doing this:
EFQRCode.generate(
    for: String, encoding: String.Encoding,
    inputCorrectionLevel: EFInputCorrectionLevel,
    size: EFIntSize, magnification: EFIntSize?,
    backgroundColor: CGColor, foregroundColor: CGColor,
    watermark: CGImage?, watermarkMode: EFWatermarkMode,
    watermarkIsTransparent: Bool,
    icon: CGImage?, iconSize: EFIntSize?,
    pointShape: EFPointShape, pointOffset: CGFloat,
    isTimingPointStyled: Bool,
    mode: EFQRCodeMode?
)
or
let generator = EFQRCodeGenerator(
    content: String, encoding: String.Encoding,
    size: EFIntSize
)
generator.withMode(EFQRCodeMode)
generator.withInputCorrectionLevel(EFInputCorrectionLevel)
generator.withSize(EFIntSize)
generator.withMagnification(EFIntSize?)
generator.withColors(backgroundColor: CGColor,
                     foregroundColor: CGColor)
generator.withIcon(CGImage?, size: EFIntSize?)
generator.withWatermark(CGImage?, mode: EFWatermarkMode?)
generator.withPointOffset(CGFloat)
generator.withTransparentWatermark(Bool)
generator.withPointShape(EFPointShape)

// Lastly, get the final two-dimensional code image
generator.generate()
The return value is of type CGImage?. If it is nil, something went wrong during generation.
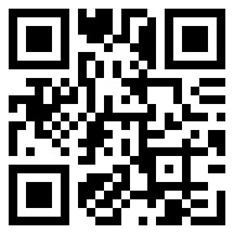
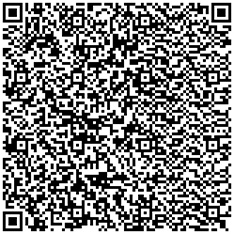
Content is a required parameter, with its capacity limited at 1273 characters. The density of the QR-lattice increases with the increases of the content length. For example:
| 10 characters | 250 characters |
|---|---|
 |
 |
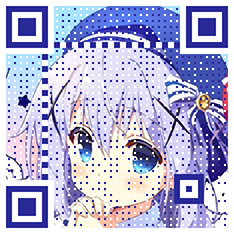
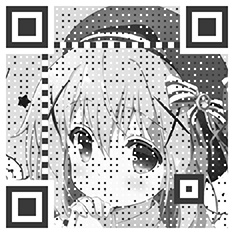
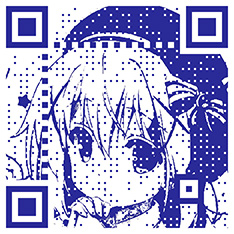
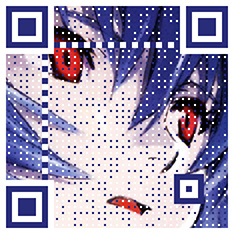
Mode of QR Code is defined as EFQRCodeMode:
public enum EFQRCodeMode {
    // case none     // use `nil` instead
    case grayscale
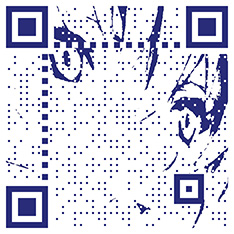
    case binarization(threshold: CGFloat)
}
nil |
grayscale | binarization |
|---|---|---|
 |
 |
 |
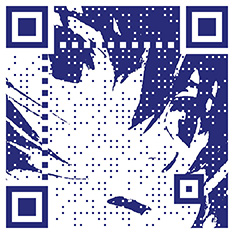
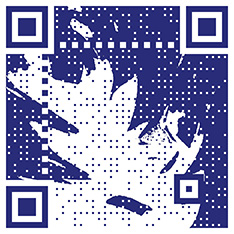
binarization threshold:
mode nil |
0.3 | 0.5 | 0.8 |
|---|---|---|---|
 |
 |
 |
 |
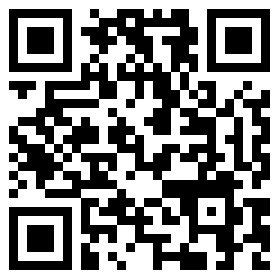
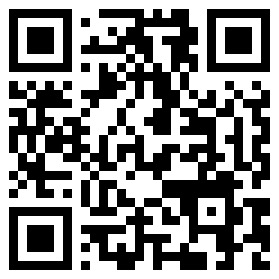
Percent of tolerance (which we default to H defined below) has 4 different levels: L 7% / M 15% / Q 25% / H 30%.
public enum EFInputCorrectionLevel: Int {
    case l = 0      // L 7%
    case m = 1      // M 15%
    case q = 2      // Q 25%
    case h = 3      // H 30%
}
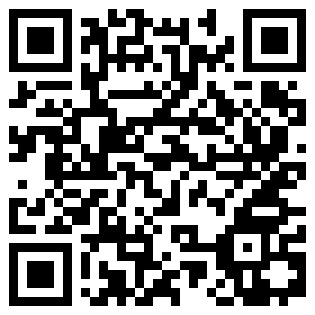
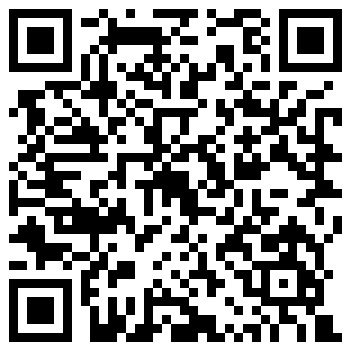
Comparison of different input correction levels (generating for the same content):
| L | M | Q | H |
|---|---|---|---|
 |
 |
 |
 |
NOTE: will be ignored if magnification is not
nil
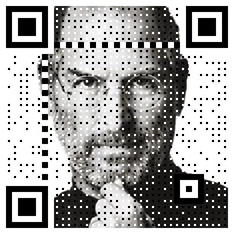
Length and height of the generated QR code, defaults to 256 by 256. EFIntSize is just like CGSize, but width and height are Int instead of CGFloat.
final public class EFIntSize : NSObject {
    public let width: Int
    public let height: Int

    public init(width: Int = 0, height: Int = 0)
    public convenience init(size: CGSize)

    public var cgSize: CGSize { get }
}| 234 * 234 | 312 * 234 |
|---|---|
 |
 |
Magnification is defined as the ratio of actual size to the smallest possible size, and defaults to nil.
Directly setting the size parameter results in low resolution QR code images, so setting the magnification is recommended instead. If you already have a desired size in mind, we have two helpers methods at your disposal to calculate the magnification that results in the closet dimension: EFQRCodeGenerator.maxMagnification(lessThanOrEqualTo:) and EFQRCodeGenerator.minMagnification(greaterThanOrEqualTo:).
let generator = EFQRCodeGenerator(...)

// get max magnification where size ≤ desired size
if let maxMagnification = generator
    .maxMagnification(lessThanOrEqualTo: desiredSize) {
    generator.magnification = EFIntSize(
        width: maxMagnification,
        height: maxMagnification
    )
}
// or get min magnification where size ≥ desired size
if let minMagnification = generator
    .minMagnification(greaterThanOrEqualTo: desiredSize) {
    generator.magnification = EFIntSize(
        width: minMagnification,
        height: minMagnification
    )
}

// then generate
generator.generate()| size 300 | magnification 9 |
|---|---|
 |
 |
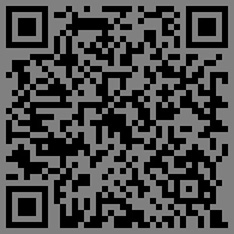
Background color, defaults to white.
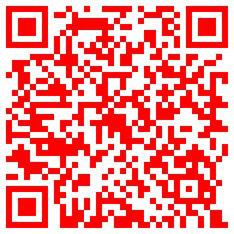
Foreground color (for code points), defaults to black.
| Foreground color set to red | Background color set to gray |
|---|---|
 |
 |
Icon image in the center of QR code image, defaults to nil.
Size of icon image, defaults to 20% of QR code size if nil.
| Default 20% size | Set to 64 |
|---|---|
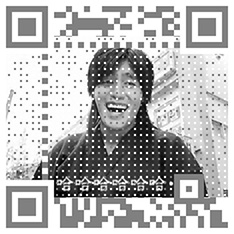
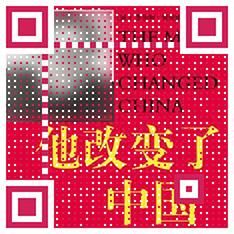
Background watermark image, defaults to nil.
 |
 |
Position of watermark in the QR code, defaults to EFWatermarkMode.scaleAspectFill. Think of the generated QR code like UIImageView and EFWatermarkMode as UIView.ContentMode.
public enum EFWatermarkMode: Int {
    case scaleToFill        = 0
    case scaleAspectFit     = 1
    case scaleAspectFill    = 2
    case center             = 3
    case top                = 4
    case bottom             = 5
    case left               = 6
    case right              = 7
    case topLeft            = 8
    case topRight           = 9
    case bottomLeft         = 10
    case bottomRight        = 11
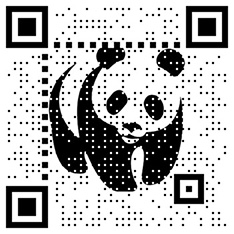
}Treat watermark image as opaque, defaults to false (use transparency).
false |
true |
|---|---|
 |
 |
WARNING: Generated QR code might be hard to recognize with this parameter.
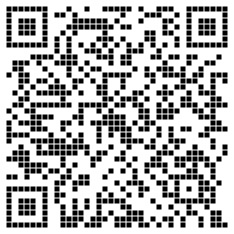
Foreground point offset, defaults to 0.
| 0 | 0.5 |
|---|---|
 |
 |
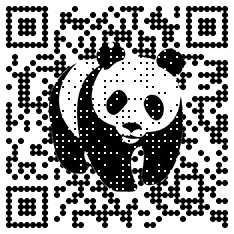
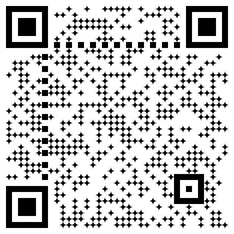
Shape of foreground code points, defaults to EFPointShape.square.
public enum EFPointShape: Int {
    case square  = 0
    case circle  = 1
    case diamond = 2
}| square | circle | diamond |
|---|---|---|
 |
 |
 |
First you should get the complete Data of a GIF file
NOTE: You shall not get
DatafromUIImageas it only provides the first frame.
Then you can create GIF QRCode with EFQRCode.generateGIF:
| Parameter | Description |
|---|---|
generator |
REQUIRED, an EFQRCodeGenerator instance with other settings |
data |
REQUIRED, encoded input GIF |
delay |
Output QRCode GIF delay, emitted means no change |
loopCount |
Times looped in GIF, emitted means no change |
if let qrcodeData = EFQRCode.generateGIF(using: generator, withWatermarkGIF: data) {
    print("Create QRCode image success.")
} else {
    print("Create QRCode image failed!")
}
The generator here is an instance of EFQRCodeGenerator, as demonstrated above, for configuring other parameters for individual frames in GIF. You can checkout the demo projects for more information.
The result (seizure WARNING) will be something like this:
Now you can get the complete data of output QRCode GIF, next we can save it to local path / system photo library / upload to server or some other things you want to do;
