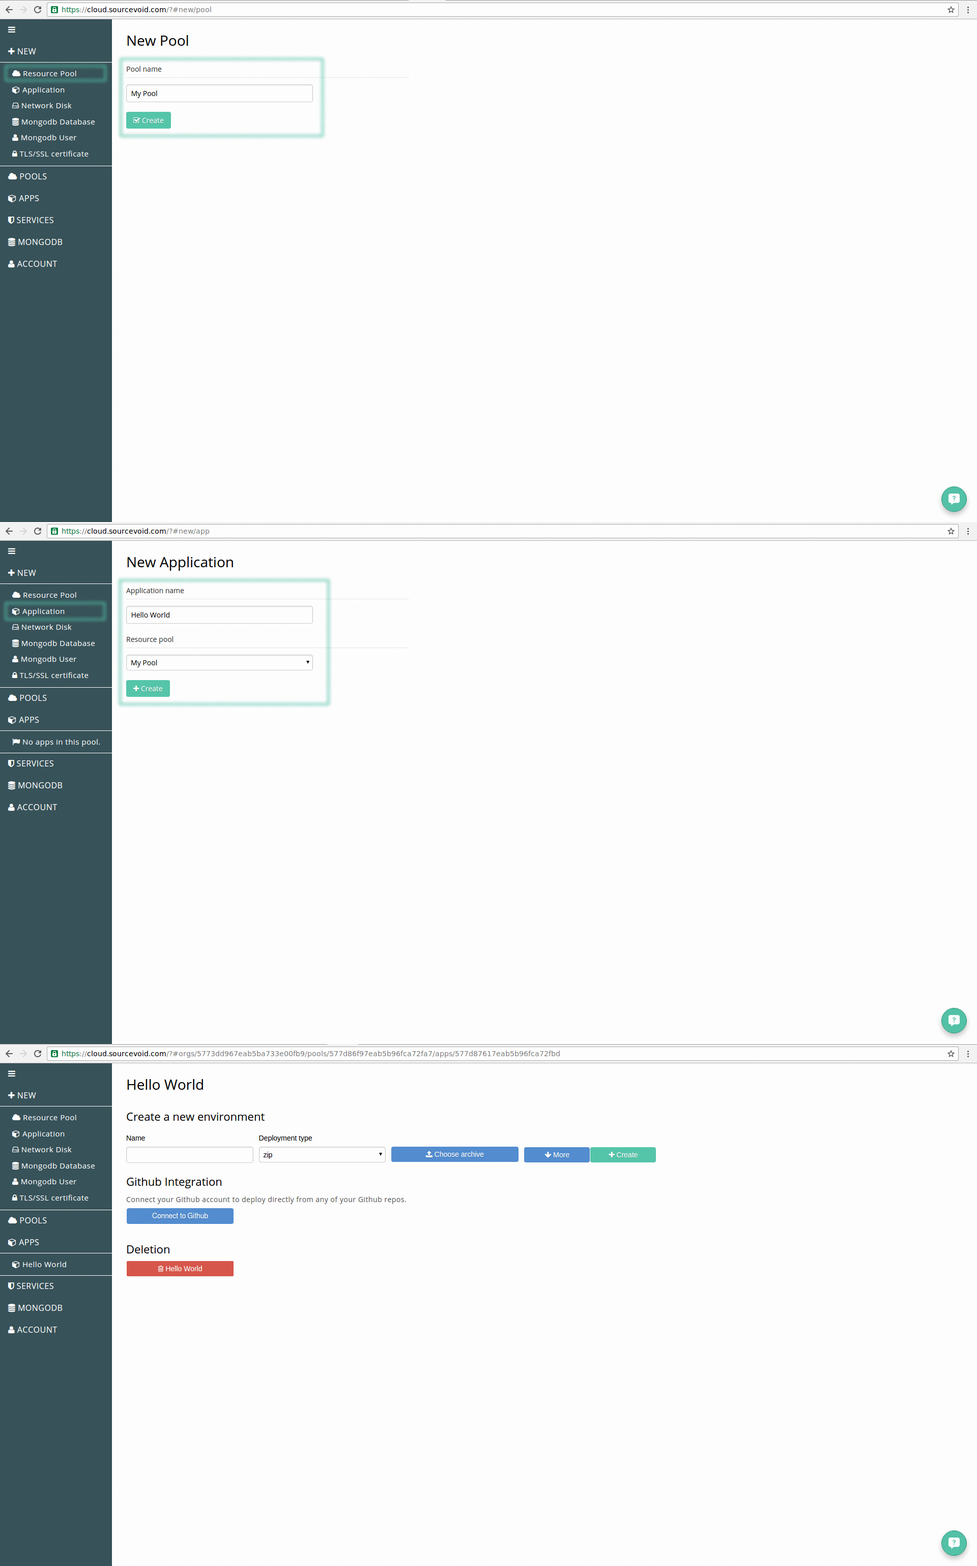
This is a tutorial on how to get started with Angular JS on the Sourcevoid cloud platform. Follow the instructions below to get your first app up and running. If you have any questions of issues let us know by creating a issue on this repo or contact us directly!
- Create a Sourcevoid account and login
- Create a Sourcevoid pool (if you don't already have one you want to use)
- Create a Sourcevoid app (if you don't already have one you want to use)
- Fork this repo to your account or create a new repo and upload the contents of this repo to your own
- Connect your Github account
- Enter a name for the environment, "angular-js" for example
- Select your Github repo from the selector
- Press the create button and wait a few seconds to allow the deployment to complete
- Press the "Static env settings" button (will appear when the env as been deployed)
- Press "Edit" on the row with directory "public" and change it to "/", go back to the app view (back button works)
- Press the start button to start the environment
- Press one of the links in the "App" or "Env" column in the app view to open the app/env
- Press the blue console button to watch the output of the server process (optional)
- Click here or above on "Clone or download" to download a zip archive of this repo
- Enter a name for the environment, "angular-js" for example
- Select your "zip" as the deployment type from the selector
- Press the "Choose archive" button and choose the archive you downloaded in step 1
- Press the "More" button and enter (or copy/paste) "/hello-angular-js-master" into the "Source Root" field (this because the Github zipped archive contains a top level directory called "hello-angular-js-master" where the source resides)
- Press the create button and wait a few seconds to allow the deployment to complete
- Press the "Static env settings" button (will appear when the env as been deployed)
- Press "Edit" on the row with directory "public" and change it to "/", go back to the app view (back button works)
- Press the start button to start the environment
- Press one of the links in the "App" or "Env" column in the app view to open the app/env
- Press the blue console button to watch the output of the server process (optional)
