Here are the steps to become a validator using mytonctrl. This example is applicable for the Ubuntu Operating System.
-
Download the installation script. We recommend installing the tool under your local user account, not as Root. In our example, a local user account is used:
wget https://raw.githubusercontent.com/ton-blockchain/mytonctrl/master/scripts/install.sh
-
Run the installation script as an administrator:
sudo bash install.sh -m full
-
Run mytonctrl from the local user account used for installation in step 1:
mytonctrl
-
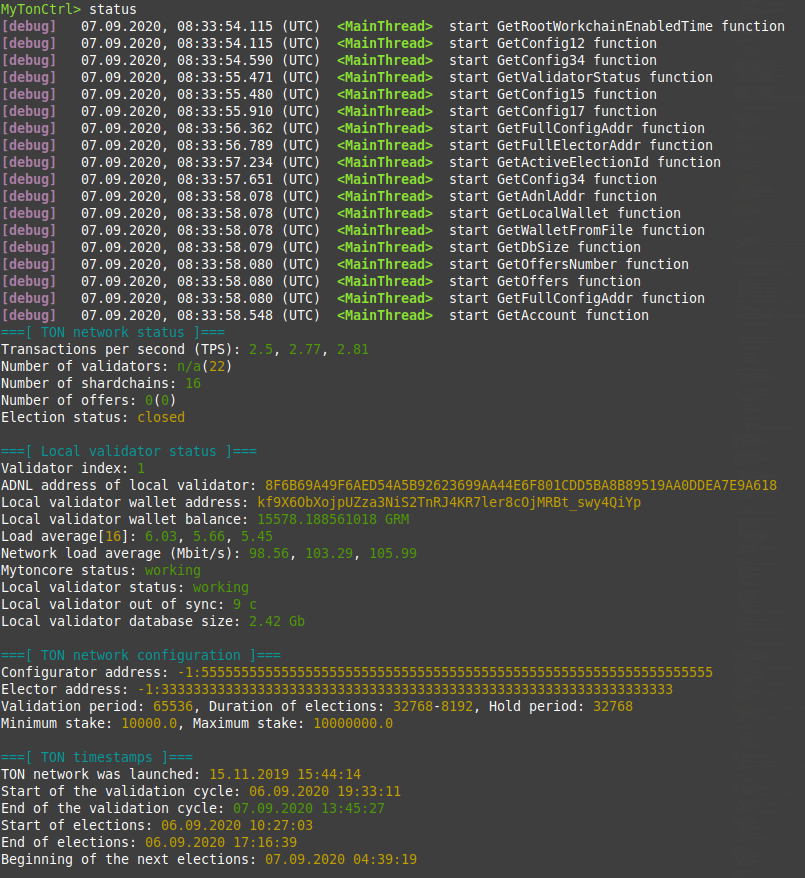
Check the mytonctrl statuses, particularly the following:
-
mytoncore status: Should be in green.
-
Local validator status: Should also be in green.
-
Local validator out of sync: Initially, a large number is displayed. As soon as the newly created validator connects with other validators, the number will be around 250k. As synchronization progresses, this number decreases. When it falls below 20, the validator is synchronized.
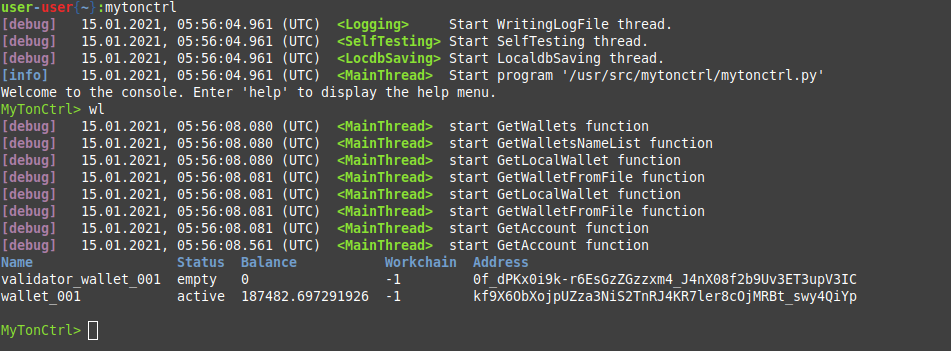
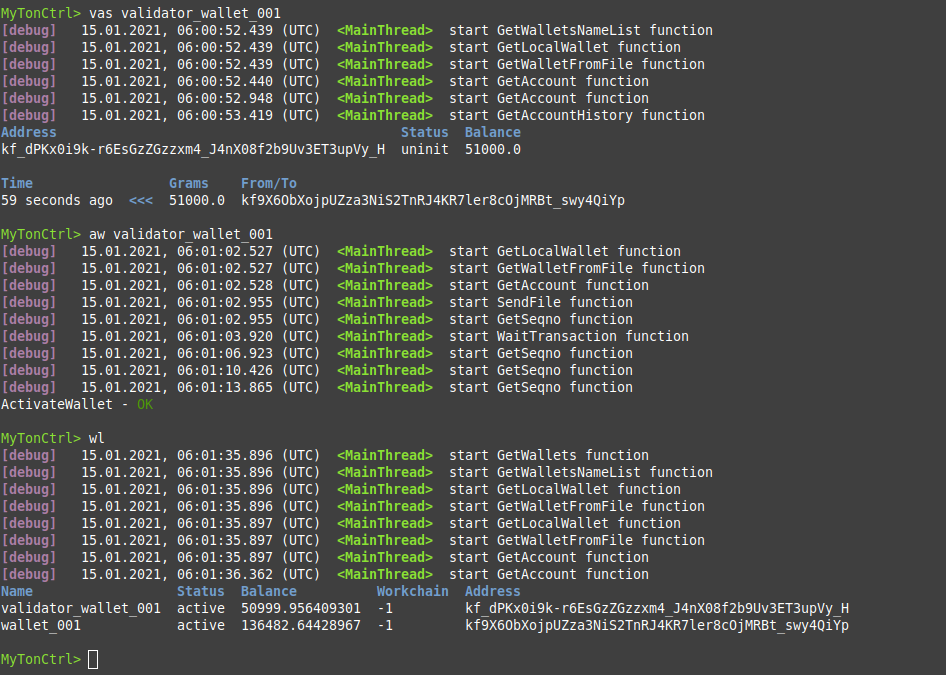
Check out the list of available wallets. For instance, during the installation of mytonctrl, the validator_wallet_001 wallet is created:
To determine the minimum amount of coins required to participate in one election round, head to tonmon.xyz > Participant stakes.
mytoncore will automatically join the elections. It divides the wallet balance into two parts and uses them as a stake to participate in the elections. You can also manually set the stake size:
set stake 50000 — this sets the stake size to 50k coins. If the bet is accepted and our node becomes a validator, the bet can only be withdrawn in the second election (according to the rules of the electorate).
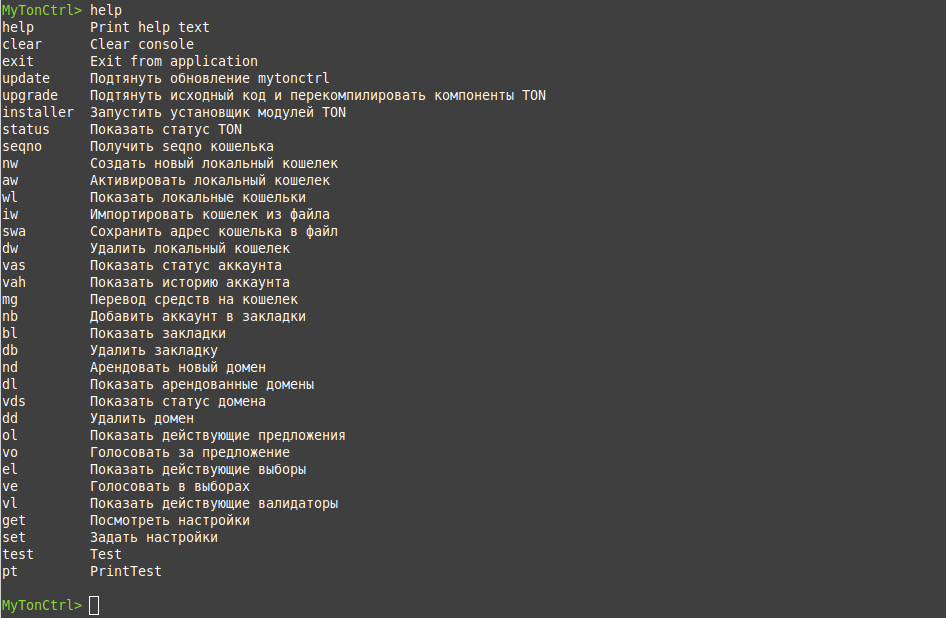
You can also command for help anytime.
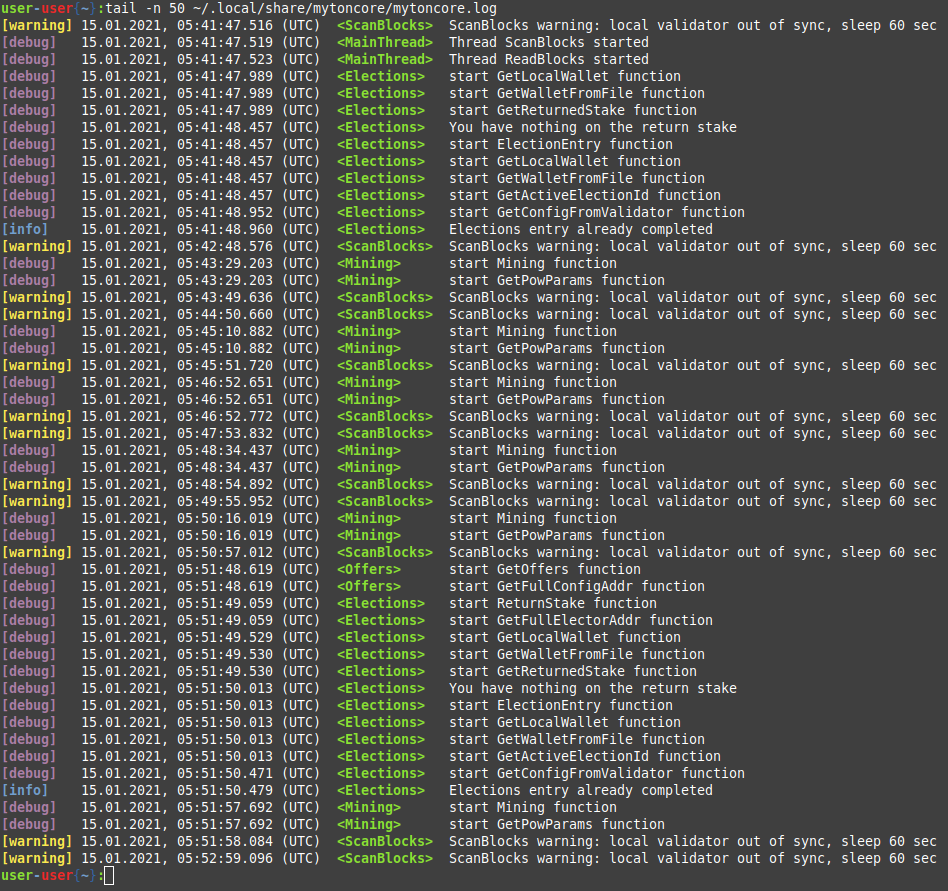
To check mytoncrl logs, open ~/.local/share/mytoncore/mytoncore.log for a local user or /usr/local/bin/mytoncore/mytoncore.log for Root.

