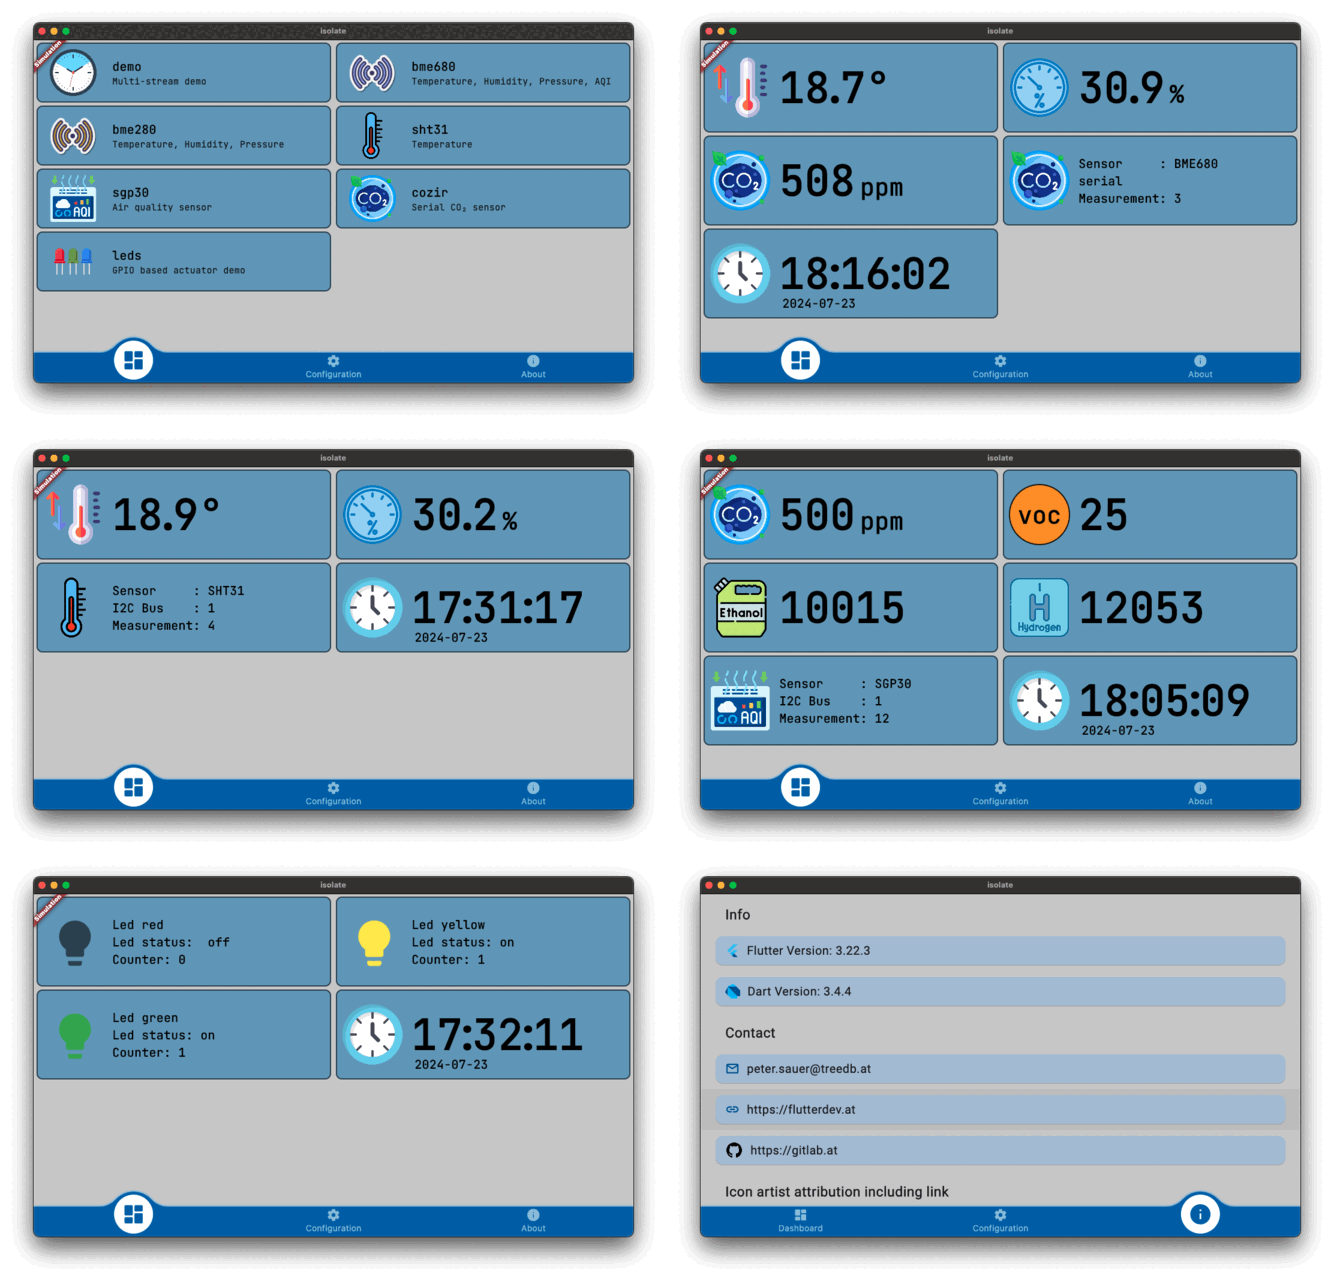
This project is built upon dart_periphery and flutter-pi for running Flutter on the Raspberry Pi. This app integrates a variety of sensors using Dart isolates to efficiently send sensor data as a stream to the Flutter UI.
Refer to the CHANGELOG for changes.
Test setup with a Raspberry Pi 3 with attached LEDs, sensors and a small touch screen running the led demo.
Video snippet for reordering UI elements
- SGP30: tVOC and eCO2 Gas Sensor
- BME280: Temperature, humidity and pressure sensor.
- BME680: Temperature, humidity pressure and gas (Indoor Airy Quality) sensor.
- SHT31: Temperature and humidity sensor.
- CozIR: CO₂, temperature and humidity sensor.
- Grove Gesture: can recognize 9 basic gestures.
- MCP9808: high accuracy temperature sensor.
- MLX90615: digital infrared non-contact temperature sensor.
- SDC30: CO₂, temperature and humidity sensor.
- SI1145: Visible & IR light and UV index sensor
- Grove Base Hat
This subproject of dart_periphery based on flutter-pi implements an isolate/stream architecture designed to transfer sensor data from an isolate to the Flutter UI.
Isolate Interface: This consists of the steps InitTask, MainTask, and ExitTask, along with a limited back channel for controlling the isolate. This setup is typically used for sensor measurements:
InitTask: Initializes the sensor.MainTask: Collects sensor data and passes it to a stream.ExitTask: Disposes of the sensor.
Listening Mode: Features InitTask and user-defined handling for isolate events. This variant
remains on standby for data; once data is processed, the result is passed to the stream and
subsequently to the Flutter UI. This model is used for actuator control, such as operating an LED.
Support for Multiple Streams: Enables handling of multiple data streams simultaneously.
Import hints:
- The project is currently in its early stages, and development is ongoing including API changes.
- For using real hardware, go to the configuration panel and disable the simulation mode checkbox.
- Application can be build for the other Flutter desktop variants: MacOS, Windows and Linux and tested in the simulation mode.
- Dart isolates can be tricky compared to programming languages like Java. Therefore, the first version of the API may appear somewhat unrefined and incomplete.
- The project code is free to use, but be aware, the icons from Flaticon must attribute the creator of the icon - for further details see the AboutTab with an automated list of used icons including their attribution link.
- Used colors looks on your device perhaps a little strange. This demo was tested on a small external touch screen with a limited color dynamic. The used colors are result of this restriction.
Dart isolates:
Starting from version 0.9.7, the default library handling mechanism creates a temporary library
file, named in the format pid_1456_libperiphery_arm.so. The unique process ID for each isolate
prevents repeated creation of the temporary library, avoiding crashes caused by overwriting an
actively used library.
Library setup override methods, such as:
void useSharedLibray();
void setCustomLibrary(String absolutePath);
must be called separately within each isolate. This is necessary because each isolate initializes Dart Periphery independently.
Dart periphery temporarily stores a copy of the c-periphery library in the system’s temp directory. If an isolate attempts this initialization again without the reuseTmpFileLibrary(true) setting, it will cause the application to crash, with no opportunity to catch the error.
As an alternative solution, you can use
void loadLibFromFlutterAssetDir(bool load) to address this issue.
For more details, refer to the documentation here.
Prerequisite: Install and setup flutter-pi
git clone https://github.com/pezi/flutter_pi_sensor_tester.git
cd flutter_pi_sensor_tester

# Build, depoly and start the application
#
# Hints:
# - enable SSH key login
# - set correct CPU arch (default: 32-bit ARM) - see flutterpi_tool help build
#
flutterpi_tool build --release
rsync -a ./build/flutter_assets/ user@raspberry:/home/user/flutter_pi_sensor_tester
ssh user@raspberry "flutter-pi --release /home/pezi/flutter_pi_sensor_tester"
The isolate related code can be found here:
- Improve documentation
- Extend this demo to use a Flutter state management library like riverpod
- TBD: Extend the isolate API for code generation support to reduce manual coding.


