Pylarexx searches the USB bus for Arexx BS-500 / BS-510 / TL-500 / TL-510 devices, and constantly reads sensor data. It can be configured to name the sensors, add calibration values and configure output modules.
At the moment the BS-510 / TL-510 devices are experimental supported, since i have no such device. New Arexx sensors have id values that exceed 2 bytes and need this newer device.
The sensors that i have tested are TSN-TH70E and TL-3TSN, both with 2-byte id numbers (<65536). If you have other sensors (CO2, ...), you can try, if they work. If not, send me sensors or debugging output, and i will try to add them. ` The protocol and interpretation of values for supported devices is explained in Protocol.txt and sensors.txt
Pylarexx is tested with Linux. Installing and running pylarexx requires root privileges.
-
go to the Arexx webpage and download the rf_usb_http_rpi_ 0_6 script for raspberry pi
-
Extract the files
-
Copy 51-rf_usb.rules to
/lib/udev/rules.d/ -
Open 51-rf_usb.rules and add the following
GROUP="Plugdev"to the end of the file. it should look lik this:SUBSYSTEM=="usb", ATTRS{idVendor}=="0451", ATTRS{idProduct}=="3211", MODE="0666", GROUP="Plugdev" -
add/ensure that "user" or here user "pi" is part of that group
plugdevadduser username plugdev -
force udev to restart
sudo udevadm control --reloadsudo udevadm trigger -
Finaly unplug and plug back the device
The install.sh should put the code to /usr/local/pylarexx, a example config to /etc/pylarexx.yml and on systemd based systems, it creates a service.
All configuration is done in /etc/pylarexx.yml. Be careful about indentation and "-", since this has a special meaning in yaml files. See YAML Wikipedia Article.
At sensors you should add your sensors as shown in the example config.
At calibration you can add calibration values. Usually the values for temperature, humidity, ... are computed from the raw value from the sensor with:
value = p0 + rawvalue * p1 + rawvalue² * p2 + ....
With the values List, you can alter p0, p1 .... as shown in the example config.
Note Latest changes broke calibration with sensors with more than one sensor (Temp + RH). Will be fixed soon.
At output you can add one or more DataListeners and configure them. You can also add one type of DataListener more then one time.
-
LoggingListener: Uses python logging to print measured values
-
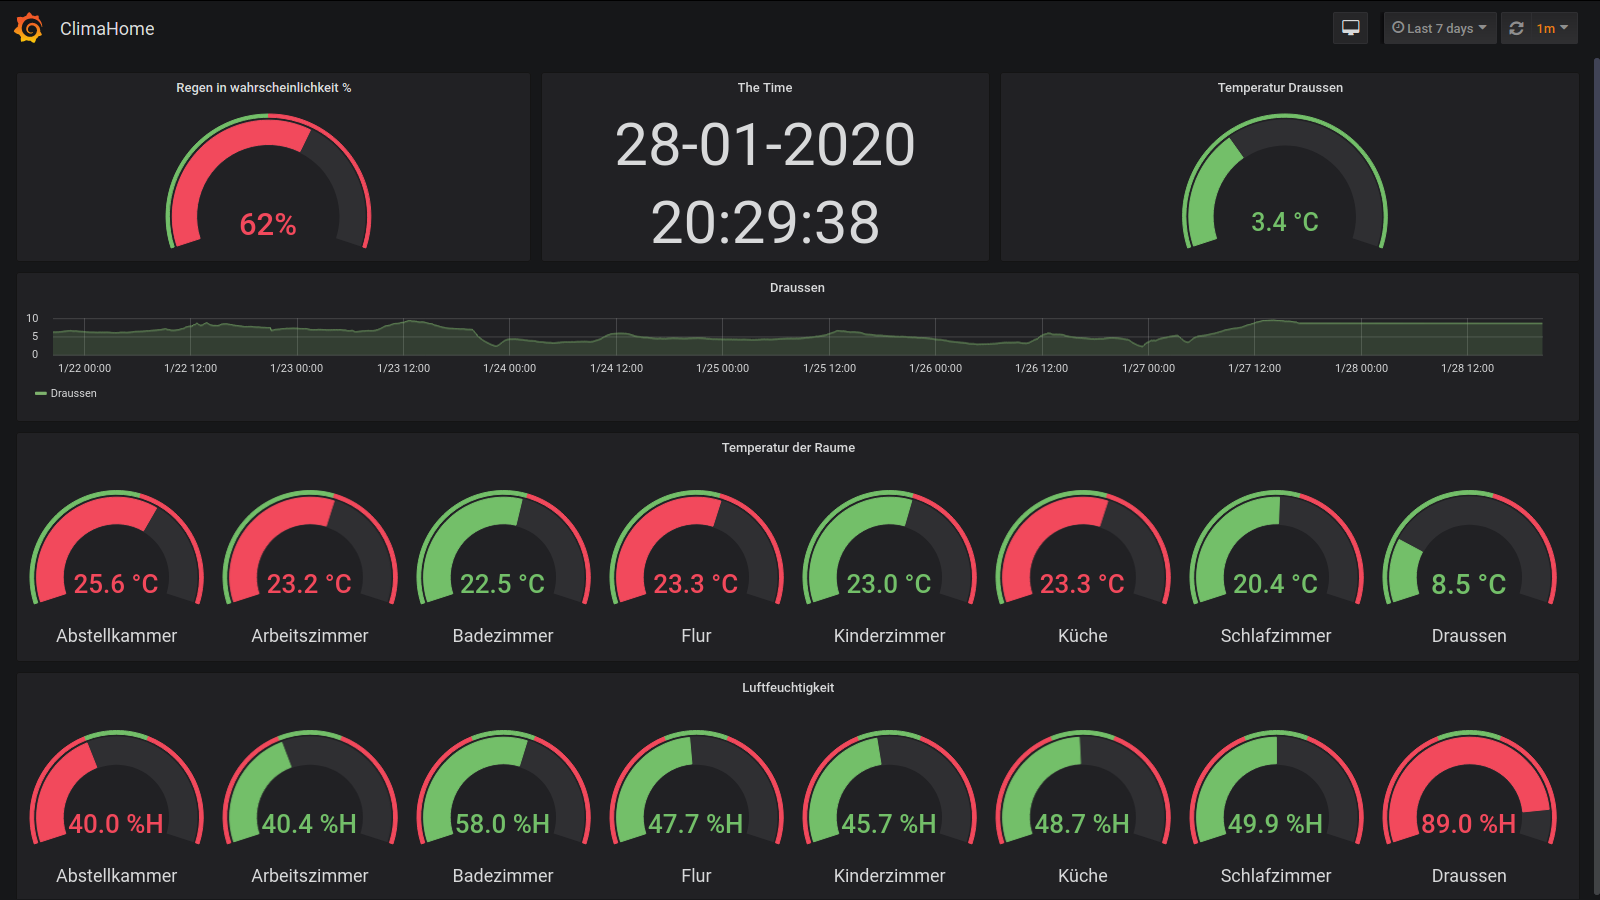
InfluxDBListener: Push data to pre-configured influxDB which then can be used for Grafana
- parameter: host: 127.0.0.1 default value: 127.0.0.1
- parameter: port: 8086
- parameter: user: pi
- parameter: password: XXXXX
- parameter: dbname: arexx default value: arexx
-
Sqlite3Listener
- parameter: filename: /tmp/arexx.db
-
FileOutListener: Appends measured values to a file
- Parameter: filename default value: /tmp/pylarexx.out
-
RecentValuesListener: Makes recent values of all sensors available to a TCP socket. This can be queried with "nc". Useful for example, if you want to monitor sensor values with nagios/icinga/check_mk
- Parameter: host IP to listen, default value: localhost
- Parameter: port TCP Port, default value: 4711
-
MQTTListener: Sends data to a mqtt Server. Data are sent in mqtt homie convention format or Home Assistant auto discovery format. This makes integration in OpenHAB2, Home Assistant or other very easy. Sensors can be autodiscovered through OpenHAB2s/Home Assistants MQTT Binding.
- Parameter: host IP or name of mqtt server
- Parameter: port TCP Port, default value: 1883
- Parameter: mqtt_base_topic default value "homie" or homeassistant
- Parameter: payload_format "homie" oder "home-assistant". Which format to send
Planned:
Log to Grafana- Log to Elasticsearch/Solr
Log to mysql/postgresLog to influxdb- Log to a REST API
- ....
Look at DataListener.py to see how to implement new output modules. Look at example_pylarexx.yml for configuration examples.
At config there are some other configuration options:
- DetectUnknownSensors: Default: yes. If set to "no", pylarexx will only see the configured sensors. Good if you have other types of sensors, that create ghost entries.
pylarexx is licensed under the Apache License, version 2, see License.txt. The file device.xml is copyrighted by Arexx and is distributed with permission from Arexx
