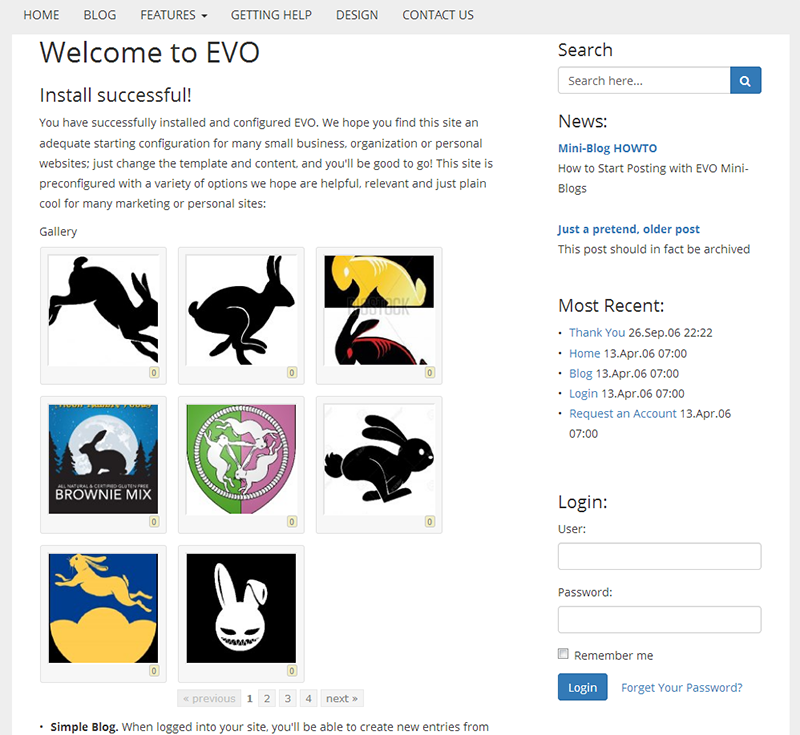
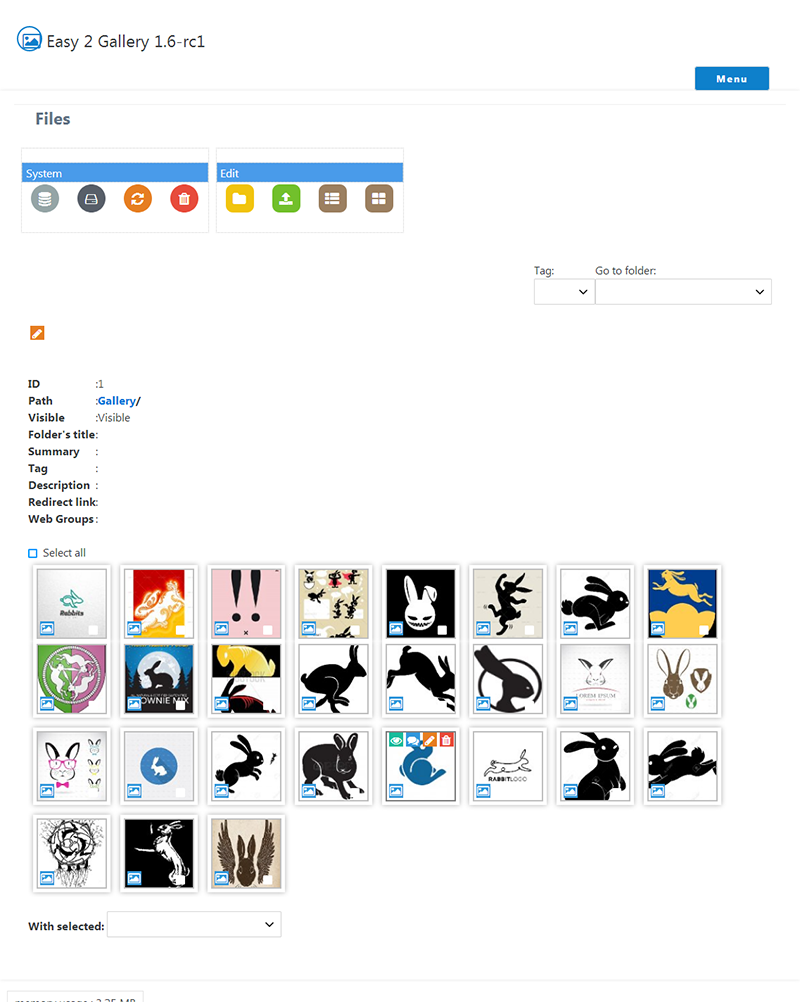
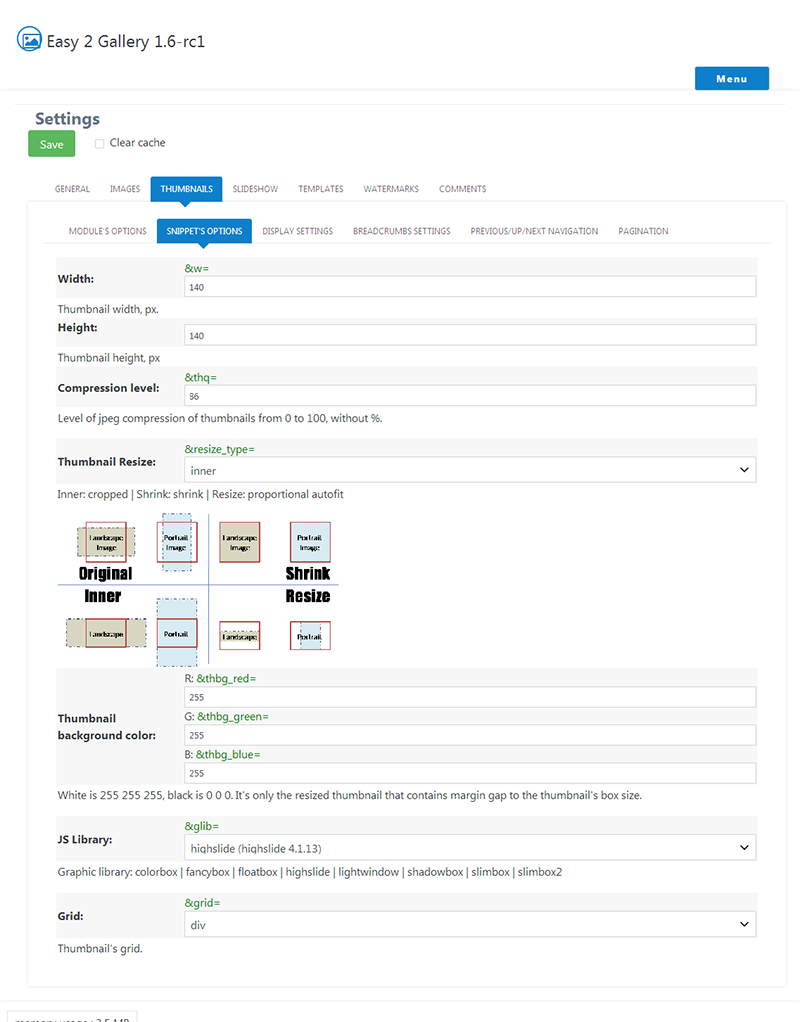
A Multilanguage image gallery snippet and module (for MODx Evolution 1.1 and above) that offers features like image browsing, automatic thumbnail creation, size adjusting, watermarking, adding comments, etc..
Installation
-
Install with Package Manager Module or Store modules. Or, for manual installation, unpack archive in root folder of you modx installation
-
If this is your fresh installation: create a new folder 'gallery', the default path is assets/images/gallery. You can change this from the default.config.easy2gallery.php (fresh installation) from this value:
'dir' => 'assets/images/gallery/',
If this is an upgrade, this module will use the existing config.easy2gallery.php values.
-
Create new module, name it anything (Eg: Easy 2 Gallery), type:
###########
$o = include_once(MODX_BASE_PATH.'assets/modules/easy2/index.php');
return $o;
###########
And click save.
- Refresh modx manager, then open the module tab.
- Install following instructions.
- If install is successful, remove install folder, manually or by clicking delete button. module won't work if this folder exists.
Upgrade
- Unpack archive in root folder of you modx installation
- If there is one (upgrade from below of E2G 1.4.0-rc4), COPY your existing config.easy2gallery.php file to assets/modules/easy2/includes/configs/ folder.
- Open the module tab, upgrade following instructions
- If upgrade is successful, remove install folder, manually or by clicking delete button. module won't work if this folder exists.
- Note: As of v1.5.5, the directory "assets/libs" has been changed to "assets/modules/easy2/libs". You will need to update the paths for any Viewer, Slideshows and Plugins that are in use via their respective menu.
- CLEAR MODX CACHE
NEW COMMENTS PROCESSING
Comments functionality has been removed from the class file and now has its own processor. A new view processor snippet shows the comments on the landing page, and in the popup window. See comments.readme.txt for full usage information.
Installation:
-
Create a new snippet, for this example named " easy2_Landingpage_Comments " category: same as easy2gallery snippet code:
define( 'E2G_MODE', 'true' ); $e2g_path =MODX_BASE_PATH.'assets/modules/easy2/'; include $e2g_path.'comments_processor.easy2gallery.php'; -
Create a new snippet, for this example named " easy2_View_Processor " Category: same as easy2gallery Snippet code:
define( 'E2G_MODE', 'true' ); $e2g_path =MODX_BASE_PATH.'assets/modules/easy2/'; include $e2g_path.'view_processor.easy2gallery.php'; return $output; -
You need a landing page, if you don't have one set up yet see the help section in the module for that info.
Content of the landing page:
[!easy2? &landingpage=`47` &lp_img_src=`generated` &lp_w=`450` &lp_h=`450`!][!easy2_Landingpage_Comments? &ecl_page=`2` &captcha=`1` &comments_lang=`` &approved=`1` &delay=`30` !] -
Create a new document for the view processor. Doc settings:
- blank template
- all other settings off
- published
Doc content:
[!easy2_View_Processor? &captcha=`1` &captcha_tpl=`captcha_tpl` &comments_lang=`` &approved=`1` &delay=`90` !] -
Open assets/modules/easy2/plugin.easy2gallery.php file in a text editor or File manager editor at the top find this line:
$e2g_vpl_id = 48;Change the 48 to the id of your view processor document.
Make sure to check the following events on the System Events tab: OnWebPageInit OnWebPageComplete
See comments.readme.txt for full usage information.
