-
Notifications
You must be signed in to change notification settings - Fork 2
Initial Setup
There are multiple ways to install FITeagle 2:
- Native installation with maven for development
- Native installation with binaries for production
- Docker based deployment for production
Allow incoming TCP connections to port 8443 (SSL). In particular disallow access to TCP port 9990.
Depending on the type of system and type of installation, some software packages have to be installed. Here is an example for Ubuntu 14.04 for a binary installation:
sudo add-apt-repository ppa:webupd8team/java
sudo apt-add-repository ppa:andrei-pozolotin/maven3
sudo apt-get update
sudo apt-get install oracle-java8-installer maven3 unzip
sudo adduser fiteagle
su fiteagle
cd
Installing, running and testing FITeagle 2 is as easy as executing:
# Source based
curl -fsSkL fiteagle.org/bootstrap | bash -s init deployFT2 deployFT2sfa testFT2sfa
# Binary based
bash <(curl -fsSkL fiteagle.org/sfa)
This should look like this:

After about 3 to 10 minutes everything has been downloaded, extracted, configured and tested. As a result, the SFA tests should all be green and pop up on your screen:

It's probably a good idea to make the start of FITeagle permanent on this system. An example for Ubuntu 14.04:
sudo ln -s /home/fiteagle/bootstrap/bin/fiteagled /etc/init.d/fiteagled
sudo update-rc.d fiteagled defaults
Note: for the docker deployment a x64 based linux system is needed.
- install docker. for ubuntu type
apt-get install docker-io - Allow a single incoming TCP connection that will be forwared to the running fiteagle docker image.
We provide a script to setup, deploy and maintain a Docker installation of FITeagle. Start the process by running
curl -fsSL https://github.com/FITeagle/bootstrap/raw/master/bin/docker_watcher.sh | bash -s -- -f
now the FITeagle2 service is reachable via https://localhost:8443/
Please refer to the more detailed instructions how to configure thr Docker based FITeagle instance.
After FITeagle has been downloaded, configured and tested, you can further test the installation using SFA specific user tools:
- Execute
./bootstrap/fiteagle.sh runJfedor download the client from http://jfed.iminds.be - Login using the certificate located at
integration-test/conf/cli.pemand use the passwordtesting1 - Click on "New" > "RSpec Editor"
- Paste the following RSpec
<rspec type="request" xmlns="http://www.geni.net/resources/rspec/3"
    xmlns:xsi="http://www.w3.org/2001/XMLSchema-instance" xsi:schemaLocation="http://www.geni.net/resources/rspec/3 http://www.geni.net/resources/rspec/3/request.xsd ">
    <node client_id="motor-2"
        component_id="urn:publicid:IDN+localhost+node+http%3A%2F%2Flocalhost%2Fresource%2FMotorGarage-1"
        component_manager_id="urn:publicid:IDN+localhost+authority+cm" component_name="MotorGarage-1">
        <sliver_type name="http://open-multinet.info/ontology/resource/motor#Motor"/>
        <location x="410.0"
            xmlns="http://jfed.iminds.be/rspec/ext/jfed/1" y="185.0"/>
        <interface client_id="motor-1:if0">
            <ip address="192.168.0.2" netmask="255.255.255.0" type="ipv4"/>
        </interface>
    </node>
    <node client_id="motor-1"
        component_id="urn:publicid:IDN+localhost+node+http%3A%2F%2Flocalhost%2Fresource%2FMotorGarage-1"
        component_manager_id="urn:publicid:IDN+localhost+authority+cm" component_name="MotorGarage-1">
        <sliver_type name="http://open-multinet.info/ontology/resource/motor#Motor"/>
        <location x="10.0"
            xmlns="http://jfed.iminds.be/rspec/ext/jfed/1" y="185.00000000000003"/>
        <interface client_id="motor-2:if0">
            <ip address="192.168.0.1" netmask="255.255.255.0" type="ipv4"/>
        </interface>
    </node>
    <link client_id="link0">
        <component_manager name="urn:publicid:IDN+localhost+authority+cm"/>
        <interface_ref client_id="motor-2:if0"/>
        <interface_ref client_id="motor-1:if0"/>
        <link_type name="http://open-multinet.info/ontology/resource/link#lan"/>
    </link>
</rspec>
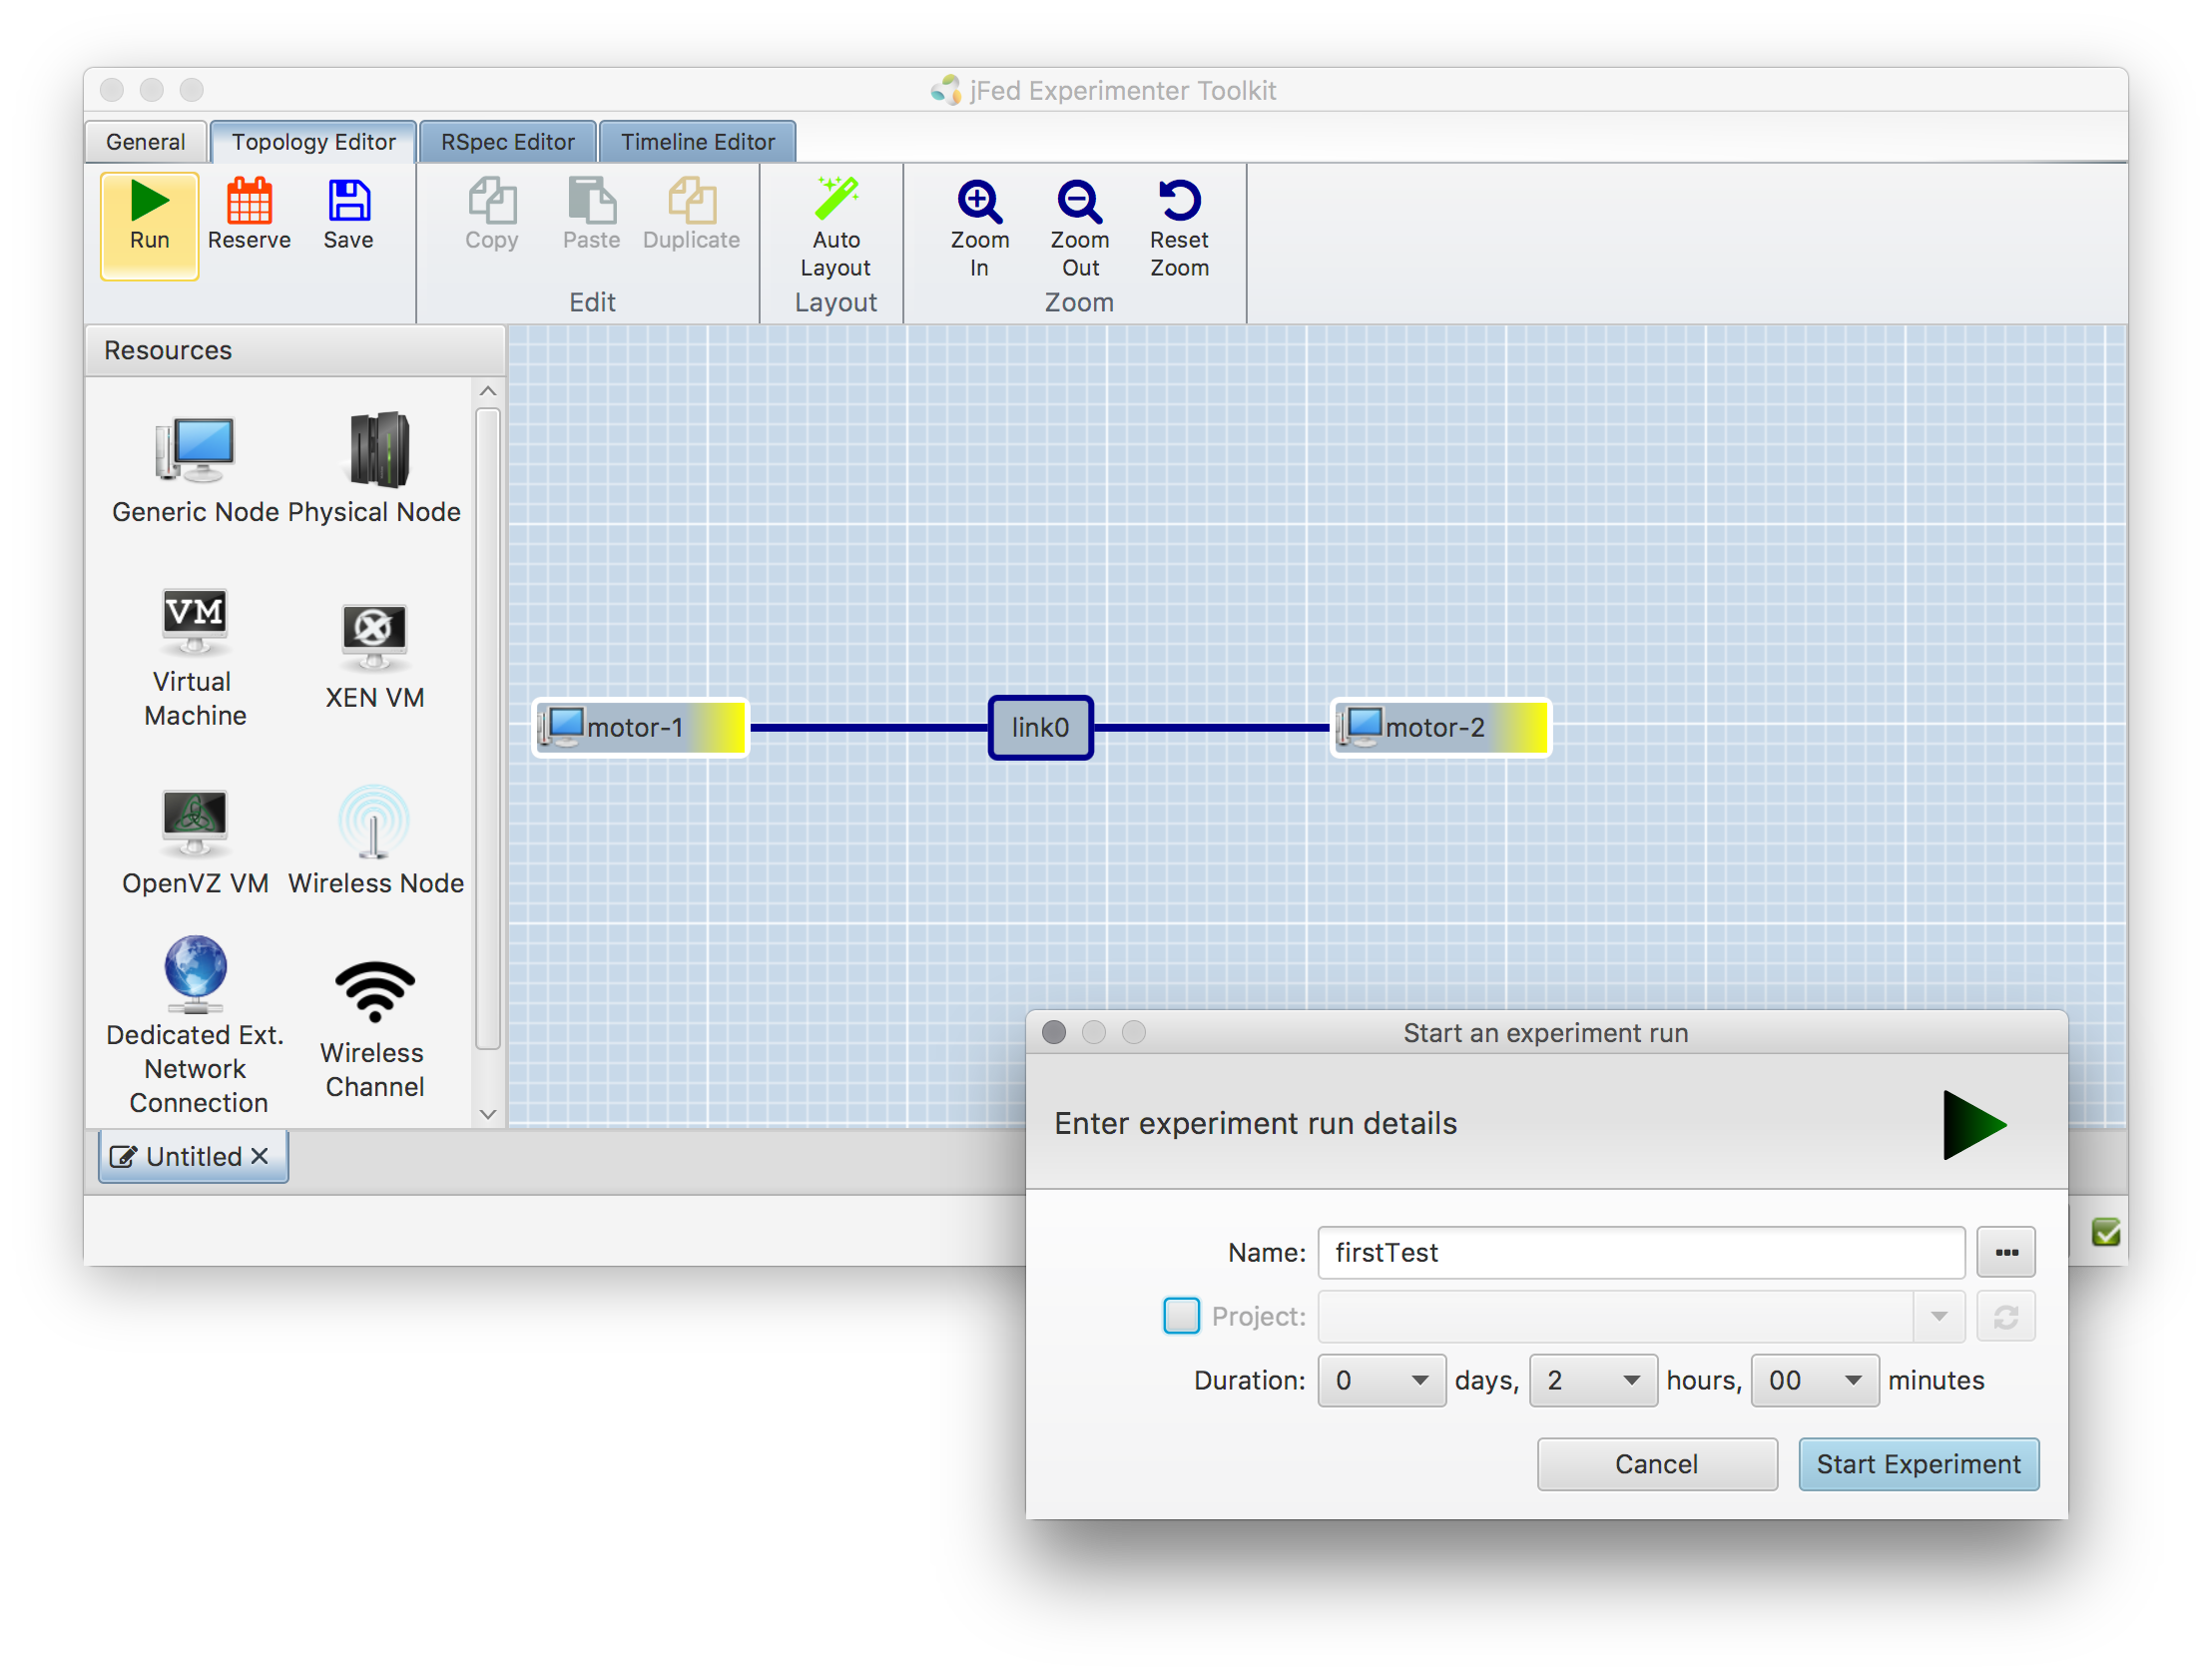
- Click on "Topology Editor", click on "Run" > Name: firstTest > no project. It should look like this:
- Press on "Start Experiment", this should look like this:
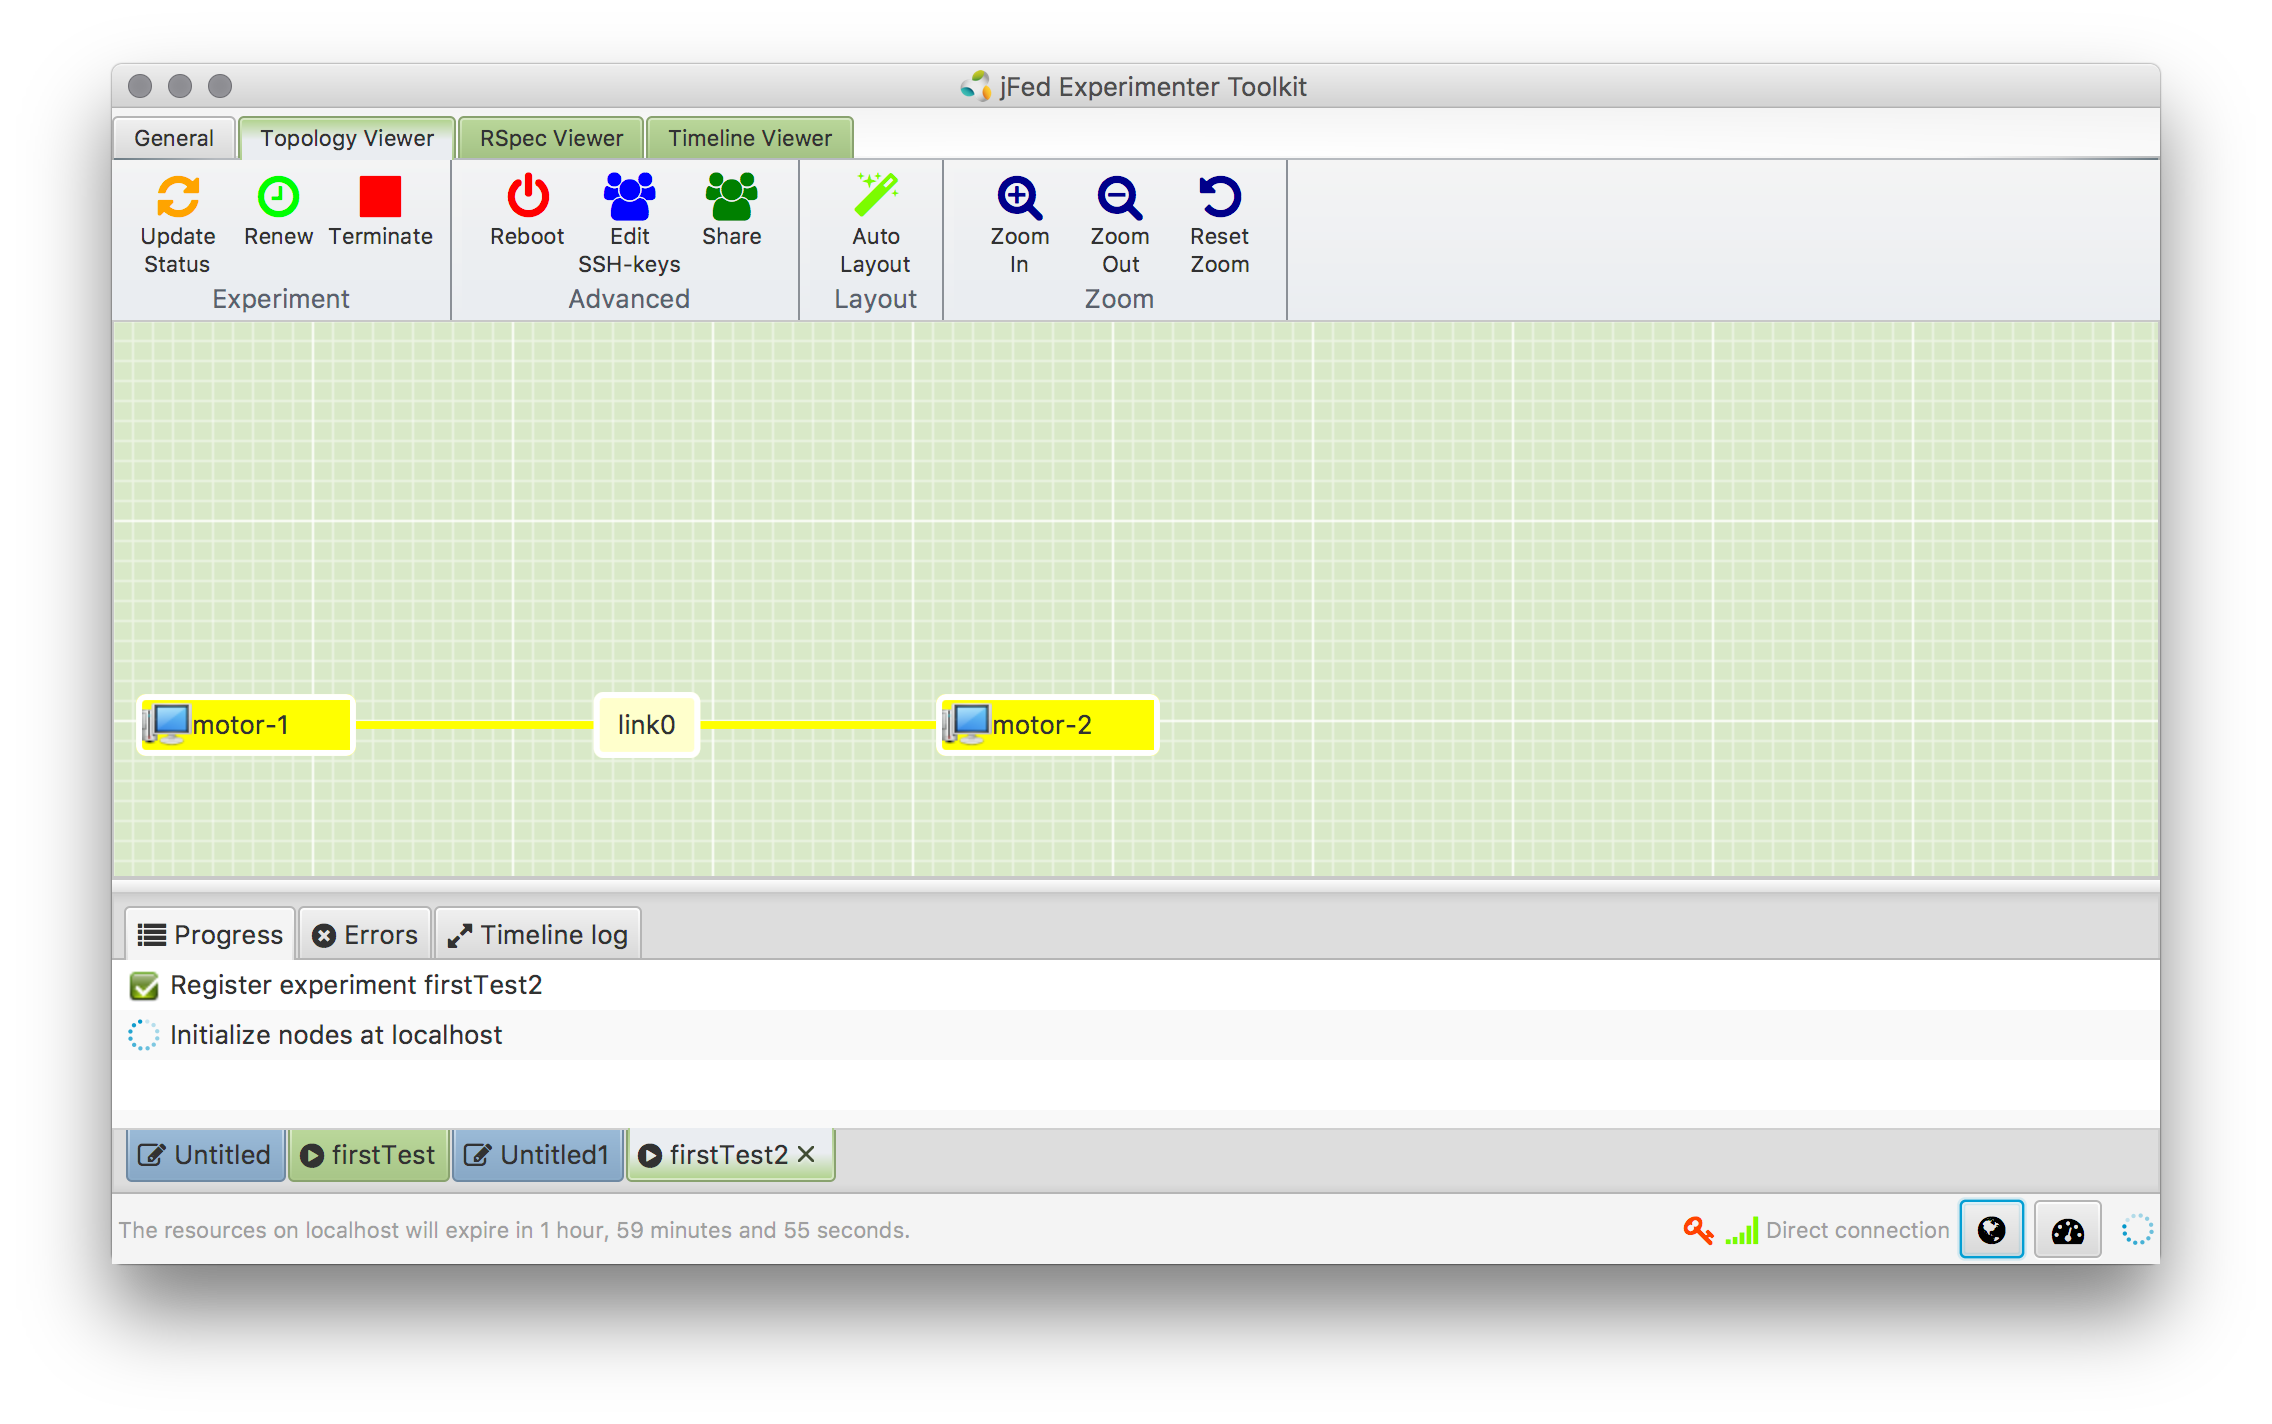

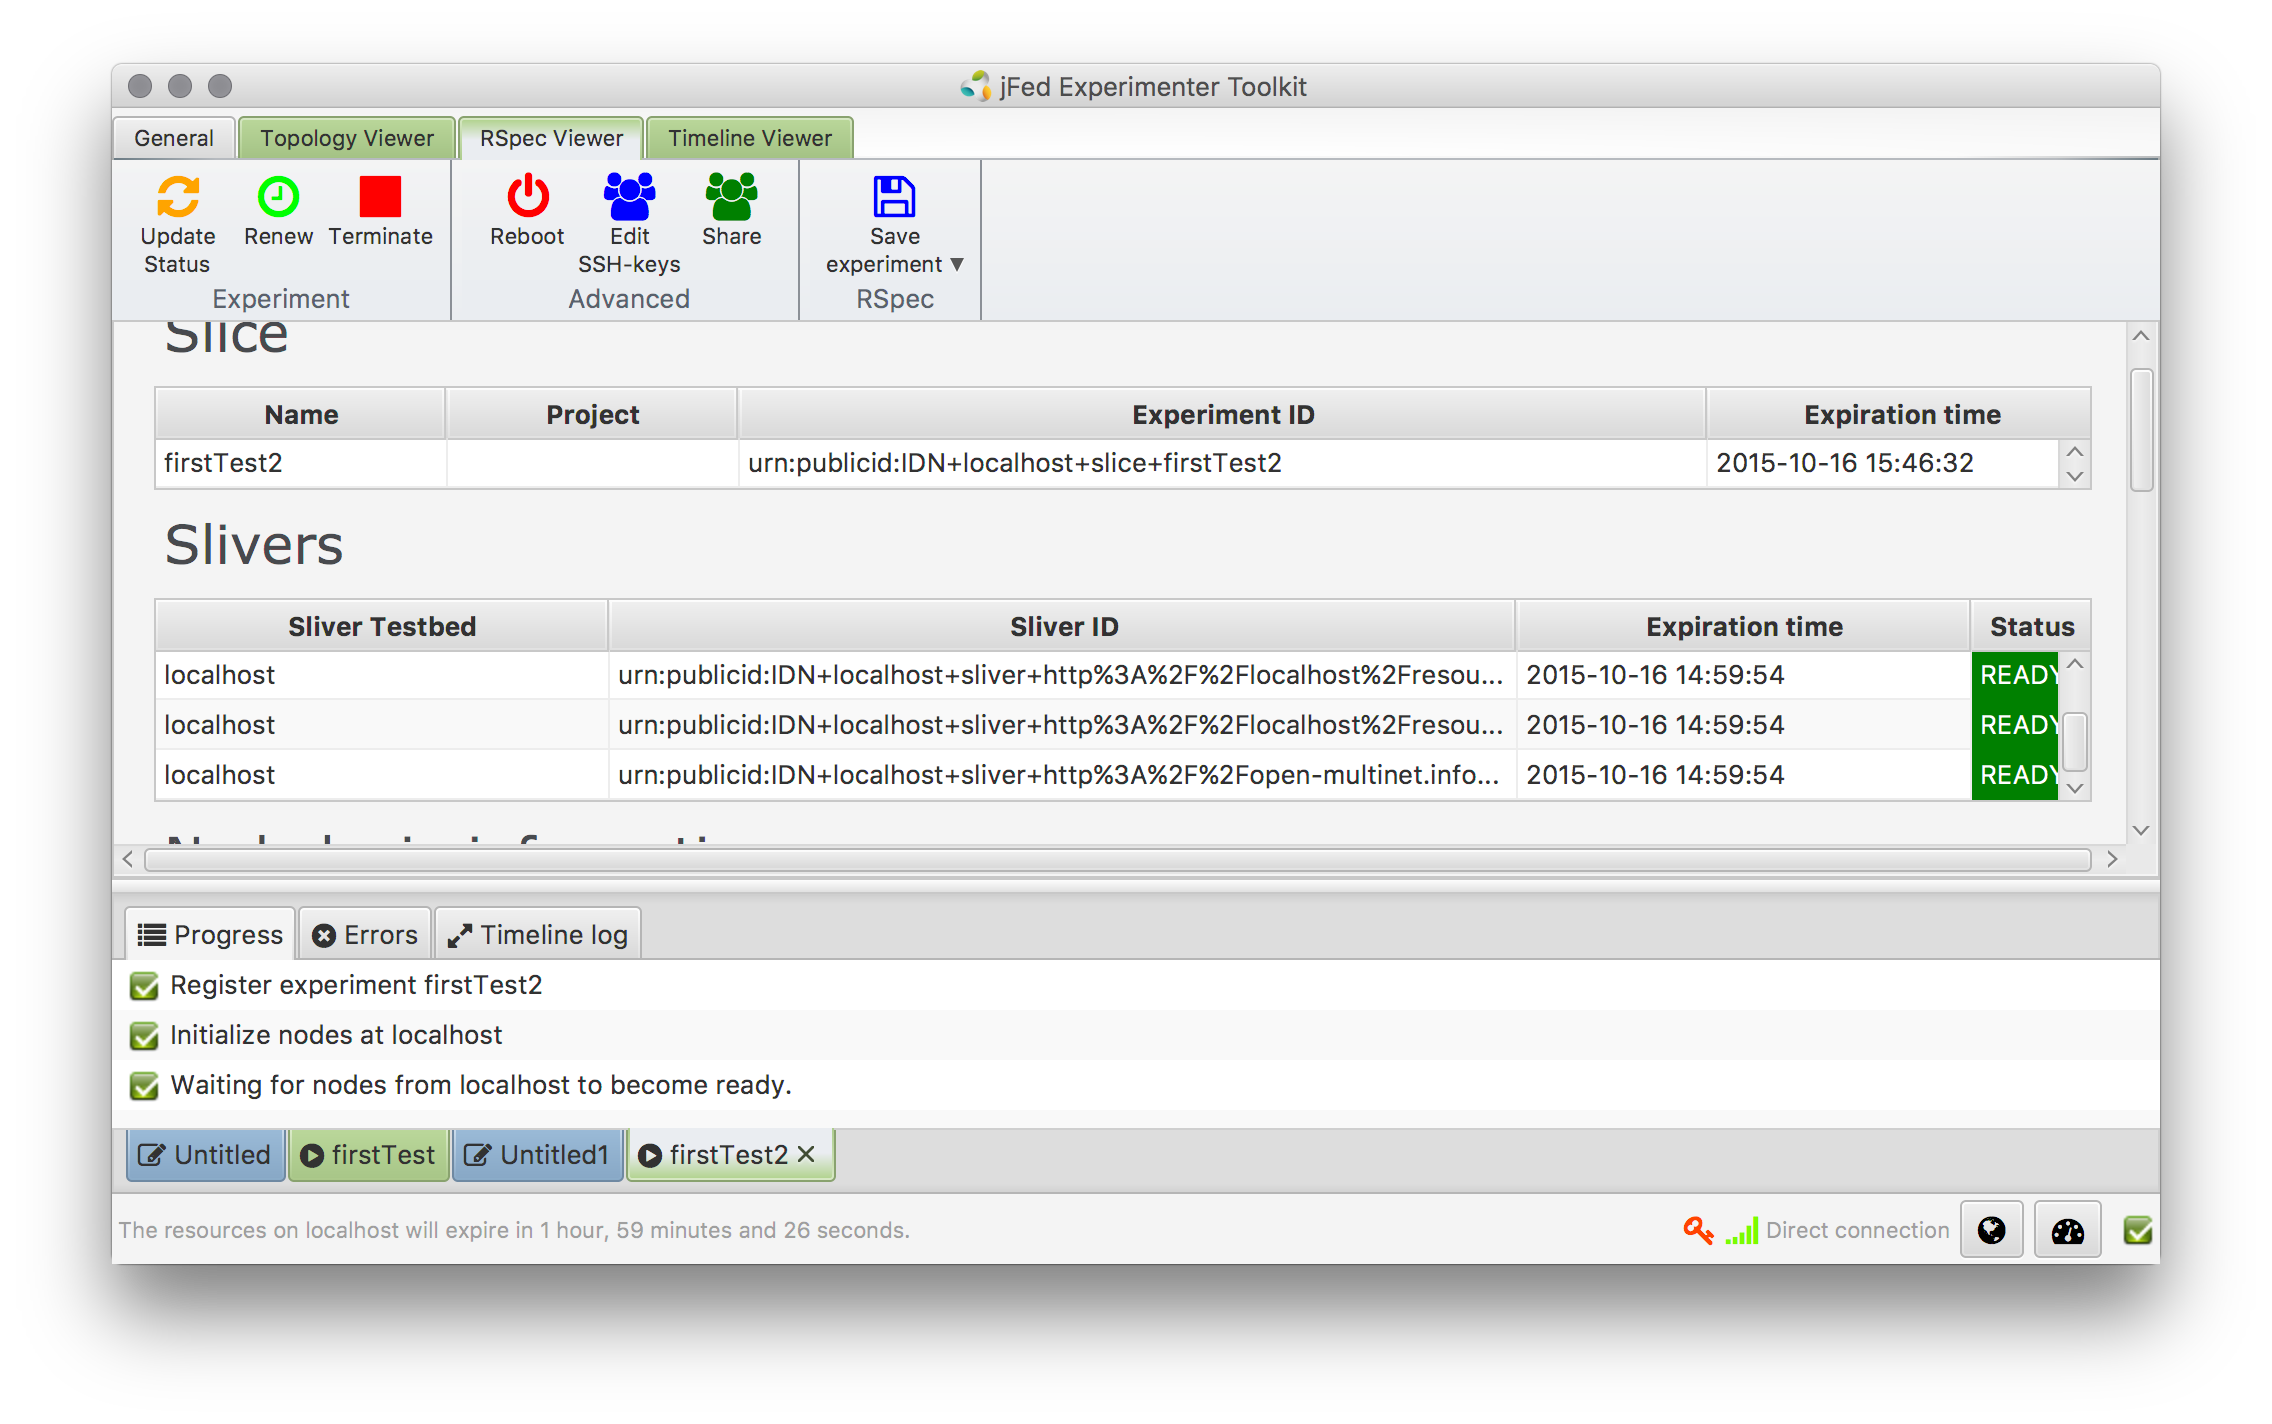
- Now a topology of resources have been provisioned. Depending on the resource, the next phase is the control of the instances. This could be an SSH login to a VM or a managed control of the resources via FRCP or REST. Depending on the additional installed APIs/Delivery Mechanisms, one example would be:
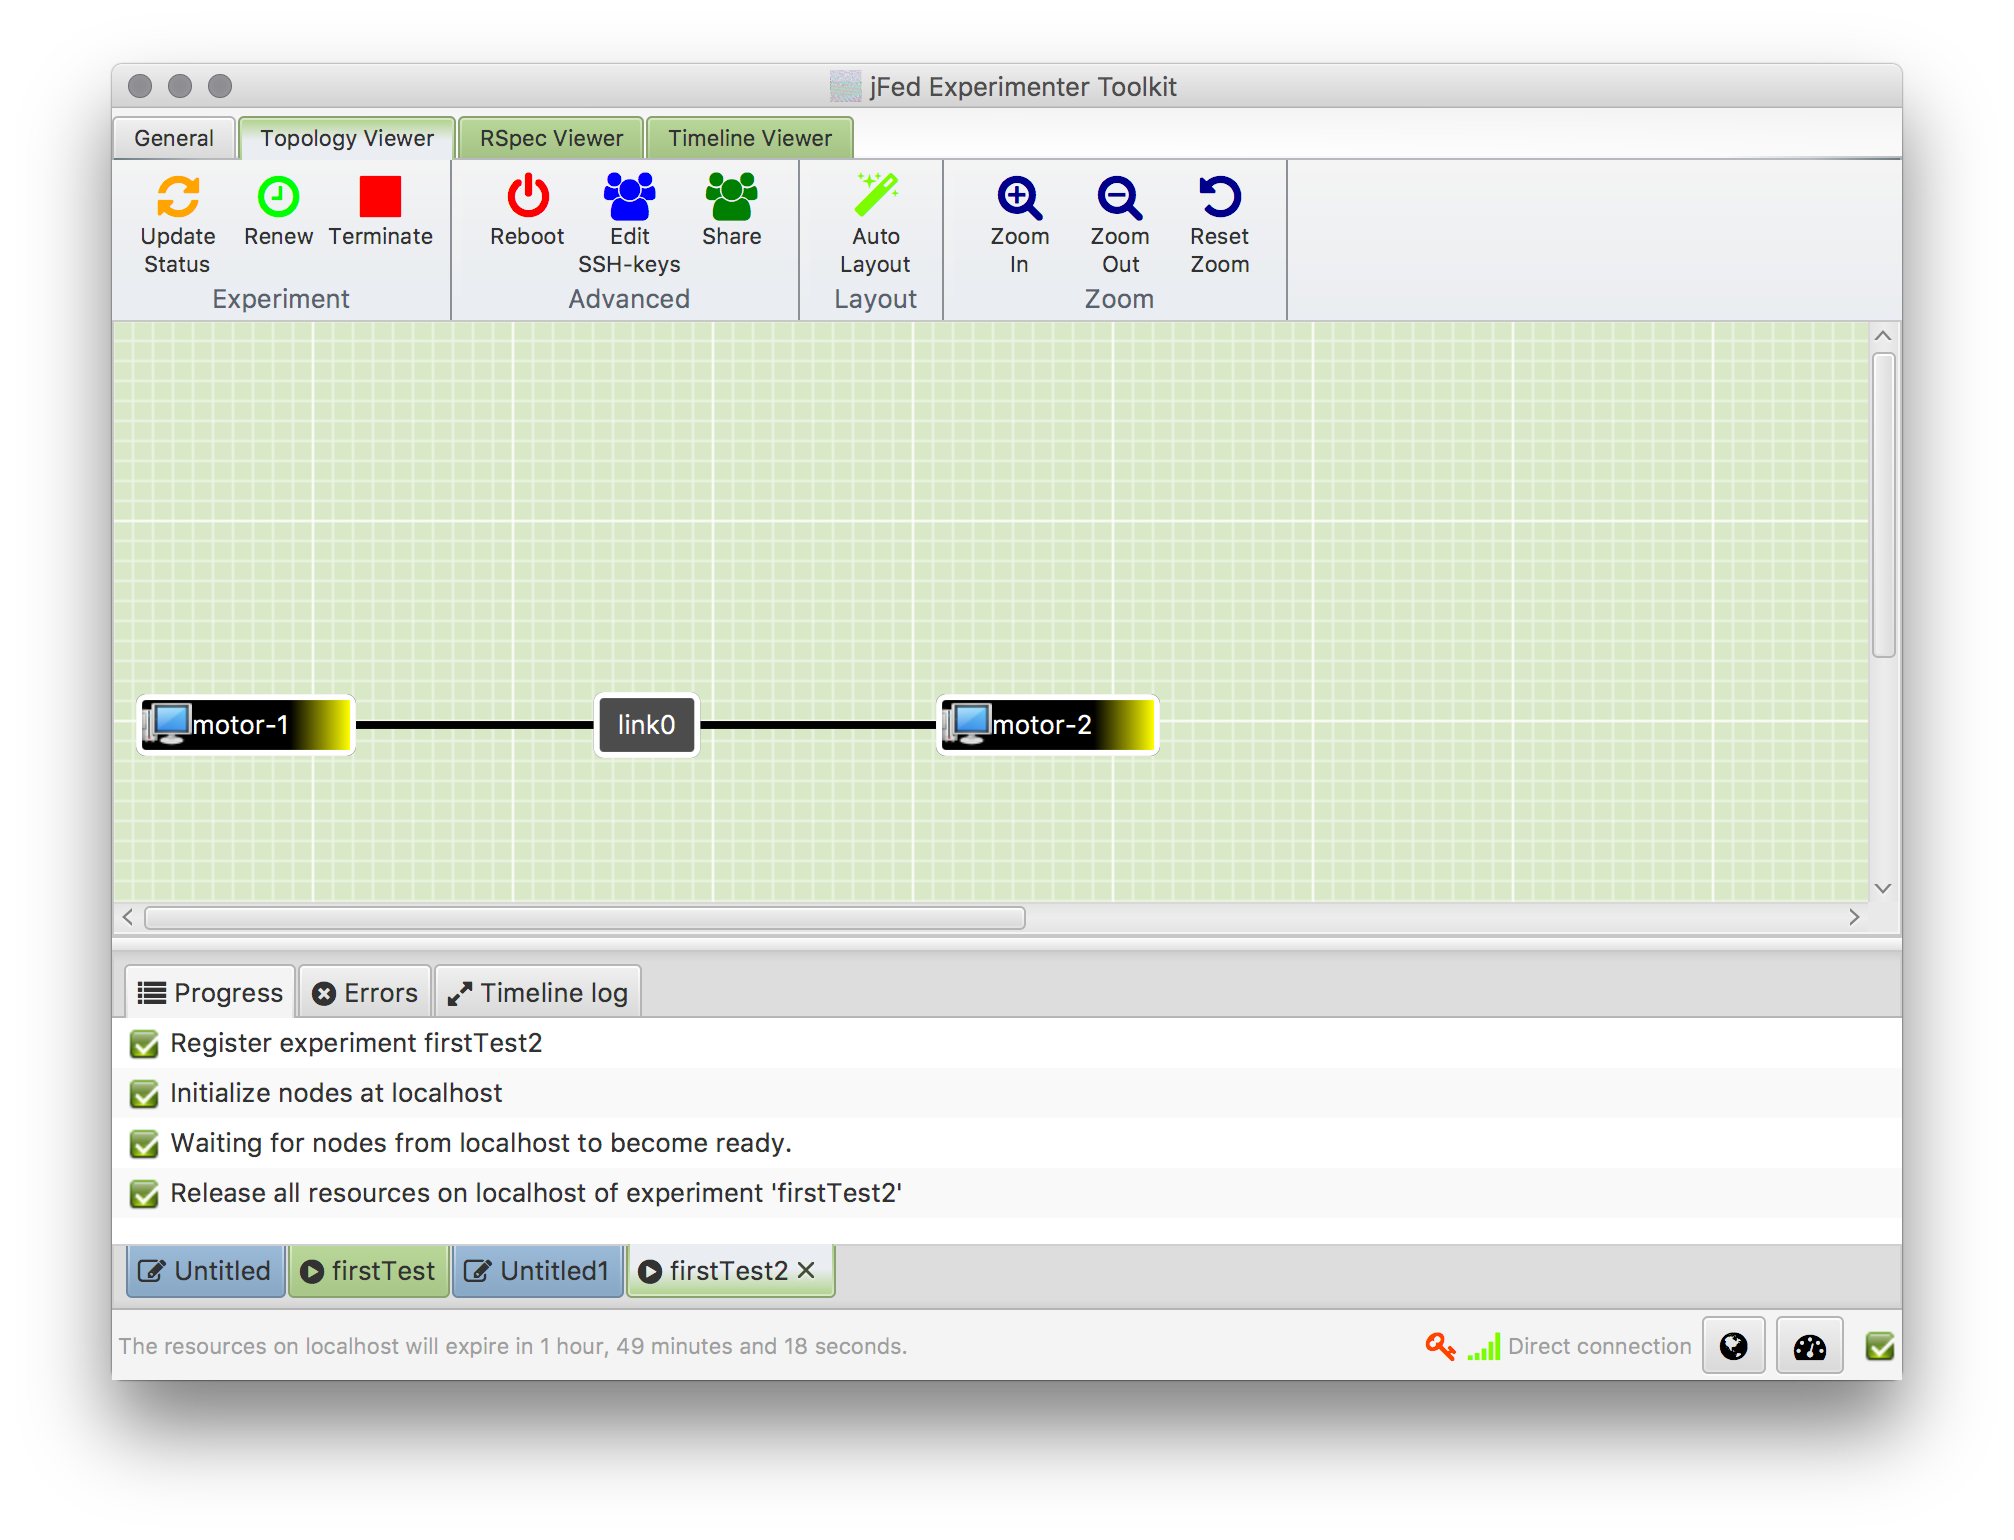
curl -kH "Accept: text/turtle" https://localhost:8443/native/api/resources/MotorGarage-1to get information about the MotorGarage resources. It's also possible to add and change information this way. - Finally, to release the resources again, click on "Terminate" in the GUI. This should look like this:
To create and test a new resource adapter, follow this:
-
Checkout the sources and go to the directory:
git clone https://github.com/fiteagle/adapters/ && cd adapters -
Create new adapter:
./createNewAdapter.sh CoffeeMachine Coffee -
Test that it works:
cd coffee && mvn clean test package -
Deploy the adapter to a running FITeagle instance (or copy the file
target/coffee.warto the proper directory):mvn wildfly:deploy -
Provision and test the resource using the workflow above with the following RSpec:
<?xml version="1.0" encoding="UTF-8"?>
<rspec type="request" xmlns="http://www.geni.net/resources/rspec/3">
  <node client_id="LatteMacchiato"
        component_name="CoffeeMachine-1"
        component_manager_id="urn:publicid:IDN+localhost+authority+cm"
        component_id="urn:publicid:IDN+localhost+node+http%3A%2F%2Flocalhost%2Fresource%2FCoffeeMachine-1+Coffee">
    <sliver_type name="http://open-multinet.info/ontology/resource/coffee#Coffee"/>
  </node>
</rspec>
This should result in: 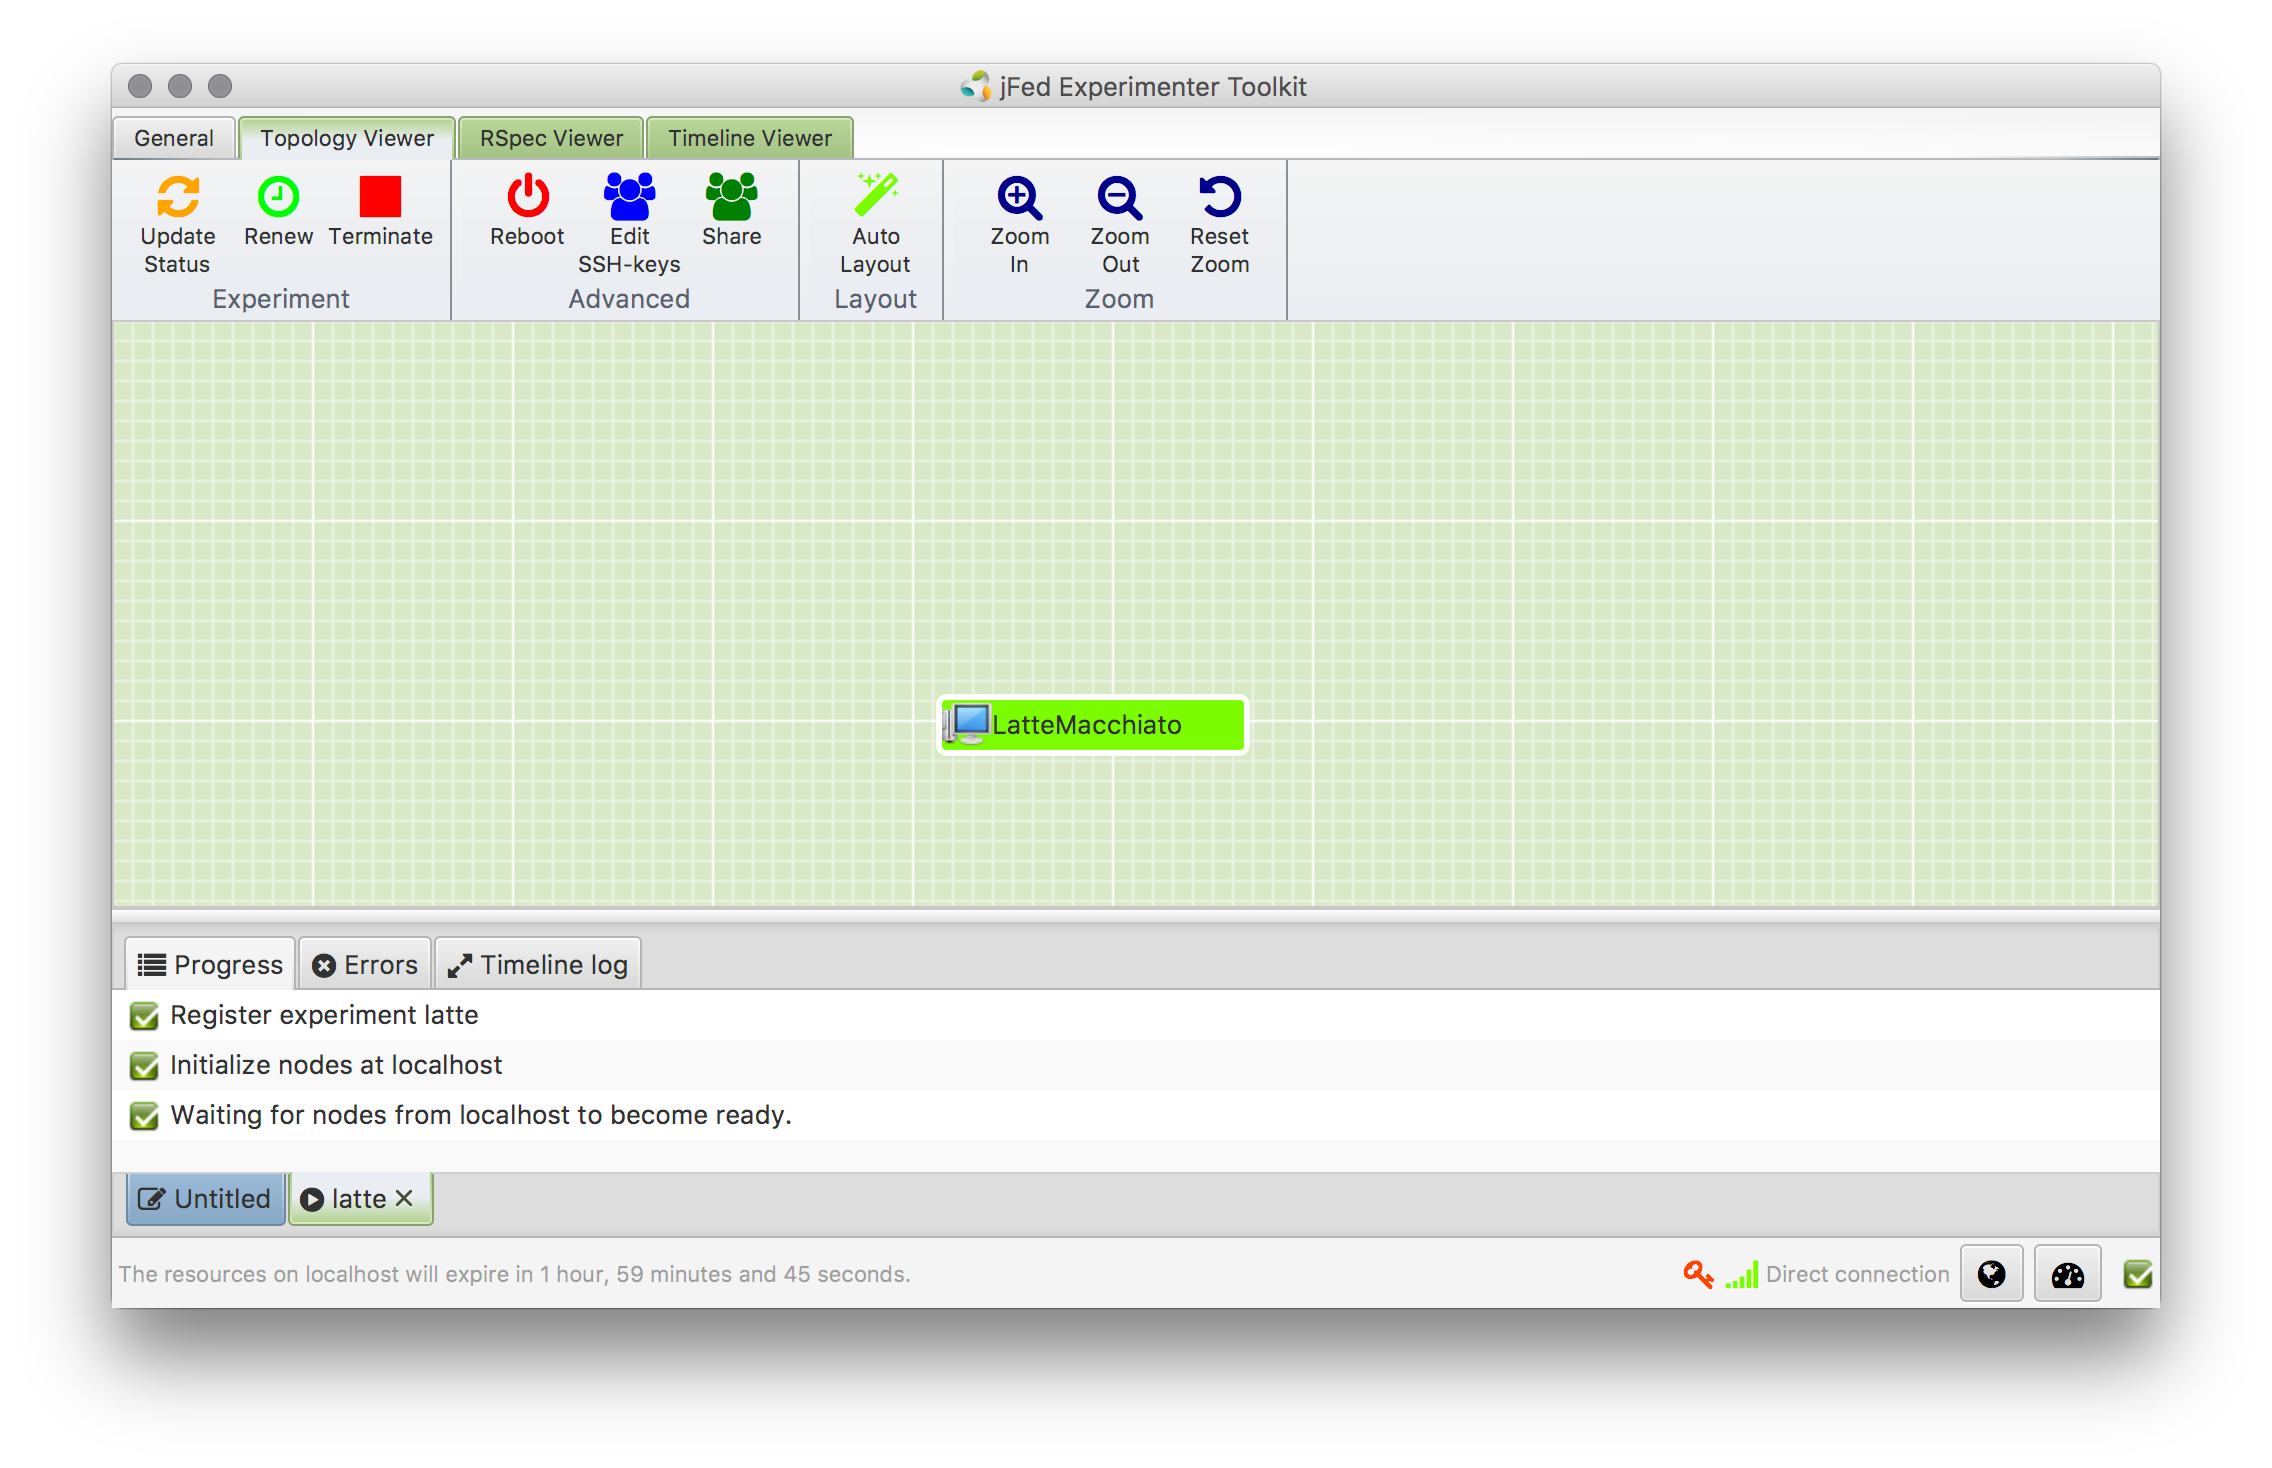
The following directories should have been created (depending on the type of chosen setup, some might be missing):
- adapters: The southbound resource adaption layer.
- api: A lightweight shared API specification for each FITeagle module.
- bootstrap: Everything needed to get everything up and running as quick as possible. E.g., the script you executed above.
- core: The core modules used in FITeagle. E.g., user management, reservations, configuration, authentication, ...
- integration-test: Used for testing purposes, also includes a test certificate
- native: Everything native to FITeagle that does not relate to other standards.
- server: The running WildFly installation, log files, etc.
- sfa: The SFA northbound delivery mechanism.
- tmp: Downloaded binaries and configuration files. Acts also as a cache for the next setup.
For local testing a dummy server certificate had been created. In order to officially join a federation, you have to create a new one:
- Edit the file
bootstrap/bin/createNewServerCert.cfg - Edit the file
bootstrap/bin/createNewServerCert.sh - Execute
bootstrap/bin/createNewServerCert.shusing the passwordjetty6 - Execute
cp ssl.keystore server/wildfly/standalone/configuration/jetty-ssl.keystore) - Restart FITeagle:
./bootstrap/fiteagle.sh restartJ2EE. - Test it by opening https://localhost:8443 and look at the certificate.
- Send the public certificate to the federation operator
For local testing a dummy server certificate had been created. It is located at integration-test/conf/cli.pem and the password is testing1. In order to officially use a federation, you have to create a new by going to the Identity Provider of your federation.
In order to configure which CAs are trusted wrt to user certificates, please have a look at the current list of CAs:
keytool -keystore server/wildfly/standalone/configuration/jetty-ssl.truststore --storepass jetty6 -list
To setup information about the testbed, edit the file ~/.fiteagle/fiteagle.properties and ~/.fiteagle/Federation.ttland change the name spaces to the one that applies to your setup.
Further information about the property files are documented here
A detailed guide on how to integrate new resources / services is shown on on this wiki page.