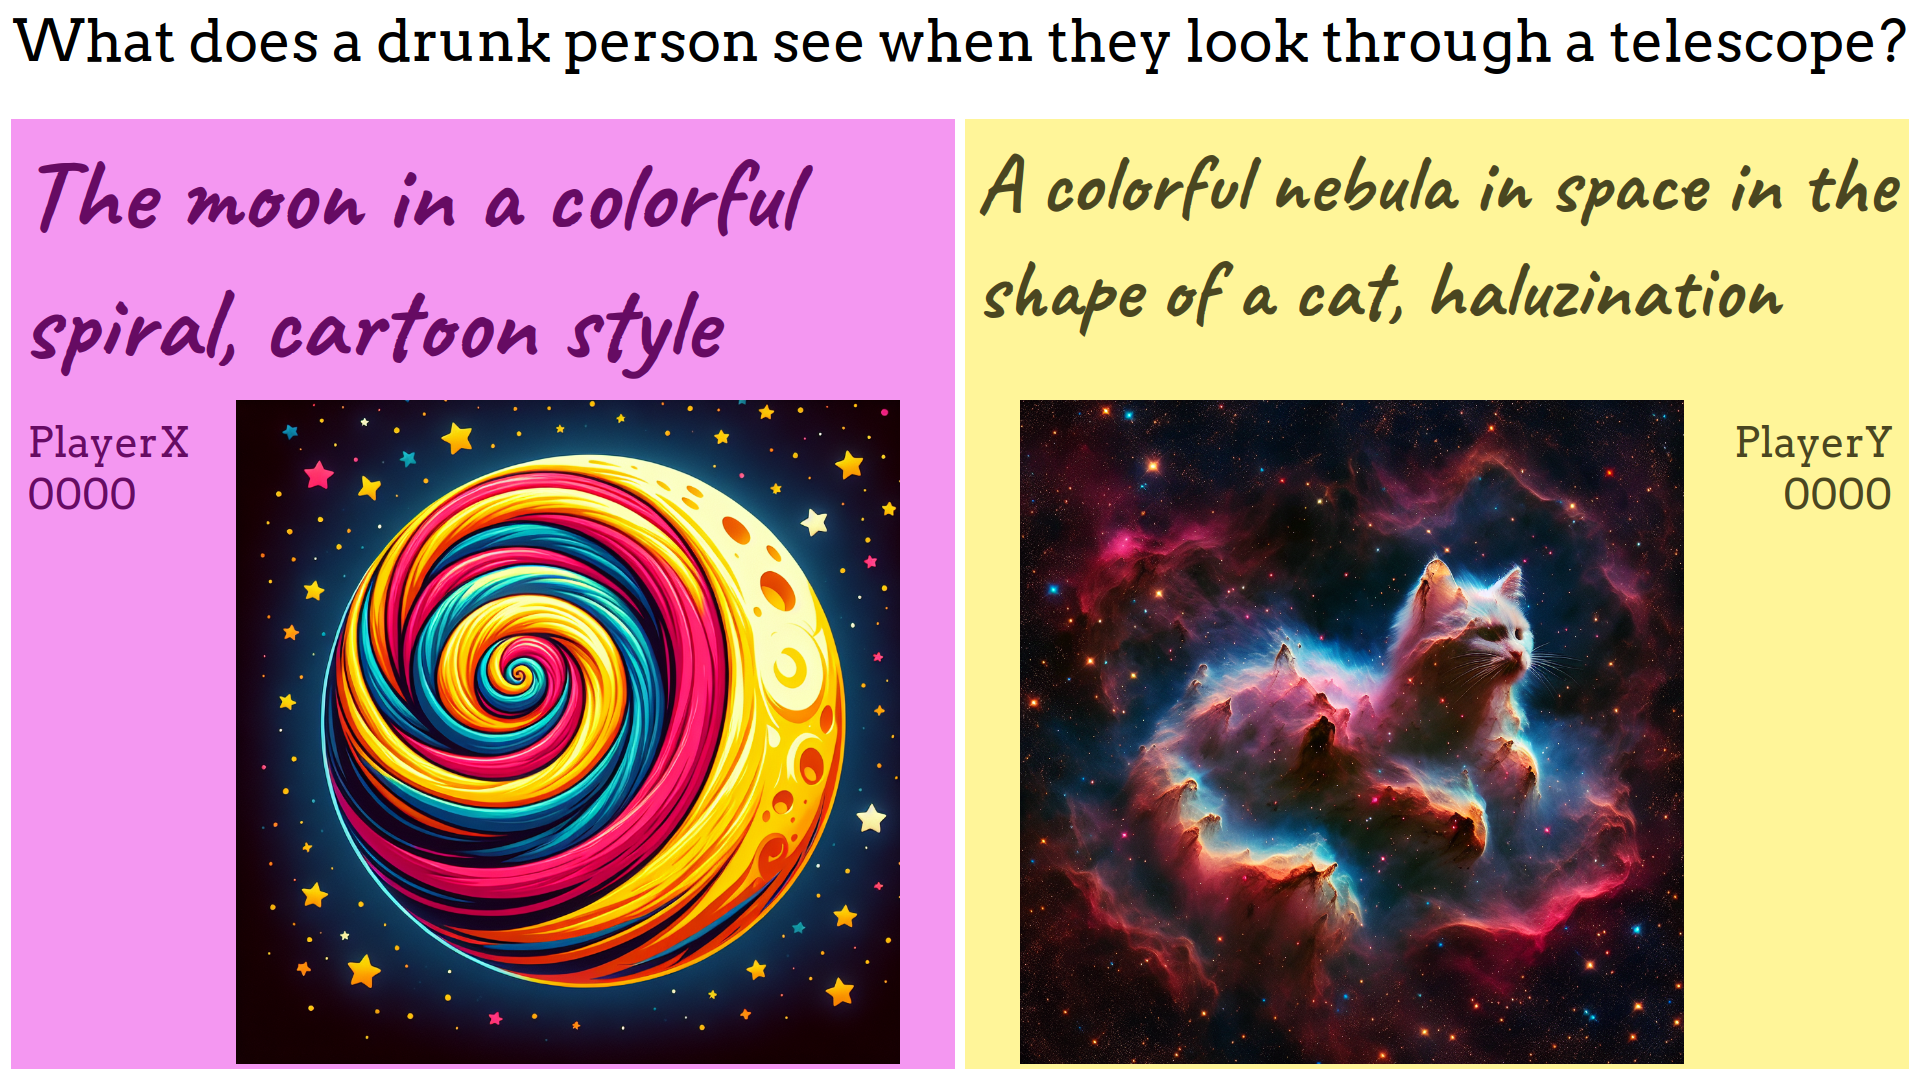
Inspired by Prompt Battle.
A picture is worth more than a thousand words… see for yourself. This is the view that is meant for the audience:
- Create a venv and activate it
$ python -m venv venv $ source venv/bin/activate - Install the requirements from the requirements file
$ pip install -r requirements.txt - Copy the file
example_config.initoconfig.ini - Adapt the values within the file
config.ini
- Identify your local IP address from which the app should be accessible. In the following example, this IP will be
192.168.0.20. - Start the web server
$ cd web $ python3 -m http.server -b 192.168.0.20 3000 - Install the app Phyphox on your smartphone.
- Start the Experiment Applause meter (Applausmeter in German) within Phyphox and enable Allow remote access (Fernzugriff erlauben in German) in the menu (three-dot menu on Android).
- Start the websocket server part. The first argument is the listening IP for the server, and the second argument is the IP of your smartphone (Phyphox shows the IP at the bottom of the screen):
$ python3 server.py 192.168.0.20 192.168.0.42 - Start playing by visiting
http://192.168.0.20:3000in a browser.
The following four pages are available:
/page.html?player=PlayerX- For the first player/page.html?player=PlayerY- For the second player/controller.html- For the game master/summary.html- For the audience/slideshow.html- Useful to show the pictures after the game has finished
Note: In the browser, use the IP address identified in the first step of Run the app and do not use localhost or 127.0.0.1.
Here are some steps you need to consider when setting up your game show.
- Prepare a set of tasks for the player and add them to the collection in
web/controller.html. - Obtain your OpenAI key and enter it in the
config.inifile. Do not forget to setproduction = true. - Optimally, provide each player with their own device to enter the prompt.
- Generated images are stored under
web/images. The prompt used to generate each image can be retrieved withexiftool [image].
The set of tools used for development, code formatting, style checking, and testing can be installed with the following command:
python3 -m pip install -r requirements-dev.txtAll tools can be executed manually with the following commands and report errors if encountered:
black .
flake8
A black and flake8 check of modified files before any commit can also be forced using Git's pre-commit hook functionality:
pre-commit installMore information on the black and flake8 setup can be found at https://ljvmiranda921.github.io/notebook/2018/06/21/precommits-using-black-and-flake8/
Thanks to KonWol for testing, testing, adding features and discussing the game during its development. Due to a fresh Git history, his additions prior to the cut are not attributed to him.

