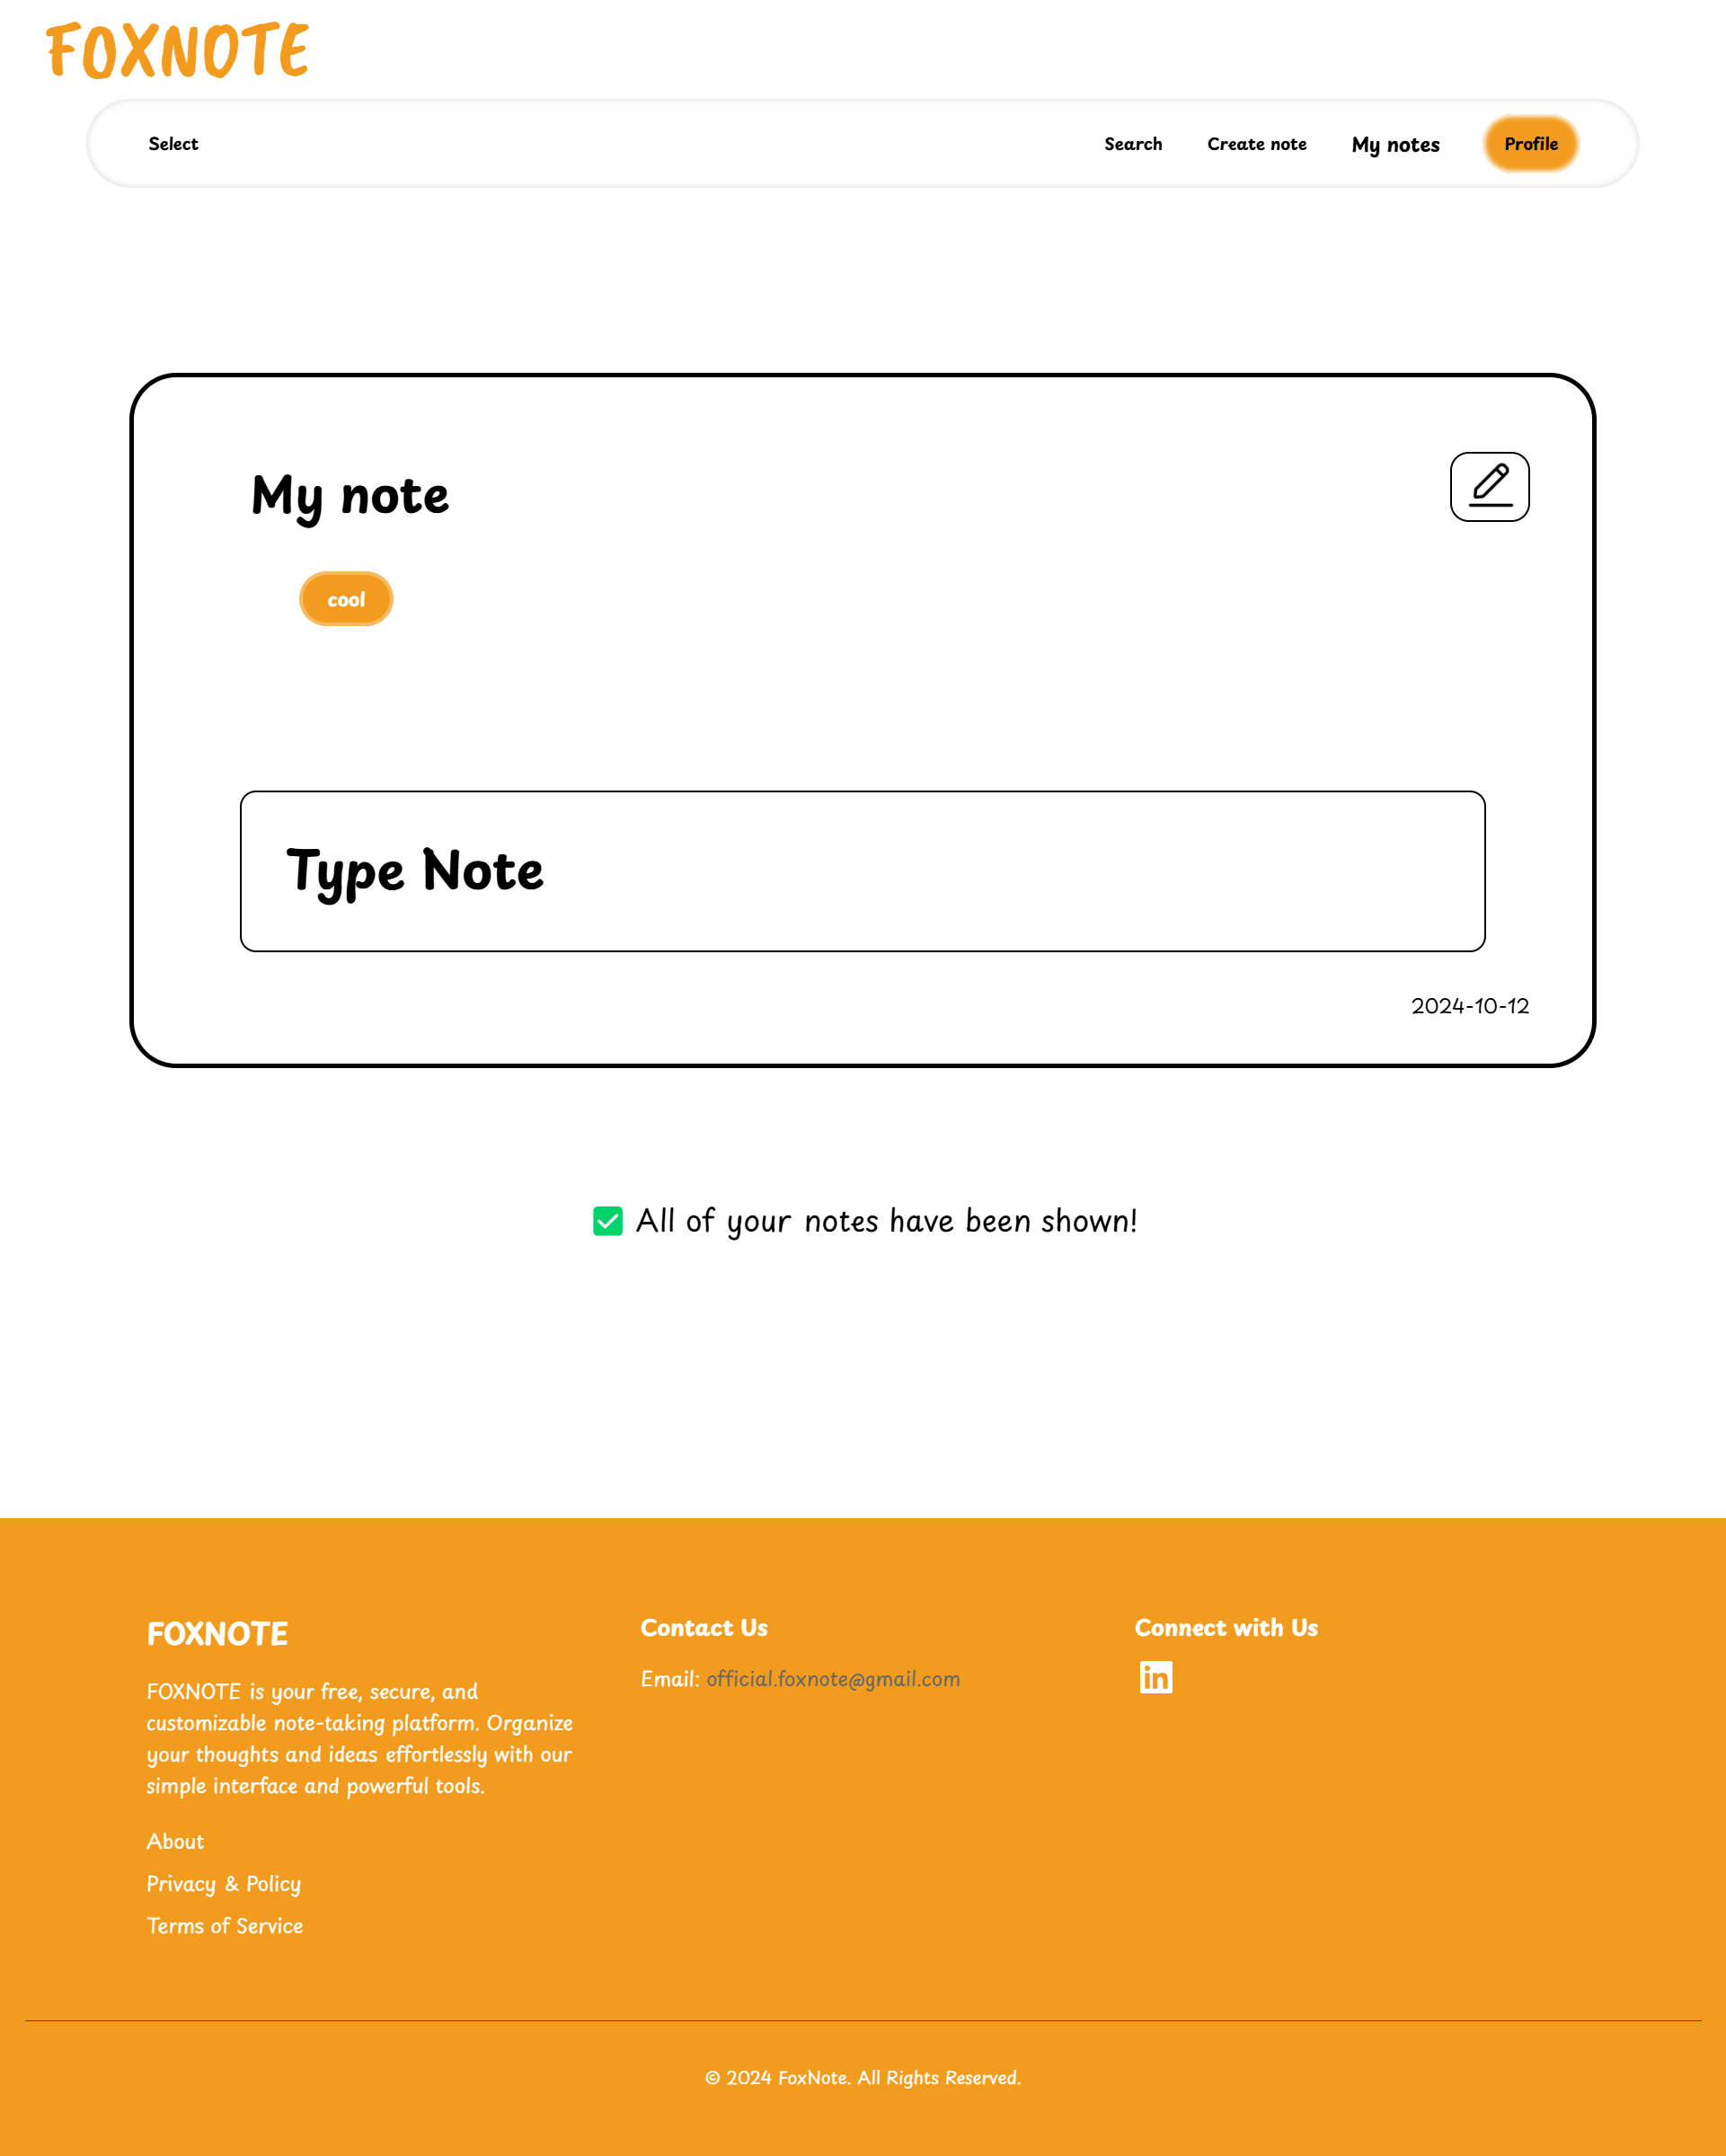
FOXNOTE is a web application designed for efficient note-taking and organization you can see it live by clicking this link.
The application provides an intuitive design that enhances user experience.
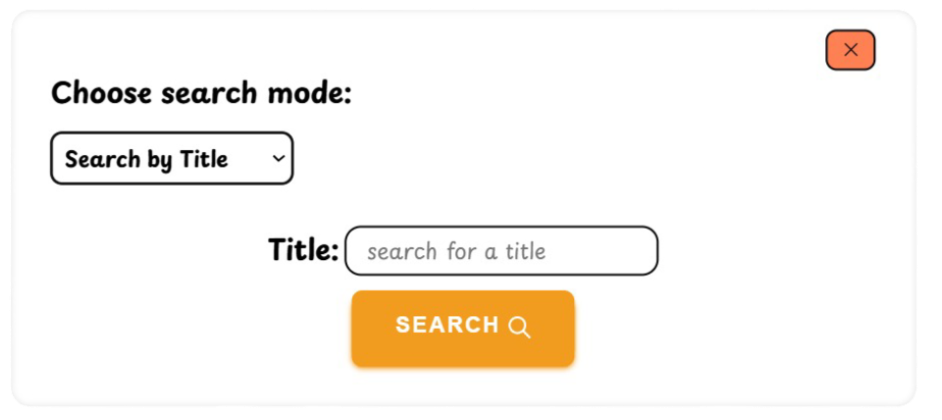
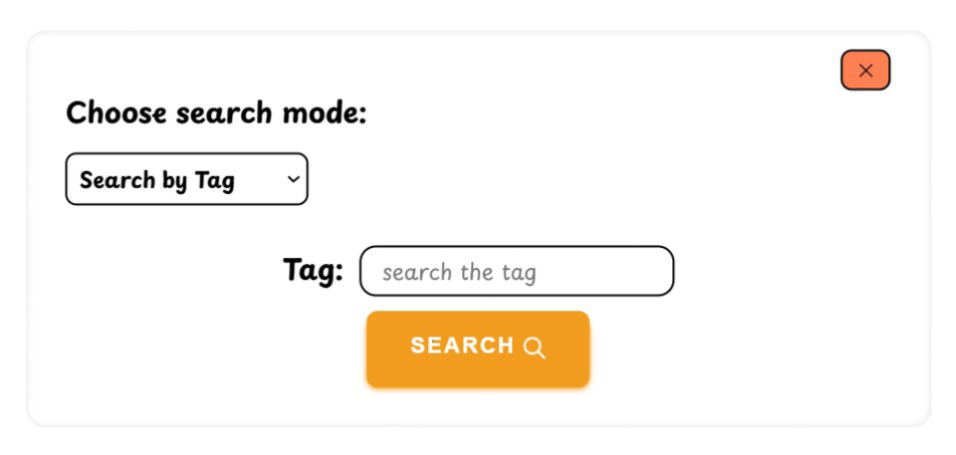
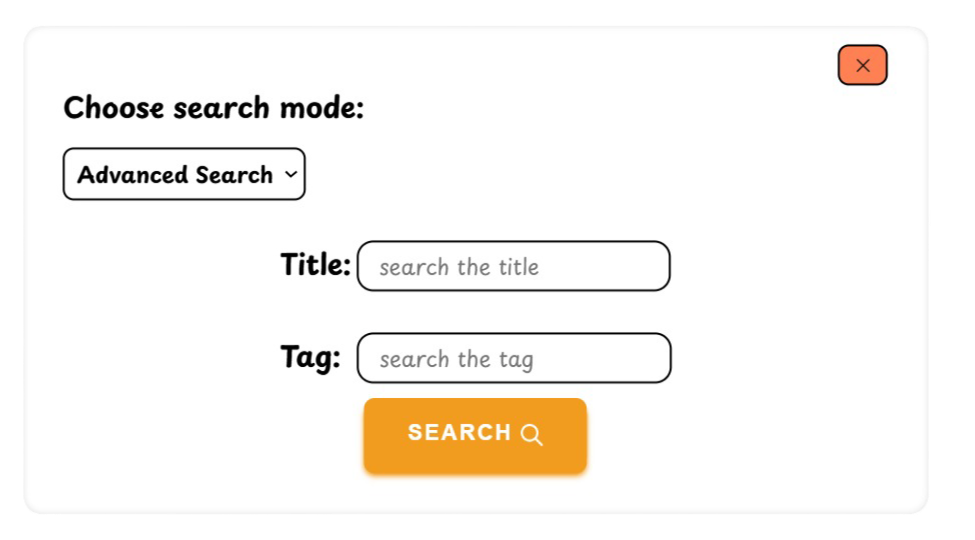
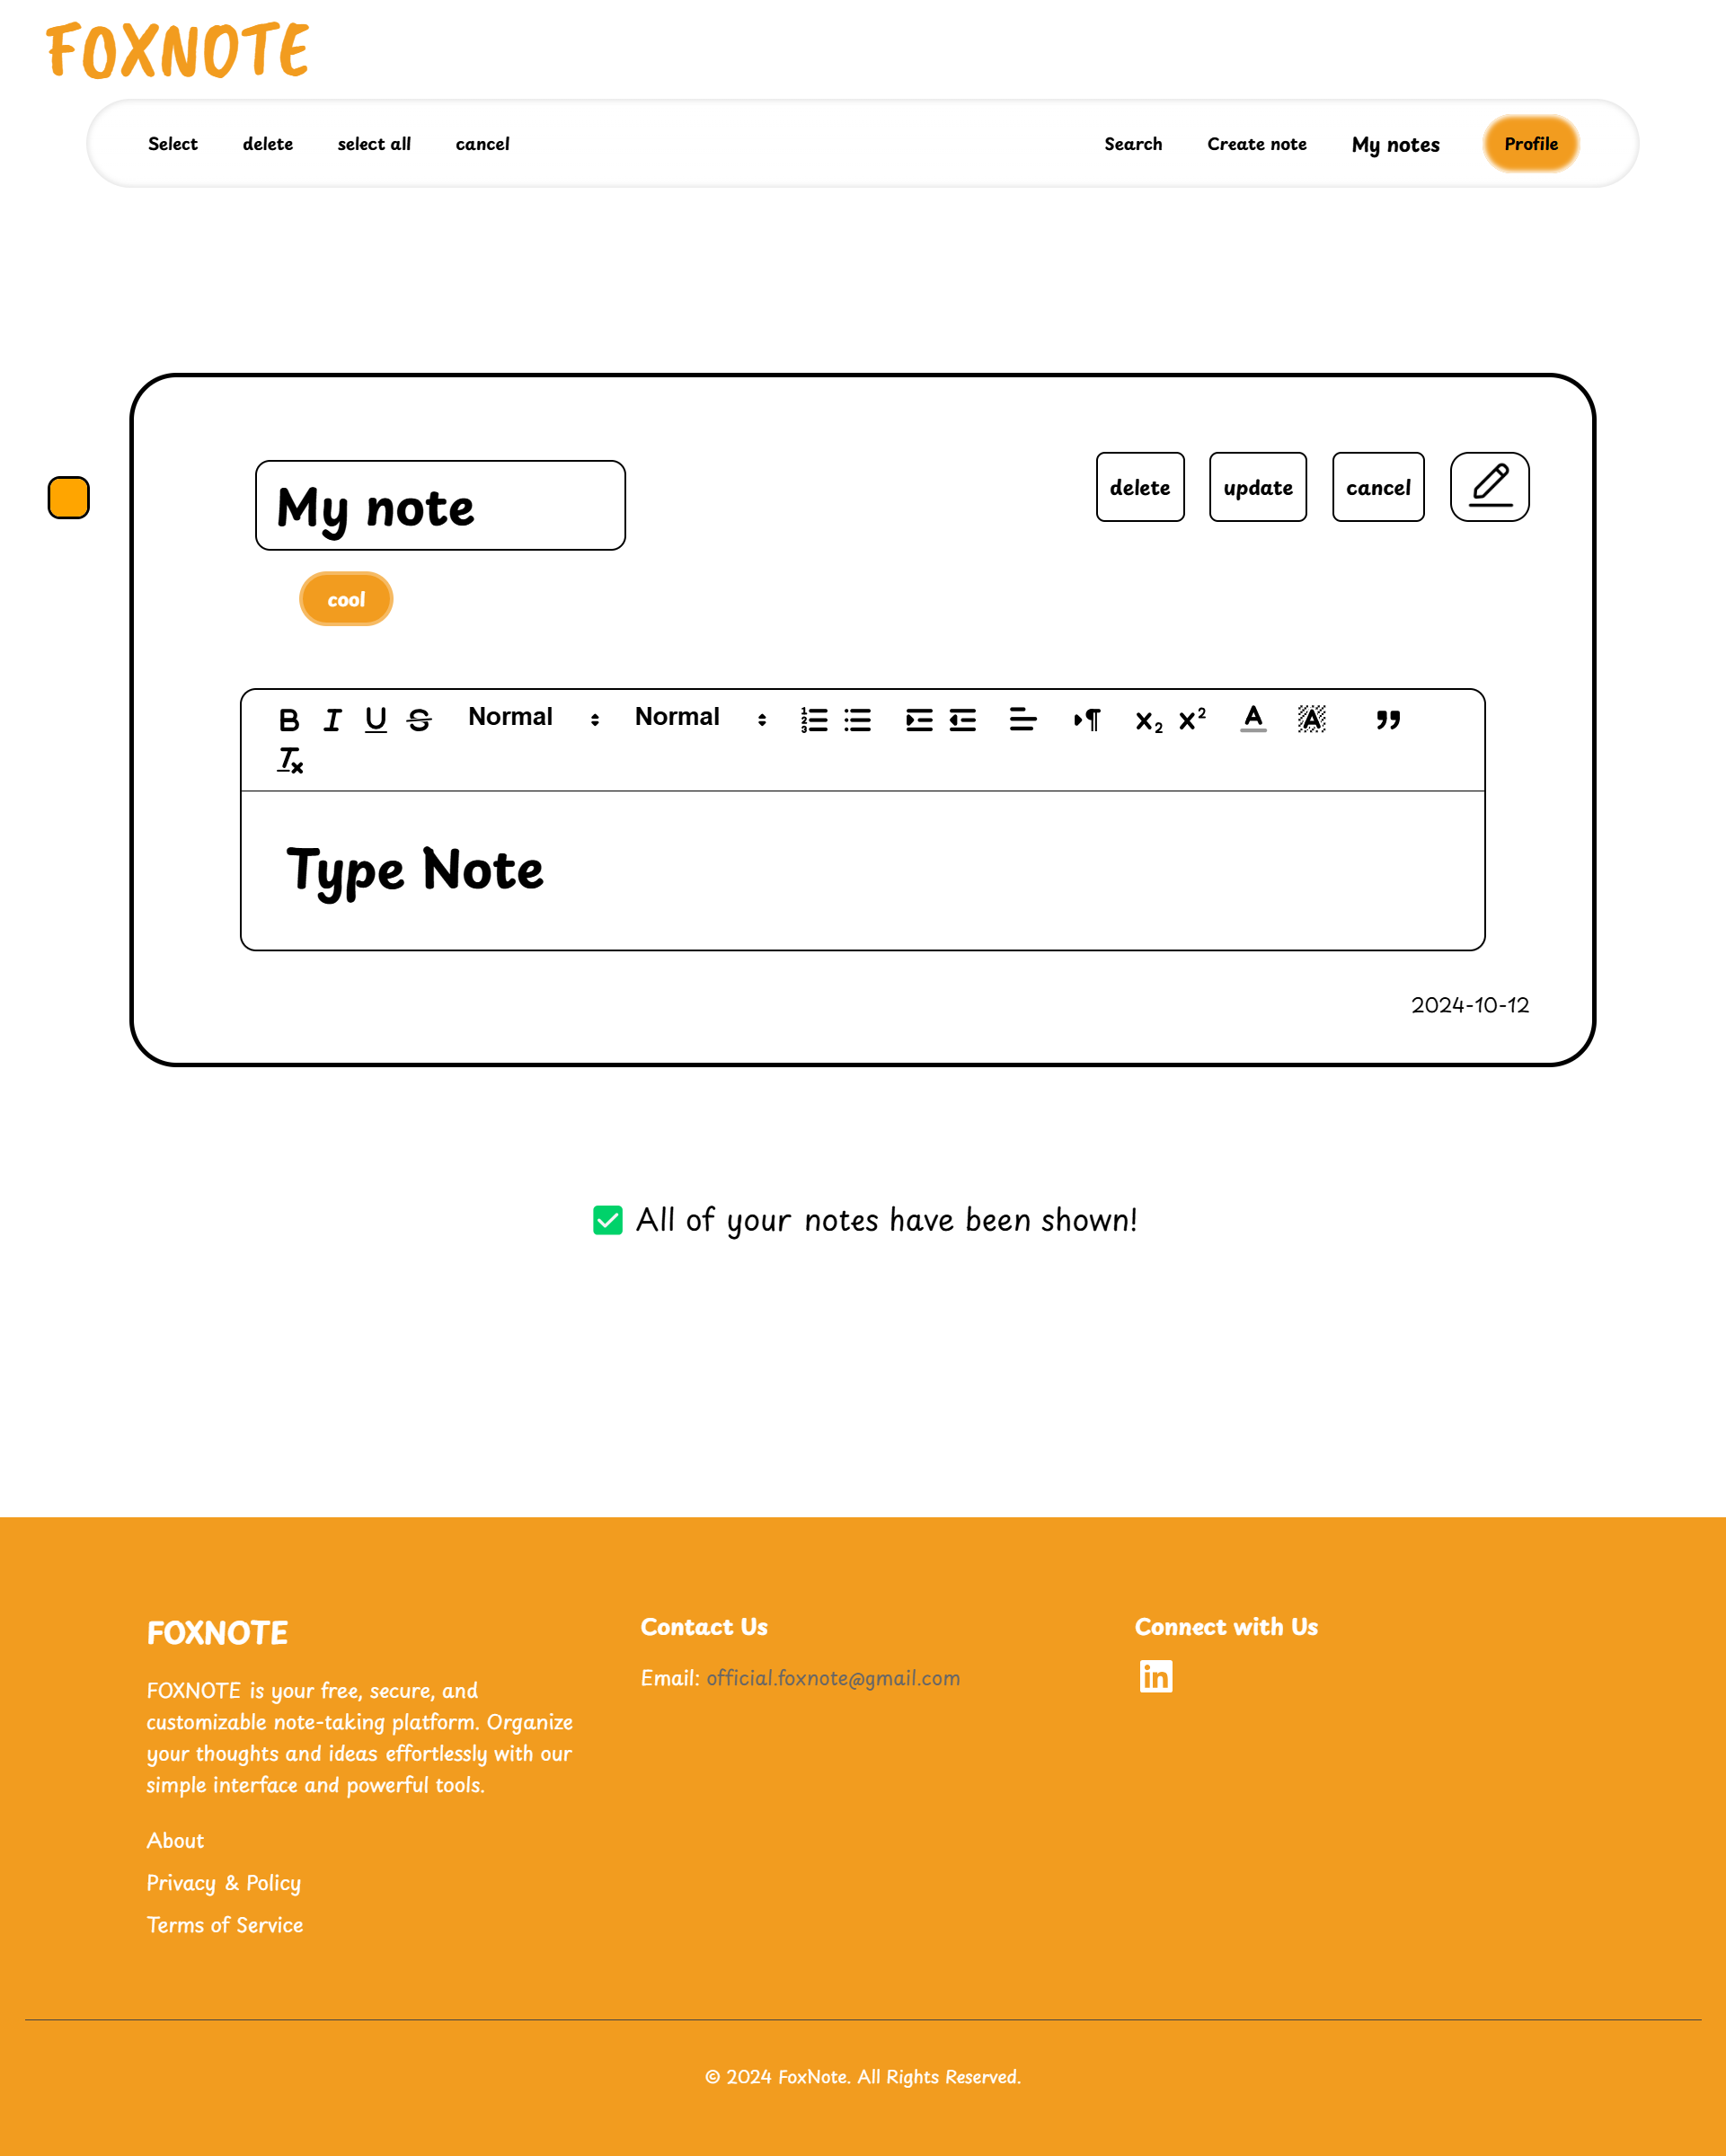
- Search Functionality
Quickly find notes with our efficient search feature.
- Text Customization
Personalize your notes with various formatting options, thanks to Quilljs
- Organize your note
Easily organize your notes.
No matter how many notes you create, you'll always have a clear overview of your data, helping you stay productive and efficient.
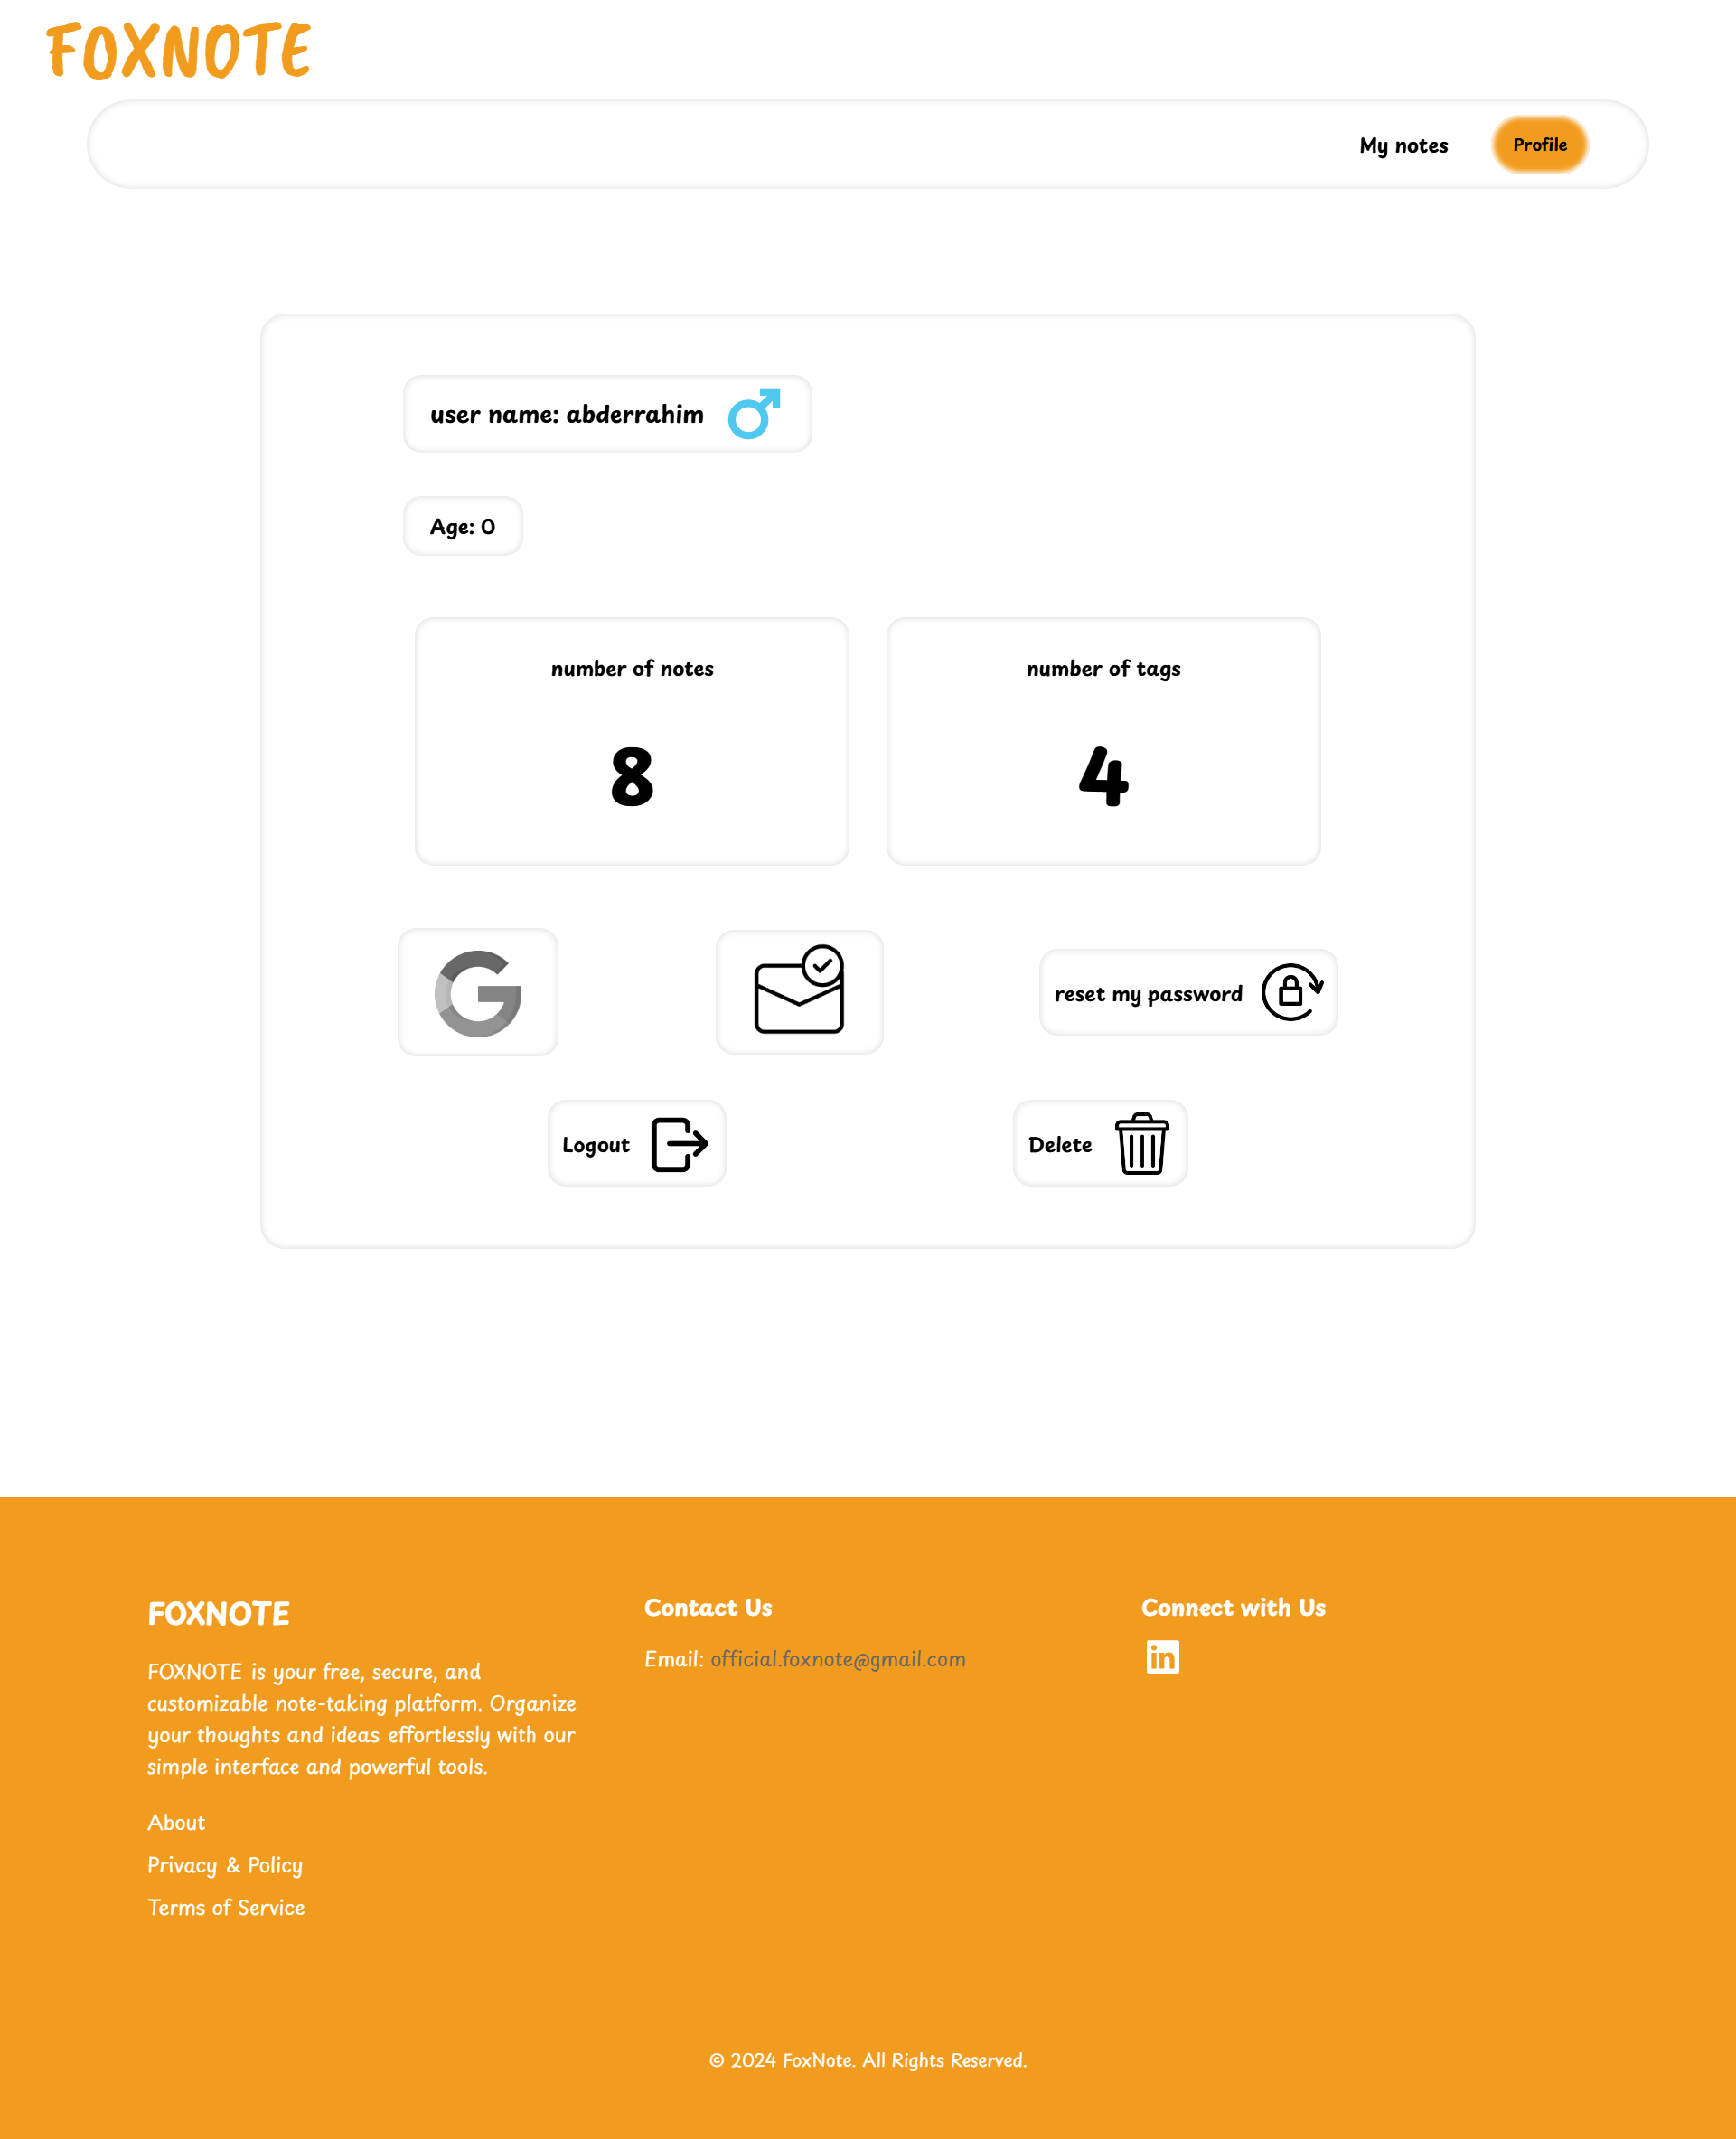
- Profile Management
Users can manage their profiles effectively. In the Profile Management section, users can:
- View their personal information.
- See the number of notes and tags they have created.
- Change their passwords for enhanced security.
- Link their profiles with Google for third-party authentication.
- Delete their profiles if they choose to do so.
This feature ensures users have control over their data and security within the application.
- Django framework, django-allauth
- MySQL
- HTML
- CSS
- JavaScript, Quilljs
- AJAX, RESTful APIs
To run FOXNOTE locally, follow these steps:
First, you need to have Python 3.8 or above and also have pip and have the MySQL server installed on your machine.
- Clone the repository: In terminal:
git clone  https://github.com/abdrrahim2002/FOXNOTE-PROJECT.git
cd FOXNOTE-PROJECT
2.Create and activate a virtual environment: First install the virtualenv if you havent yet using:
pip install virtualenv
Then create you virtual envirment.
virtualenv venv
Then start your virtual envirement:
source venv/bin/activate
Then navigatr to the project root file:
cd fox_note
Install the required dependencies:
pip install -r requirements.txt
Create a MySQL database, in other terminal Log in to MySQL and run the following command to create a database:
CREATE DATABASE foxnote_db;
Configure the environment variables in the .env file in the project root and fill it with the necessary variables.
Secret Key Configuration Instructions
Django secret key is essential for your application's security, used for cryptographic signing and various security-related functions. By default, a random secret key is automatically generated for your application. However, you also have the option to define your own secret key in the .env file.
-
Default Behavior
- When you run your application, if the
DJANGO_SECRET_KEYenvironment variable is not set in your.envfile, Django will generate a new random secret key automatically. - This behavior is convenient during development, but it is not recommended for production, as the secret key should remain constant.
- When you run your application, if the
-
Custom Secret Key Setup
-
Generate Your Own Secret Key:
- If you prefer to use your own secret key, you can generate a secure key using the following Python commands in a Python shell:
from django.core.management.utils import get_random_secret_key
print(get_random_secret_key())
- This will output a secure random secret key. Copy this key for the next step.
- If you prefer to use your own secret key, you can generate a secure key using the following Python commands in a Python shell:
-
Update the
.envFile:- Open your
.envfile and set theDJANGO_SECRET_KEYvariable with your generated key:# Secret key DJANGO_SECRET_KEY=your-generated-secret-key - Replace
your-generated-secret-keywith the actual key you copied.
- Open your
-
Important Notes
- Keep It Secret: Ensure that your secret key is kept confidential. Do not share it publicly or commit it to version control.
- Production Environment: Always set the
DJANGO_SECRET_KEYin your production environment to maintain consistent application behavior and security. - Regenerate When Necessary: If your secret key is exposed, regenerate it and update your
.envfile immediately to ensure the security of your application.
Database Configuration Instructions
To set up your database for the Django project, you'll need to fill in the database configuration fields in your .env file. Follow these steps:
-
DB_NAME:
- This is the name of your database. Choose a meaningful name for your project.
-
DB_USER:
- This is the username used to access the database. This user should have the necessary permissions to create and modify the database.
-
DB_PASSWORD:
- This is the password for the database user specified in
DB_USER.
- DB_HOST:
- This is the host where your database is located. If you are using a local MySQL server, you can use
localhost. If your database is hosted on a different server, enter the appropriate hostname or IP address.
- This is the host where your database is located. If you are using a local MySQL server, you can use
Email Configuration Instructions:
To enable email verification for user accounts, you'll need to configure the email settings in your .env file. Follow these steps to fill in the necessary fields:
-
EMAIL_HOST_USER:
- This is the email address you want to use to send verification messages. It should be the same email account that you will configure for SMTP access.
- Example:
-
EMAIL_HOST_PASSWORD:
- This is the password for the email account you specified in
EMAIL_HOST_USER. - Important: In this project I am using the Gmail, so you need to create an app-specific password instead of using your regular email password. To do this:
- Go to your Google Account settings.
- Navigate to Security.
- Under Signing in to Google, find App passwords and follow the prompts to generate a password for your application.
- Example:
EMAIL_HOST_PASSWORD=your-app-specific-password
- This is the password for the email account you specified in
-
DEFAULT_FROM_EMAIL:
- This is the email address that will appear in the "From" field when users receive emails. It can be the same as
EMAIL_HOST_USERor another email address. - Example:
- This is the email address that will appear in the "From" field when users receive emails. It can be the same as
Run the migrations create the database structure by running:
python manage.py makemigrations
And then :
python manage.py migrate
Create a superuser, you’ll need an admin account to log in to the Django admin panel. Create a superuser by running and fill the necissety fields:
python manage.py createsuperuser
Start the development server: Run the Django development server:
python manage.py runserver
First, you need to create your API in the Google Cloud Console. Then, follow these steps:
-
In the Django administration, go to Sites and edit your domain name, then hit Save.
-
Next, navigate to Social Applications and create your Google app for third-party authentication:
- Set the Provider to 'Google'.
- Give your app a name.
- Enter your Google app API credentials:
- Client ID: Obtained from creating the Google API authentication app.
- Secret Key: Also obtained from the Google API credentials.
-
Finally, scroll down to the Sites section, move your site from the Available Sites to Chosen Sites, and hit Save.
And that’s it! You’re done configuring Google Authentication.
If you prefer not to use MySQL and want to use SQLite instead, you can follow these steps:
- Remove or Comment Out the database configuration fields in your
.envfile. - Update Your
settings.pyOpen yoursettings.pyfile and replace the database settings with the following configuration for SQLite:
DATABASES = {
    'default': {
        'ENGINE': 'django.db.backends.sqlite3',
        'NAME': BASE_DIR / "db.sqlite3",  # This will create a SQLite database file in your project directory
    }
}
- The current version of is not fully optimized for phone screens. I am aware of this issue and plan to work on improving the mobile responsiveness in future updates.
- I plan to add a Todo section or app to enhance the functionality of FOXNOTE, making it even more versatile for users.
Thank you for taking the time to explore FOXNOTE! Your feedback and contributions are always welcome as I continue to improve this project.
