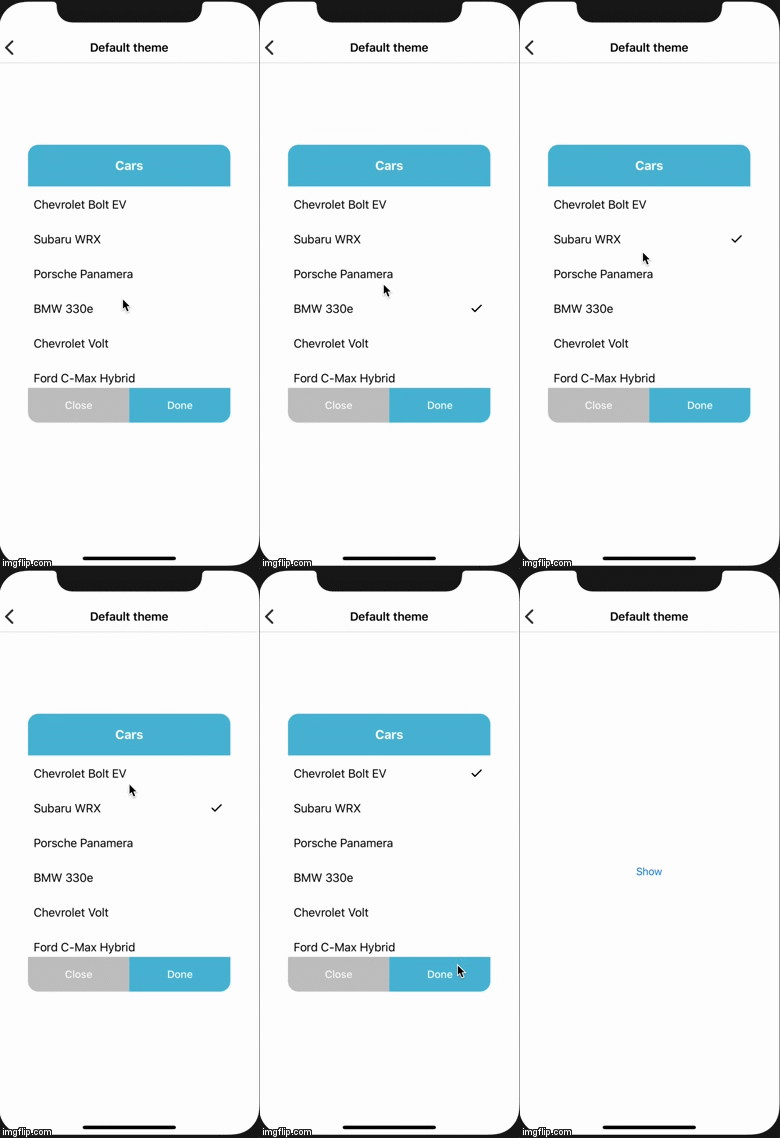
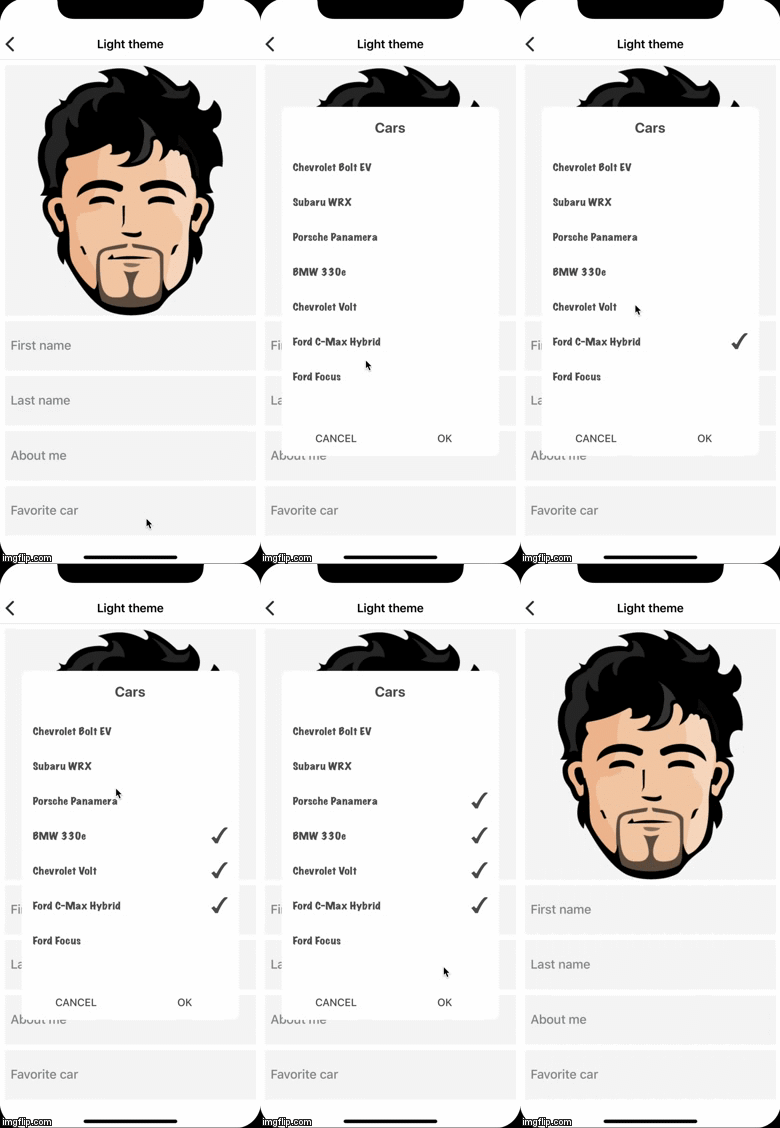
Picker view popup with multiply/single rows selection written in Swift with colors/sizes/texts/and fonts customization
TCPickerView works on iOS 9 and higher. It depends on the following Apple frameworks, which should already be included with most Xcode templates:
- Foundation
- UIKit
You can use CocoaPods to install TCPickerView by adding it to your Podfile:
platform :ios, '9.0'
use_frameworks!
pod 'TCPickerView'- Download and drop
ClassesandAssetsfolder in your project. - Congratulations!
import UIKit
import TCPickerView

class ViewController: UIViewController {

    @IBAction private func showButtonPressed(button: UIButton) {
        var picker: TCPickerViewInput = TCPickerView()
        picker.title = "Cars"
        let cars = [
            "Chevrolet Bolt EV",
            "Subaru WRX",
            "Porsche Panamera",
            "BMW 330e",
            "Chevrolet Volt",
            "Ford C-Max Hybrid",
            "Ford Focus"
        ]
        let values = cars.map { TCPickerView.Value(title: $0) }
        picker.values = values
        picker.delegate = self
        picker.selection = .single
        picker.completion = { (selectedIndexes) in
            for i in selectedIndexes {
                print(values[i].title)
            }
        }
        picker.show()
    }
}
If you want to set pre-selected values: TCPickerView.Value(title: "Chevrolet Bolt EV", isChecked: true)
Picker supports multiply, single and none row selection. You can set desired behavior by setting selection property of TCPickerView to the appropriate value.
TCPickerViewOutput allows you track what item was selected. Implament this method in your controller and assign delegate property
to this controller.
public protocol TCPickerViewOutput: class {
    func pickerView(_ pickerView: TCPickerView, didSelectRowAtIndex index: Int)
}
You can request new method if you need it. I'm open to discuss
Create a class that conform to TCPickerViewThemeType protocol and adjust UI layout or use one of the existing themes:
- TCPickerViewDefaultTheme
- TCPickerViewLightTheme
- TCPickerViewDarkTheme
Use them as reference for creation you own awesome design.
You can change next properties:
var doneText: String { get }
var closeText: String { get }

var backgroundColor: UIColor { get }
var titleColor: UIColor { get }
var doneTextColor: UIColor { get }
var closeTextColor: UIColor { get }
var headerBackgroundColor: UIColor { get }
var doneBackgroundColor: UIColor { get }
var closeBackgroundColor: UIColor { get }
var separatorColor: UIColor { get }

var buttonsFont: UIFont { get }
var titleFont: UIFont { get }

var rowHeight: CGFloat { get }
var headerHeight: CGFloat { get }
var cornerRadius: CGFloat { get }- desing your cell in .xib or code
- conform your cell to
TCPickerCellTypeprotocol - register cell in picker by using one of next methods
    func register(_ nib: UINib?, forCellReuseIdentifier identifier: String)
func register(_ cellClass: Swift.AnyClass?, forCellReuseIdentifier identifier: String)- implement
TCPickerViewOutputprotocol in your view controller - dequeue your cell in
func pickerView(_ pickerView: TCPickerViewInput, cellForRowAt indexPath: IndexPath) -> (UITableViewCell & TCPickerCellType)?method by callingfunc dequeueReusableCell(withIdentifier identifier: String, for indexPath: IndexPath) -> UITableViewCell & TCPickerCellType - for more details have a look into
LightViewControllerfile in a example project.
If you have feature requests or bug reports, feel free to help out by sending pull requests or create issues.
This code is distributed under the terms and conditions of the MIT license.


