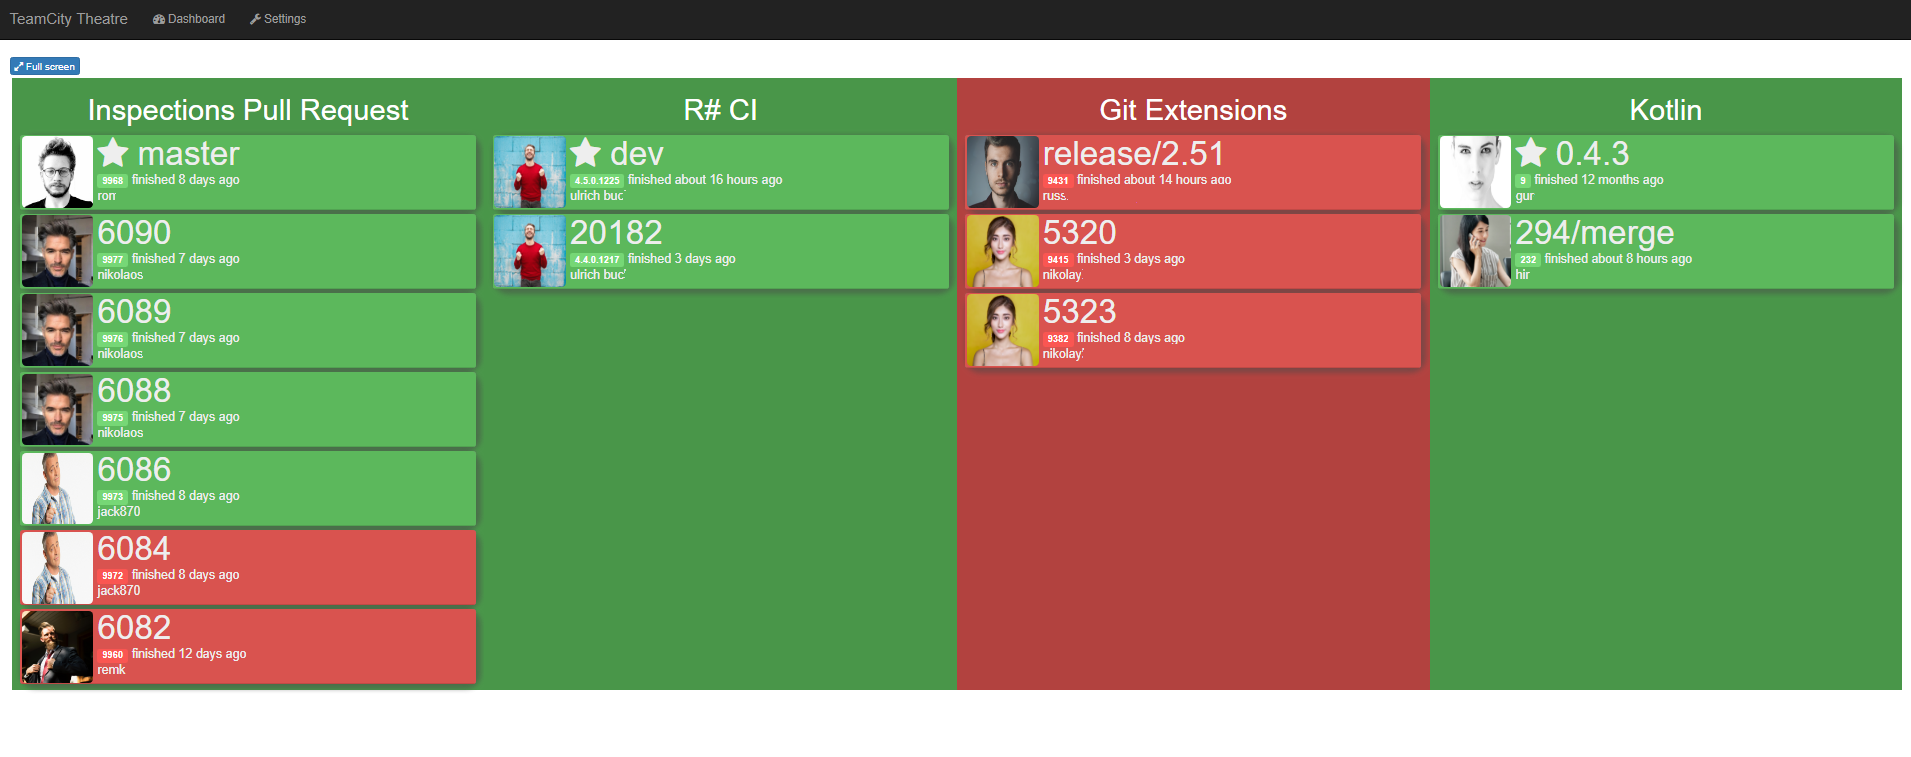
See https://github.com/amoerie/teamcity-theatre for more info about TeamCity Theatre.
The original version is extended with
Use https://docs.docker.com/docker-for-windows/
Ensure that the current directory in your terminal is the directory where dockerfile is located, e.g.
cd 'e:\src\teamcitytheatre'
It should be done each time when the source code is changed and the changes should be propagated to the docker image. Run the following to create teamcitytheatre Docker image:
docker build -t teamcitytheatre .
Initially it can take several minutes but next calls thanks to Docker's caching system should be much faster.
Before starting the container some configuration is required
a) Configure your TC server in docker-compose.yml file
    environment:
    - Connection:Url=https://teamcity.jetbrains.com
    - Connection:Username=guest
    - Connection:Password=
b) FYI Pay attention to the volumes in docker-compose.yml file
    volumes:
    - ./config:/app/config
    - ./config/users:/app/wwwroot/users
The volumes above are used to map the host's directory to the corresponding container directories. It allows to stop/remove the containers but keep the configuration alive.
c) There are two ways to use user images: via URL or using the relative path. For the latter the image should be placed into ./config/users directory. Both ways are shown below. NullImageUrl (used by default, if not configured for the specific Name) can be Null .
...
  "UserSettings": {
    "Users": [
      {
        "Name": "user1",
        "ImageUrl": "http://www.networkfp.com/wp-content/uploads/2016/08/man-1.jpg"
      },
      {
        "Name": "matt2",
        "ImageUrl": "/users/matt2.jpg"
      }
    ],
    "NullImageUrl": "/users/hamster.jpg"
  }
}
e) docker-compose.yml contains port mapping, so the port 80 on the guest system is mapped to the port 5000 on the host system. You can use any other port in case of any possible collision.
Just run
docker-compose up
to create the container from the built image and
docker-compose down
to stop it.
Open http://localhost:5000 in the web browser.
One more small feature is a "display branch". A branch can contain some fixed text in the name which would be nice to exclude. E.g. instead of refs/heads/1245 or f/PHX-5555 or heads/master one may want to display just the significant parts, 1245, PHX-5555 and master correspondingly. To do it just use DisplayBranches in configuration.json.
,
  "DisplayBranches": [
    "f/(PHX-.*)",
    "refs/heads/(.*)",
    "(master)",
  ]
}
These are the Regex strings with one Regex group. If the original branch name matches any string the extracted group is used in UI instead of the original branch name.
