django<=3.2.4,<3.3djangorestframework<=3.12.4,<3.13flake8>=3.9.2,<=3.10psycopg2>=2.8.6,<2.9drf-spectacular>=0.21.1,<0.23django-cors-headersrequestspython-decoupleSWAGGA UI
vue2NodeAxios: [email protected]
- Docker version 20.10.22, build 3a2c30b
- Docker Compose version v2.15.1
- Make sure that Docker Desktop is installed on your local machine
- Clone (
BC_Wildfire) repo - Navigate to the project folder and open the folder in VSCode editor by executing the command:
code .
- After open the project in VSCode editor, simulataneously launch the api, frontend and postgresql database through docker compose by executing the command:
docker-compose up
- Alternatively, the application can be run in detached mode by executing the command:
docker-compose up -d
- After running th application, its backend/api documentation (render in Swagga UI) can be accessed by opening your browswer and navigating to the link (This has all the endpoints, responses, payloads, etc):
http://127.0.0.1:8000/api/docs/
- The frontend application can be access by going to the link on your browswer:
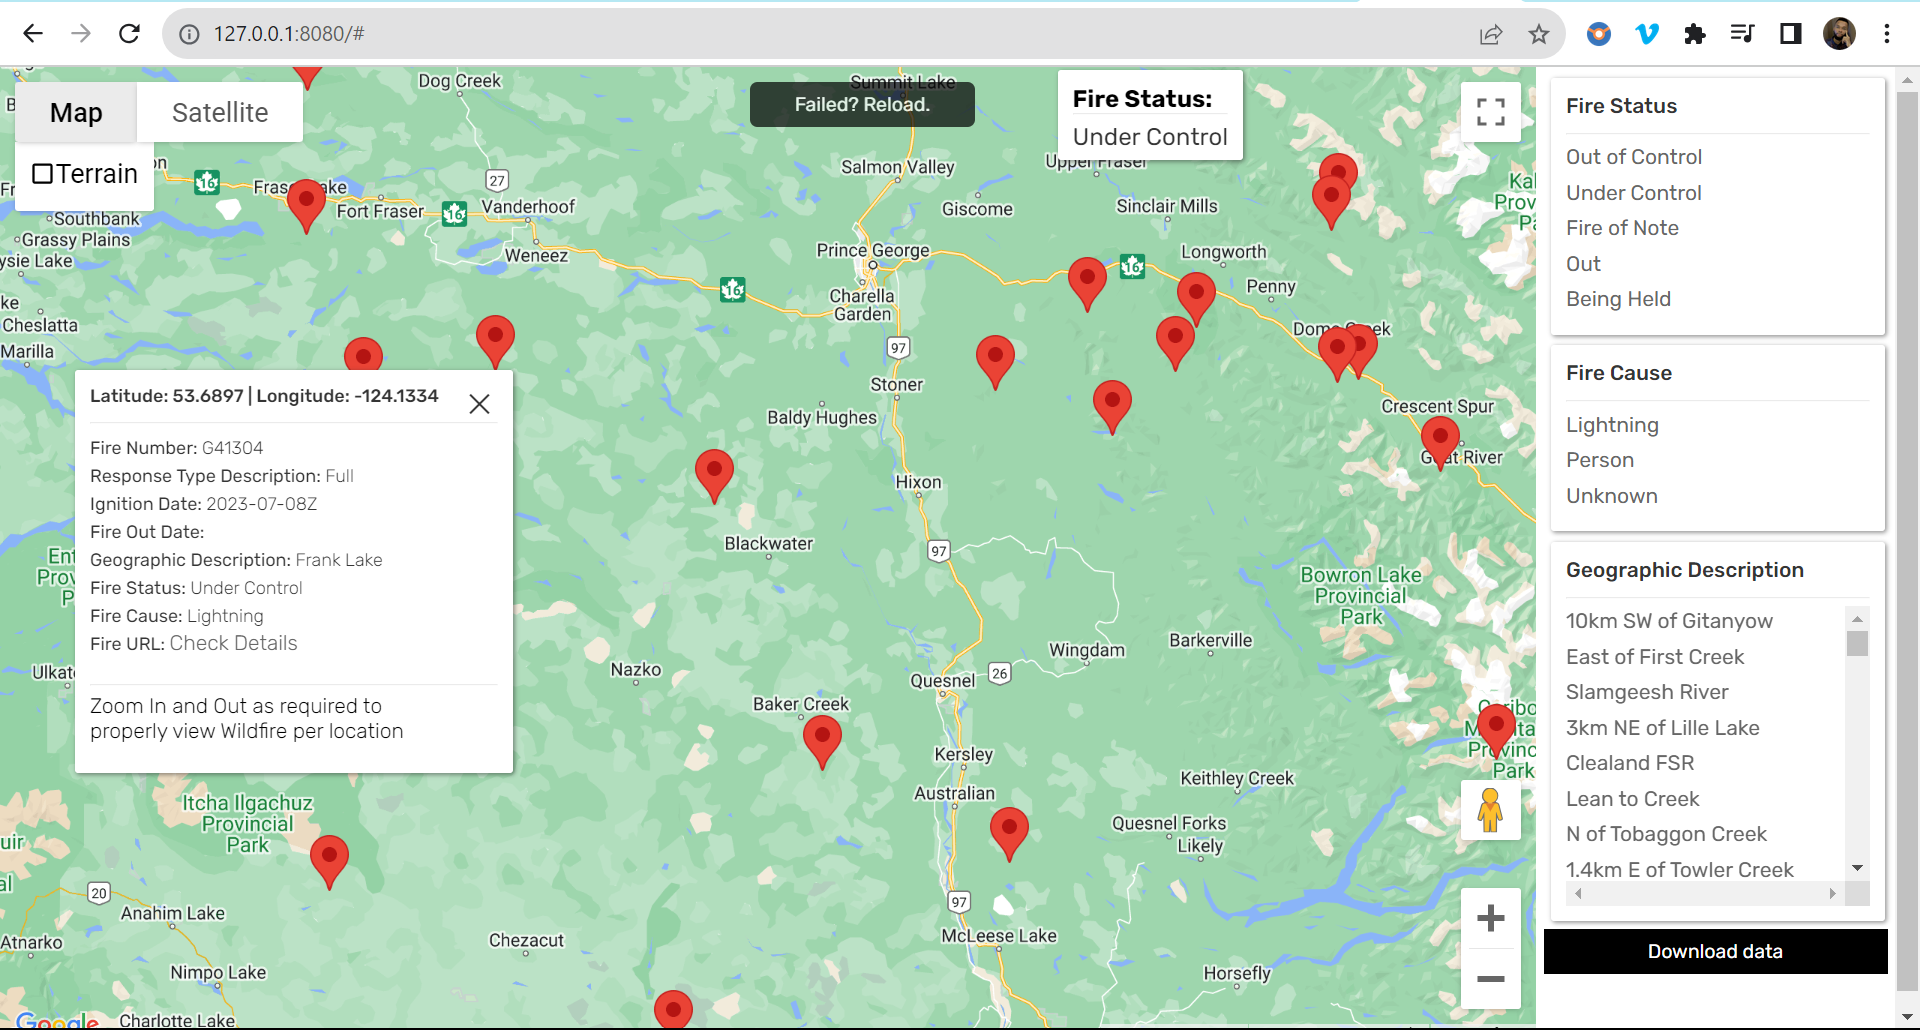
http://127.0.0.1:8080/ or http://localhost:8080/
- At this point youc an make use of the application without being authorized
- You can also view all the running containers (api, frontend, and postgresQL database) using the command:
docker ps
- You can stop the containers by running the commands:
docker-compose down
- You can restart it by running the command:
docker-compose up -d
- You can have administrative access to the backend of the application by creating a superuser account (provide your email address and password):
docker-compose run --rm app sh -c "python manage.py createsuperuser"
- Navigate to the link:
http://127.0.0.1:8080/admin/
- Provide your information and have access to the models created while developing the backend
- Note: After stoppign the entire application using docker-compose, you can clean up your system and delete images by running the command:
docker rmi -f $(docker images -aq)
- You can also delete container by doing:
docker rm -vf $(docker ps -aq)
- Click on the Table Items themselves to carryout actions such as (Delete Product and Update Product)
- I have implemented the API using a Test-Driven Approach (TDD). Hence the api can be tested by using GitHub action.
- To test the api for error, upload this project to a GitHub repo and ensure that the rep is in sync with your local machine.
- Create an account on DockerHub
- Generate a
tokenon Dockerhub - Copy the genetrated token to clipboard
- Open the
secretstab on the settings of your project repository - Add the your docker
usernameandtokenprovided to your secrets - Make sure that the information:
DOCKERHUB_USERandDOCKERHUB_TOKENare used to tag the username and token of DOckerhub - Now, on your machine (from the project directory), run the testing and linting by executing the command:
git add . && git commit -am "commit name" && git push
- After successfully pushing the to your repository, Navigate to
Actionstab on your repository and click on the test to monitor it (at every testing stage)
I implemented this functionality by creating a middleware located at ./backend/middlewares.py and registering it in the settings.py of ./backend/core. The number of calls will be displayed on the command window when you do:
docker-compose up
