DONT PANIC AND MAKE GAMES !!!
In this semester, we will be developing a 2D top-down zelda-like game together. The base project includes a controllable character with a sword and shield, and some stupid template enemies to fight with. We will use this project as a sample to learn how to make games in Unity. At the end of the semester, we will (hopefully) have our own unique top-down game done.
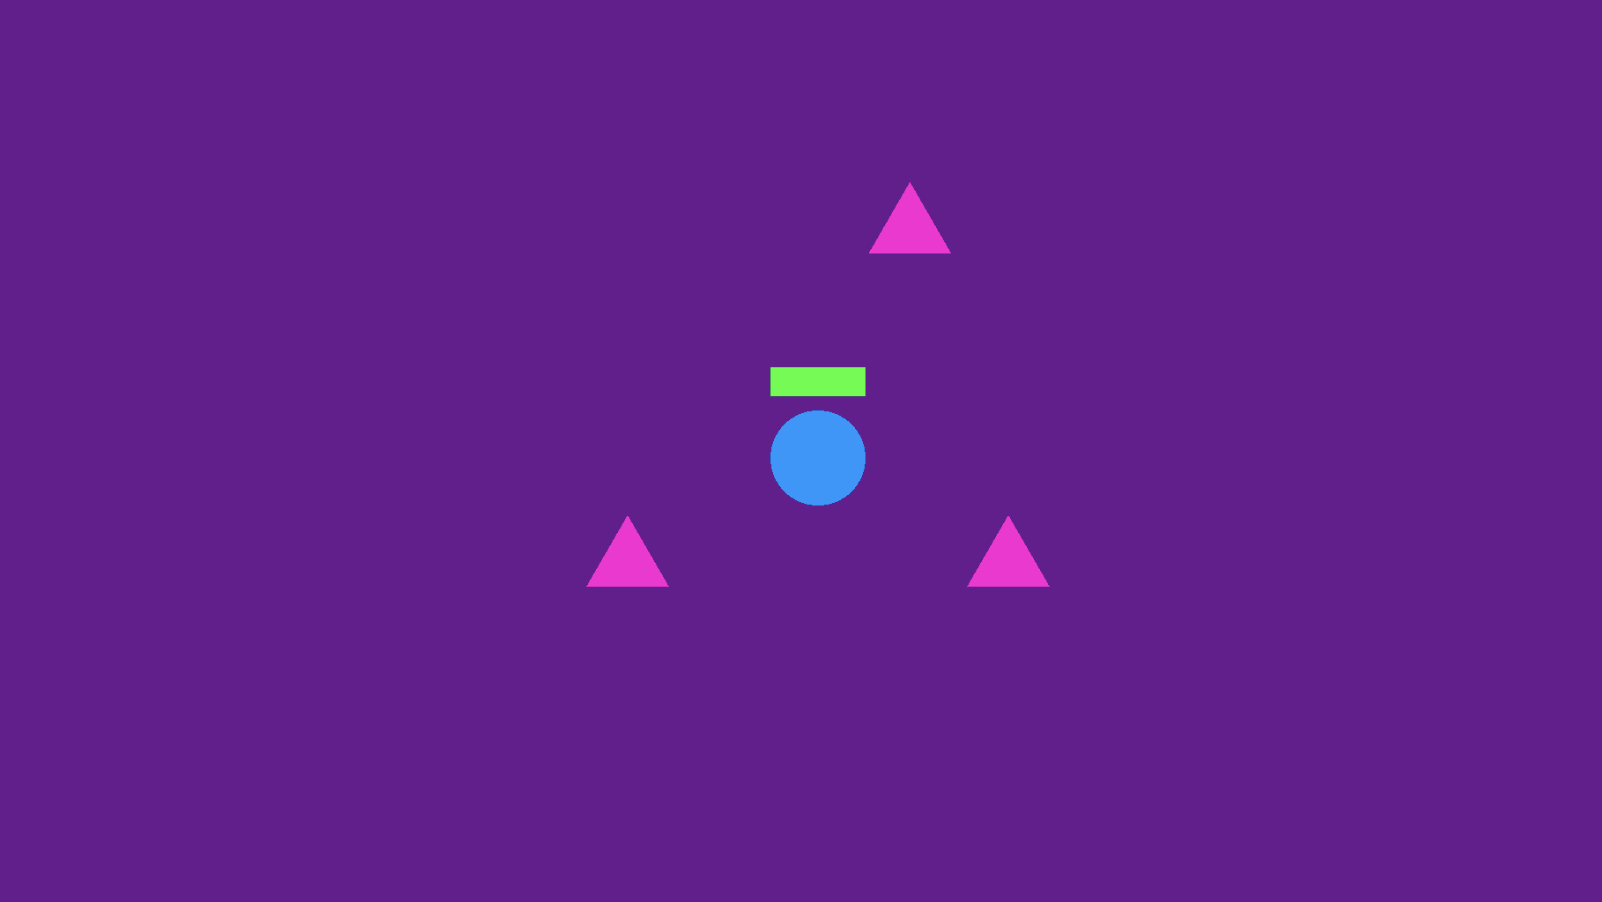
Here is a screenshot of the base project (don't laugh, I know I'm not good at art👻).
Before we actually take a step into the game development, here are something you should do to get ready!
- Download and install UnityHub from https://unity3d.com/get-unity/download. Be aware that UnityHub is not the Unity3D GameEngine, it is a software that helps you download and organize your projects and engines of different versions.
- Download Unity 2019.4.1f1 (make sure you have correct version number!). We will use this version of the engine to develop our games. There is no restrictions on what modules you should install.
- Download GitHub desktop from https://desktop.github.com/. We will mainly use GitHub as our version control system. If you do not have a GitHub account, please sign up. If you have problems with GitHub, you can always discord me anytime.
- The base project is here https://github.com/GuardHei/PartySampleSp2021. Make sure you have forked the project (ATTENTION: Please do FORK instead of CLONE).
- IDE or coding editor suggestions: I personally highly recommend Rider from JetBrains. It has many features that specifically designed for Unity development. Also, it is from the same company that makes Intellij Idea (If you have taken CS61B, you know what I'm talking about). Most importantly it is free. All you need to do is to apply for an Edu account. Other options including VS, VSCode are nice choices too.
Check the document here: https://docs.google.com/document/d/1v7z0DdEw7tjqu52R-4adhVVC3oGLB7_nJyqyeO_OSnI/edit?usp=sharing
The Assets folder under the root directory is where we store assets created for this project, including scripts, sprites, sfx, and etc. You will see different sub-folders inside, with names like Prefabs, Scenes, Scripts and etc. The name of the folder indicates what content should this folder hold. For example, we put all the sfx in the Audios folder, and all the scripts into the Scripts folder. It will be easy for other people to check your work!
There are two special folders, one is Tests folder. It is a folder that will never synchronize with the repository on GitHub. In another way of saying, it is completely local, so you can put all your personal testing assets here (those you don't need other people to see). For example, if you want to mess up with an existing level of the game, just copy that level and move it to the Tests folder. Then you can do whatever you want to that file, without actually changing the project.
Another speical folder is Submissions folder, where you put the work that you want to submit to the whole project (for example, the level you create). Name the level file in the form of "[Your Name] [Level Number]", eg. "William Level 1". Please do not put these level files under Scenes folder, because that may casue conflicts if other people are modifying the same level. You can put scripts in under Scripts folder, if you are confident that no one else will have a script of the same name.
