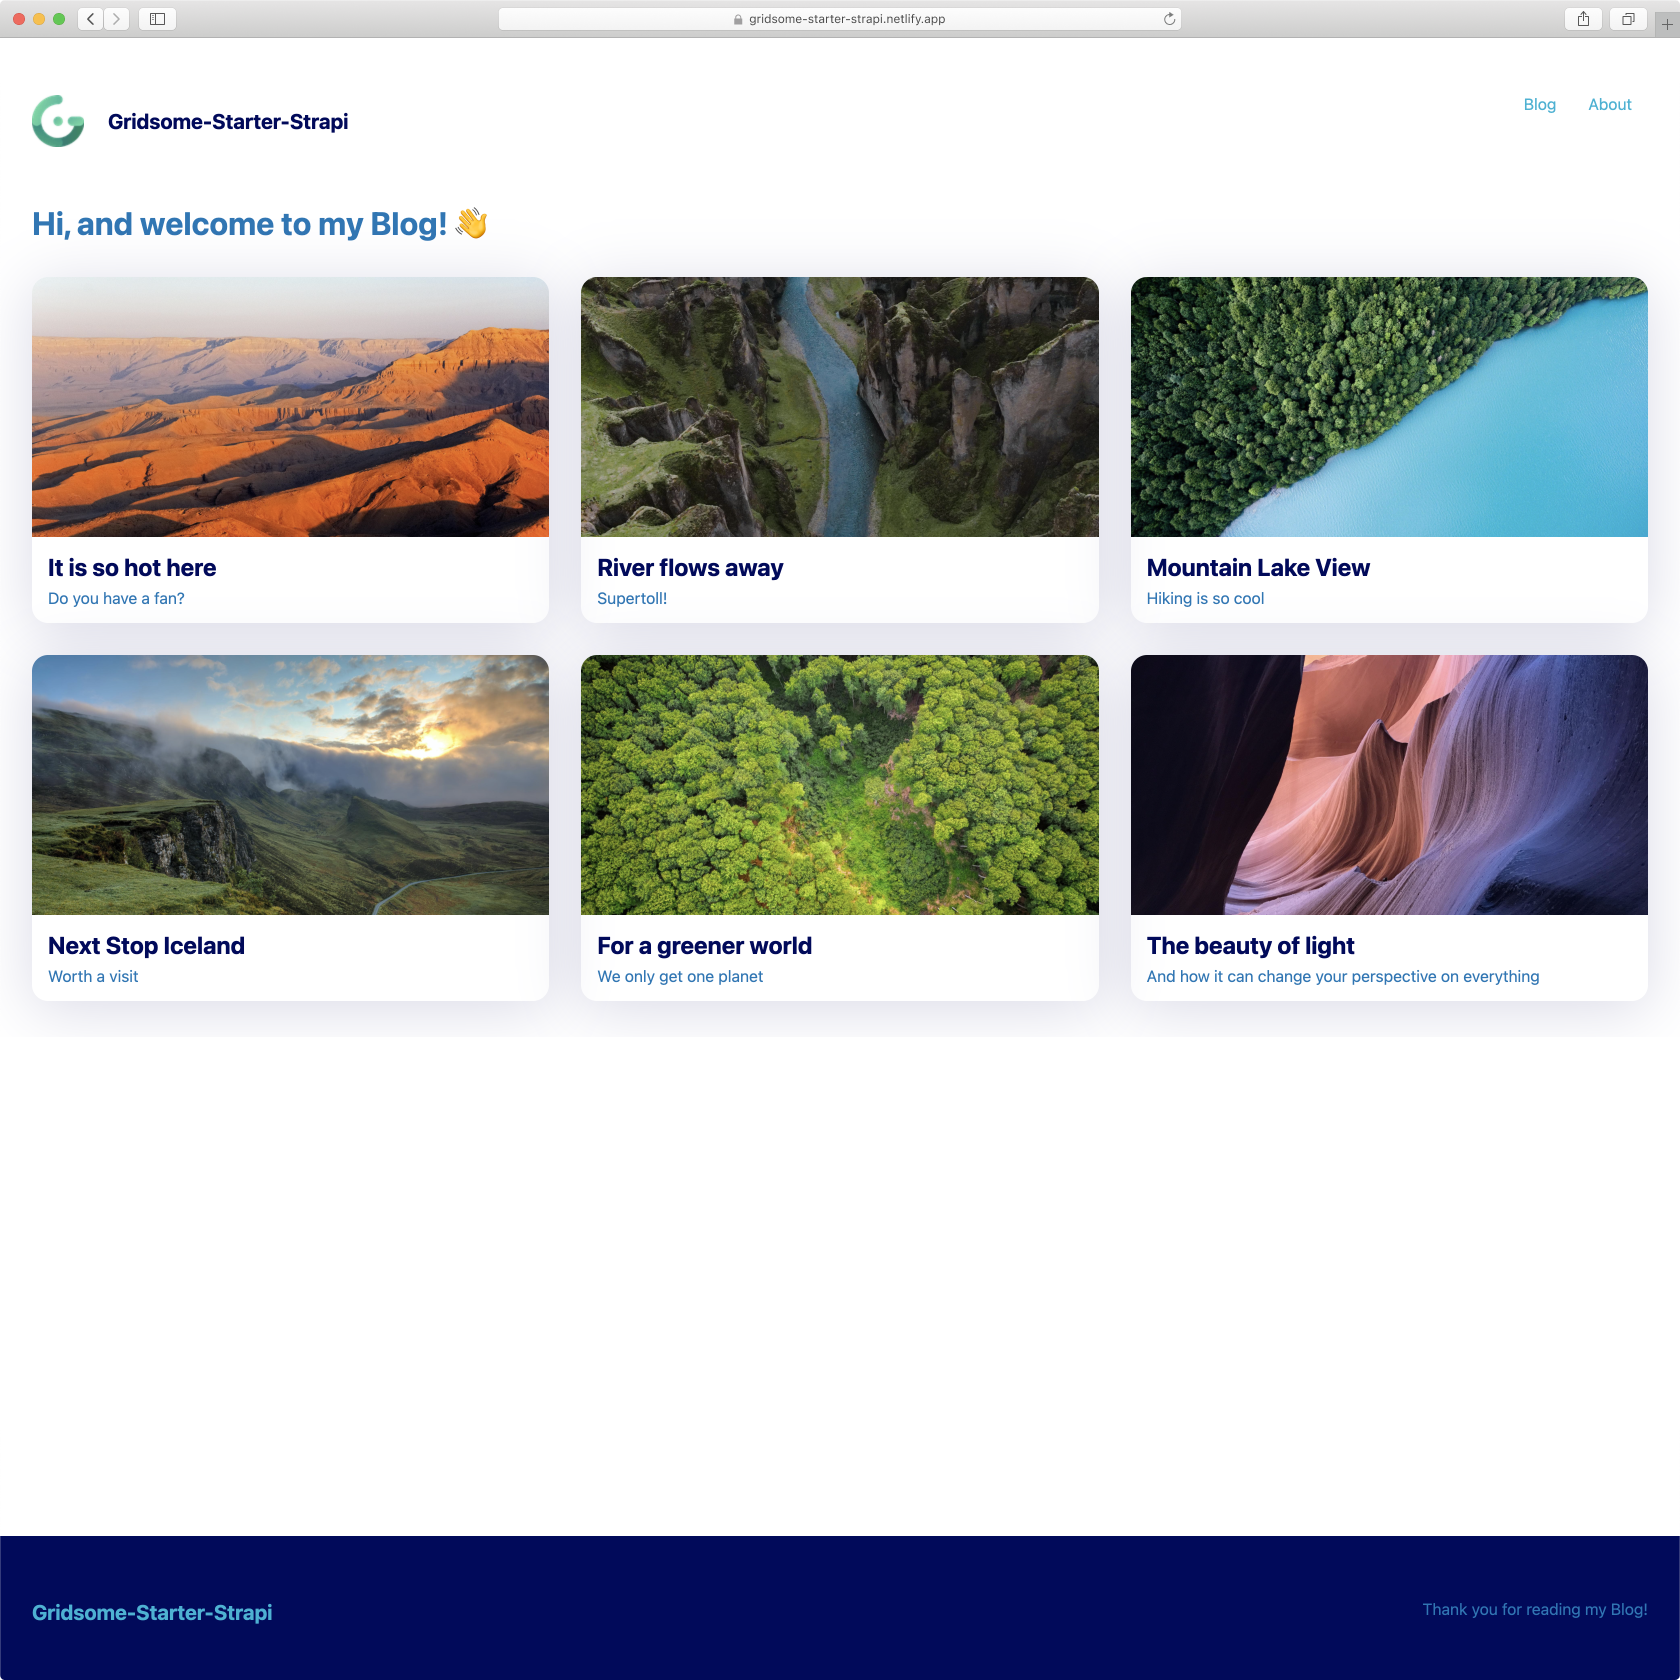
This is a Gridsome Starter using the headless CMS Strapi. It is suppose to kick-start development with Strapi.
A Demo is hosted on Netlify.
Under the hood, the starter is using the source plugin @gridsome/source-strapi to pull data from Strapi into Gridsome's data store.
Images provided by Strapi are downloaded and saved locally via onCreateNode. Thus, the build version includes all images in /static.
Rich text which is provided as markdown from Strapi is prepared via onCreateNode and transformed to html using @gridsome/transformer-remark.
Note: Steps that are marked with a check are already done and are just necessary if you set up a completely new project.
- ✅ Install the @gridsome/source-strapi Plugin:
npm install @gridsome/source-strapi --save - ✅ Add it to the config file:
export default {
  plugins: [
    {
      use: '@gridsome/source-strapi',
      options: {
        apiURL: 'http://localhost:1337',
        queryLimit: 1000, // Defaults to 100
        contentTypes: ['post'],
        // Possibility to login with a Strapi user,
        // when content types are not publicly available (optional).
        loginData: {
          identifier: '',
          password: ''
        }
      }
    }
  ]
}
- Install Strapi by following the Get Started Guide.
- Install Strapi and create a new project:
npx create-strapi-app gridsome-starter-strapi-cms --quickstart. - Complete the form to create the first Administrator user.
- Since we are using GraphQL, install the GraphQL plugin:
npm run strapi install graphql. Open the GraphQL Playground (http://localhost:1337/graphql) to test your queries. - Restart your server:
npm run develop.
- In the Strapi Admin Interface you can now add Content Types (
Plugins>Content-Types Builder>Create new collection type). - Name you new collection type
Post. - Now, add 4 fields, namely
title(text),subtitle(text),article(rich text) andimage(single media). - Click on
Save&Publish. - Add blog entries by clicking on
Collection Types>Posts>Add New Post. - Go to
Settings>RolesunderUSERS & PERMISSIONS PLUGIN. Click on the column sayingPublic. Put a check onfindandfindOneunderPost. Click onSave. - ✅ In
gridsome.config.jsaddpost(API ID) undercontentTypes.
- In the Strapi Admin Interface you can now add Content Types (
Plugins>Content-Types Builder>Create new single type). - Name you new collection type
About. - Now, add 2 fields, namely
title(text) andarticle(rich text). - Click on
Save&Publish. - Add content to the about page by clicking on
Single Types>About. - Go to
Settings>RolesunderUSERS & PERMISSIONS PLUGIN. Click on the column sayingPublic. Put a check onfindunderAbout. Click onSave. - ✅ In
gridsome.config.jsaddabout(API ID) undersingleTypes.
npm install --global @gridsome/cli
- ✅
gridsome create gridsome-starter-strapito install default starter - ✅
cd gridsome-starter-strapito open the folder gridsome developto start a local dev server athttp://localhost:8080- Happy coding 🎉🙌
- Since we are working with GraphQL, the GraphQL explorer can be very helpful. You can open it through
http://localhost:8080/___explore.
- If you get
TypeError: gridsome.server.js: Cannot read property 'allStrapiPost' of undefined (31:10)as an error after starting the gridsome development server, you likely forgot to create and/or publish your post in Strapi underCollection Types>Posts.

