-
Notifications
You must be signed in to change notification settings - Fork 10
Multimedia
Various videos of the Omega simulation in action can be seen here.
Note Omega is a quickly moving project and many of the screenshots on this page are already outdated, they will be updated and embedded videos added at some point in the future (feel free to just edit this page if you want to help!)
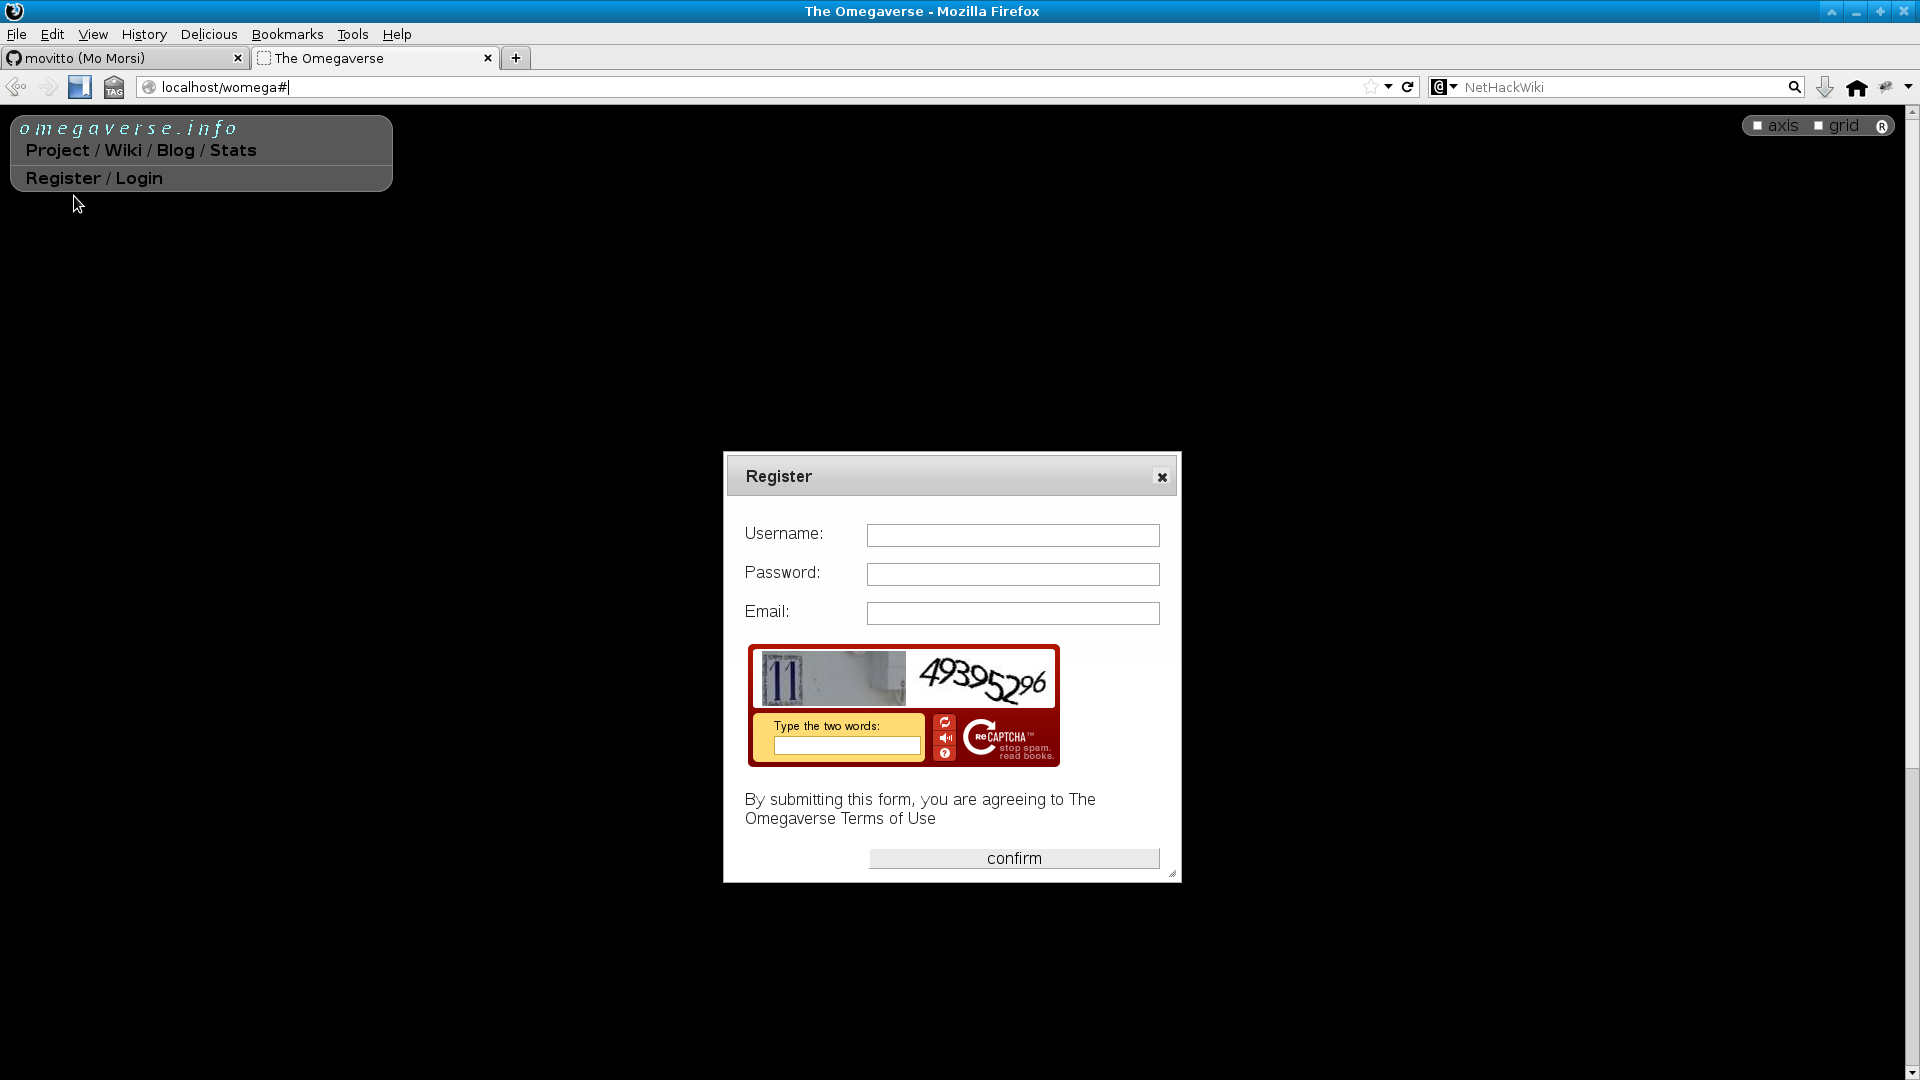
Users may register a new account by clicking the 'Register' link in the main navigation:
A valid username, password, email, and recaptcha answer is required. Once the form is submitted, a confirmation email will be sent to specified address. Clicking on that will finalize the account, allowing the user to login with their credentials
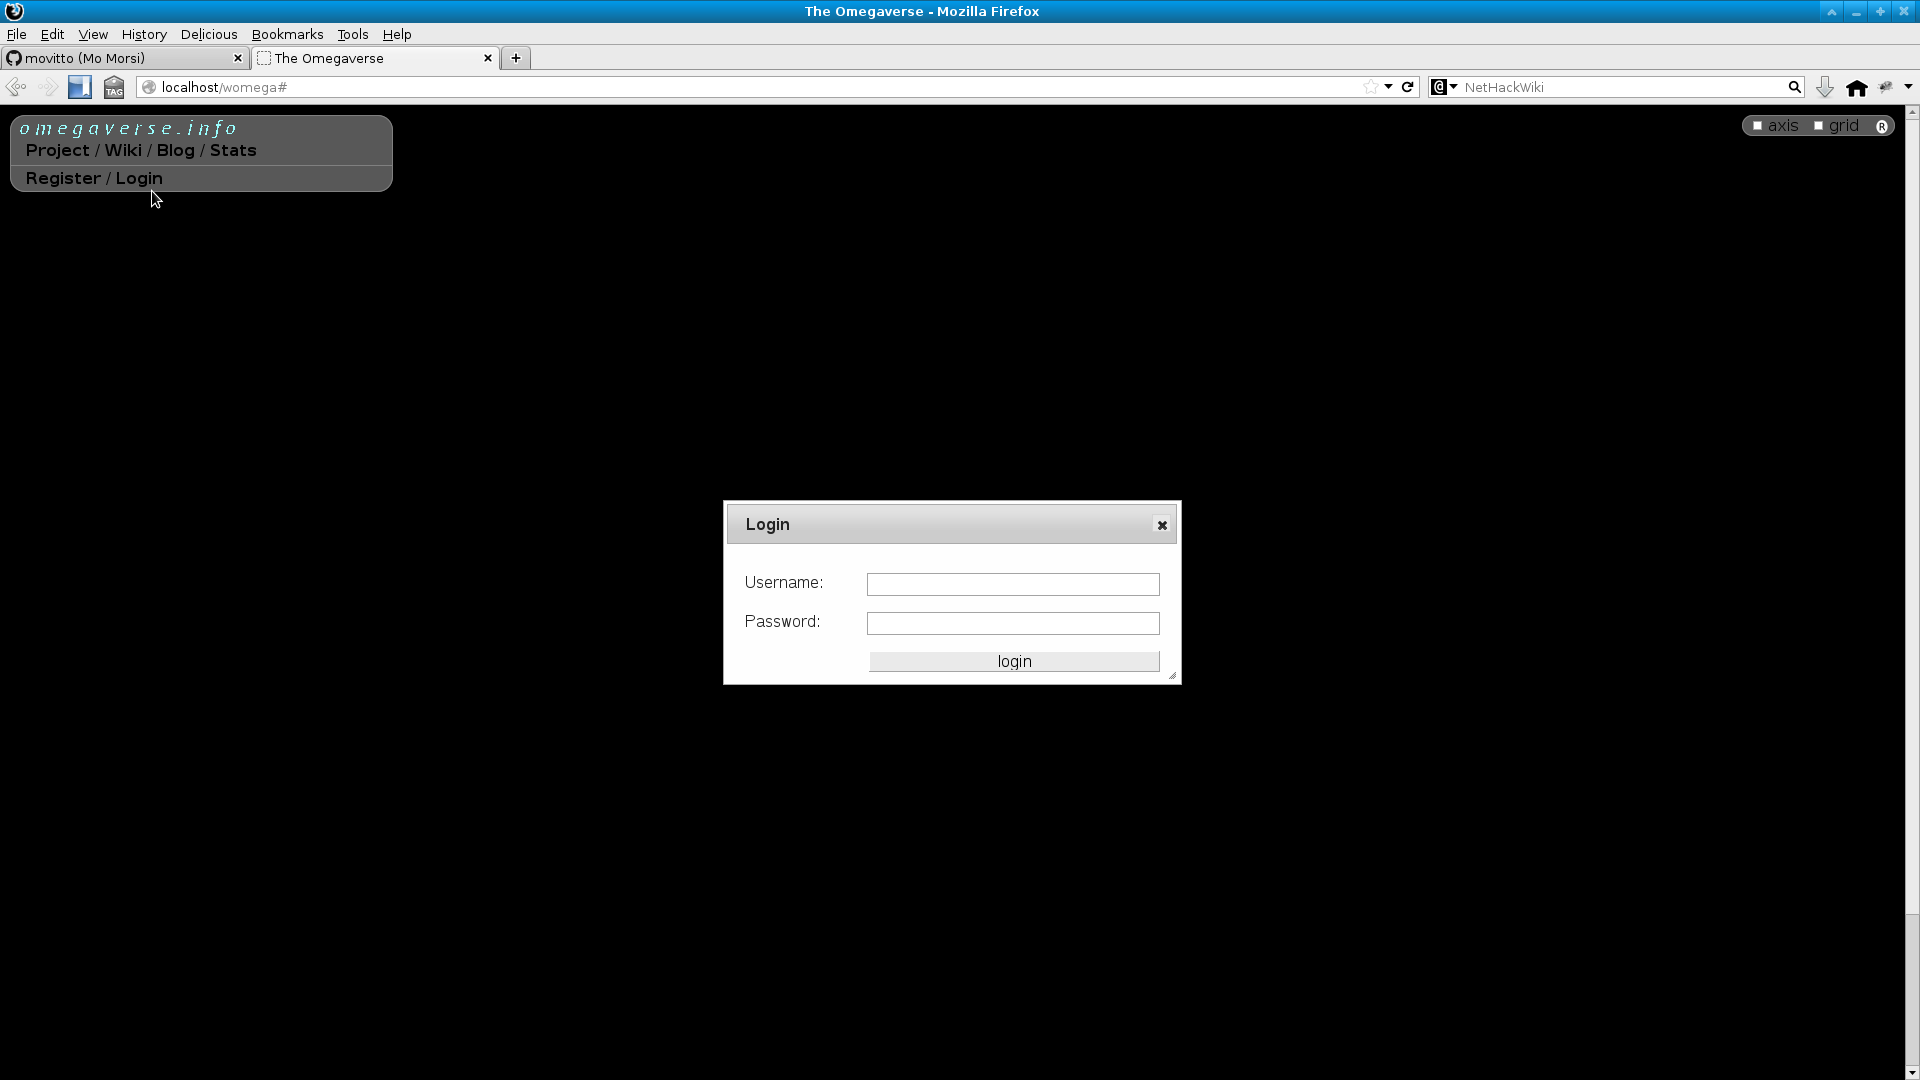
Login via the 'Login' link in the main navigation. Only users with confirmed registrations may login.
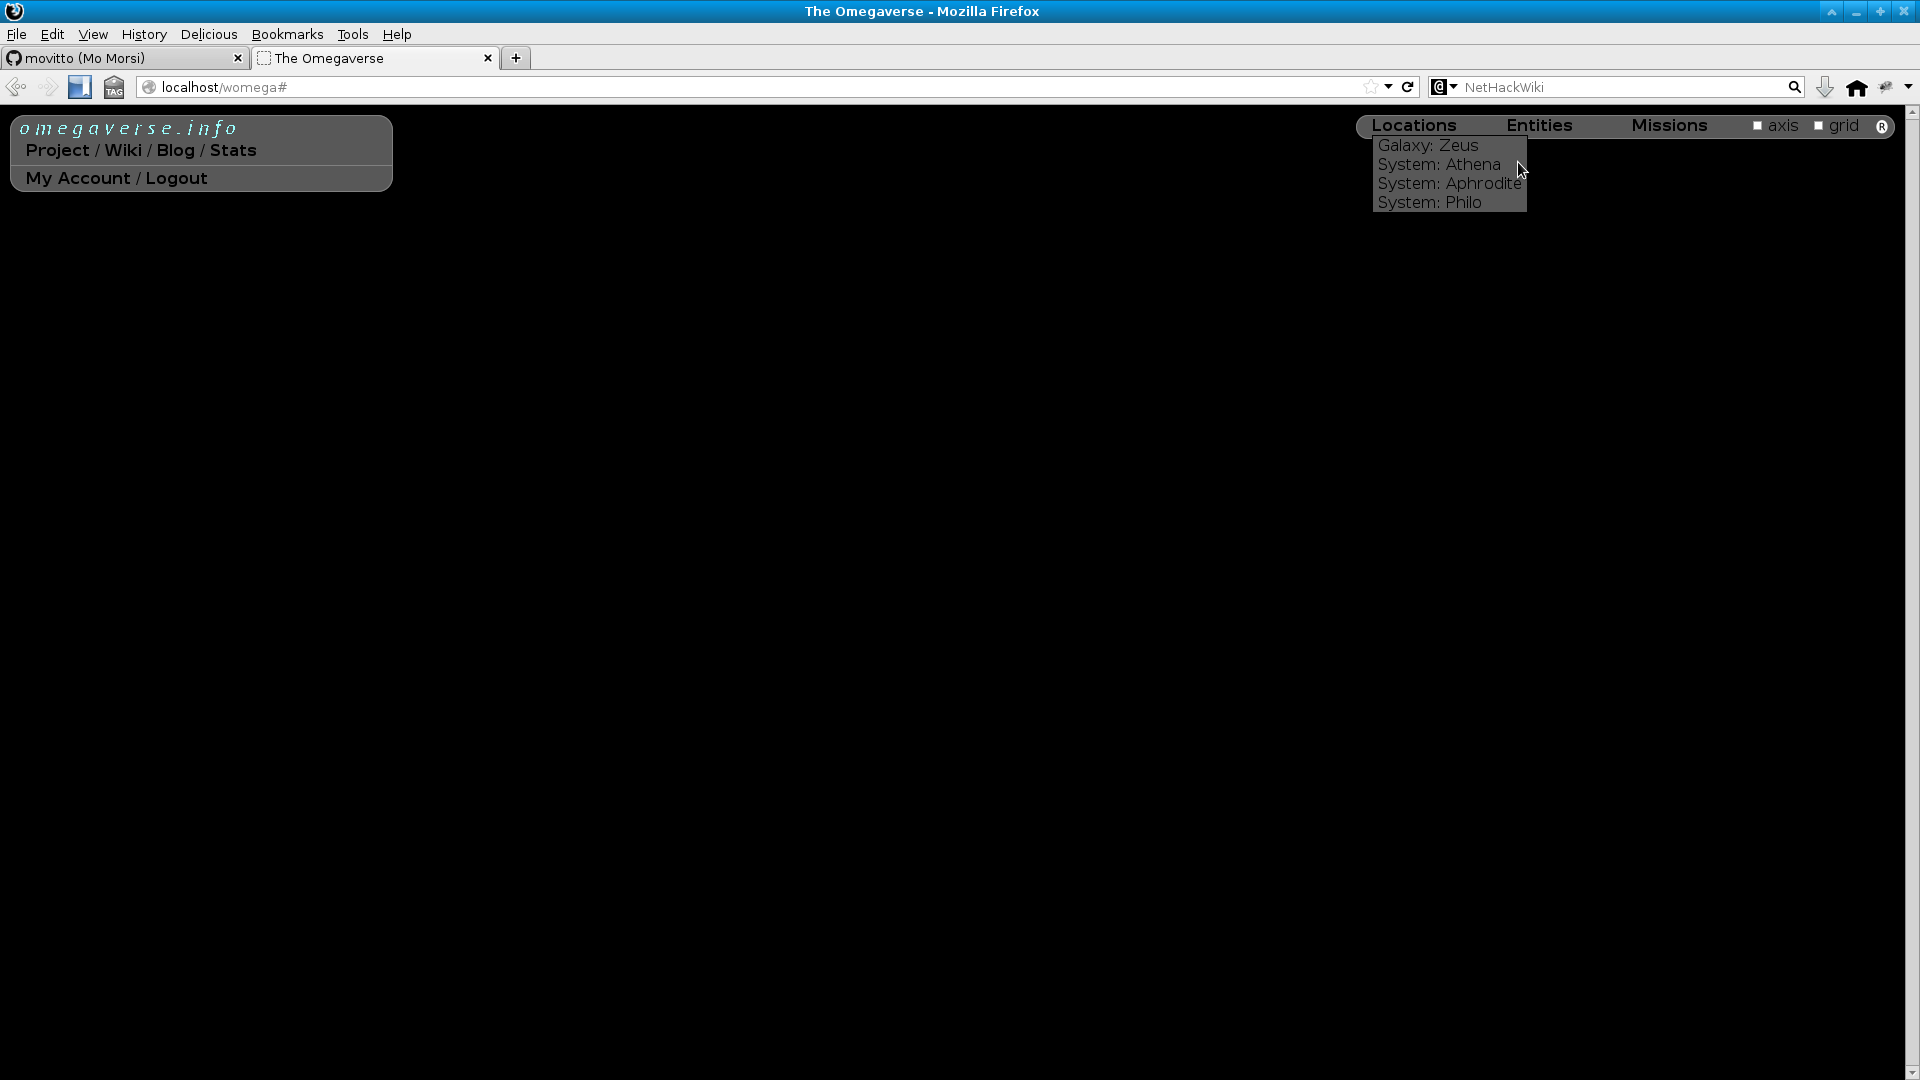
Once the user logs in the entities they own and systems / galaxies they are in will be available in the page navigation. Click on any item to bring it up in the canvas.
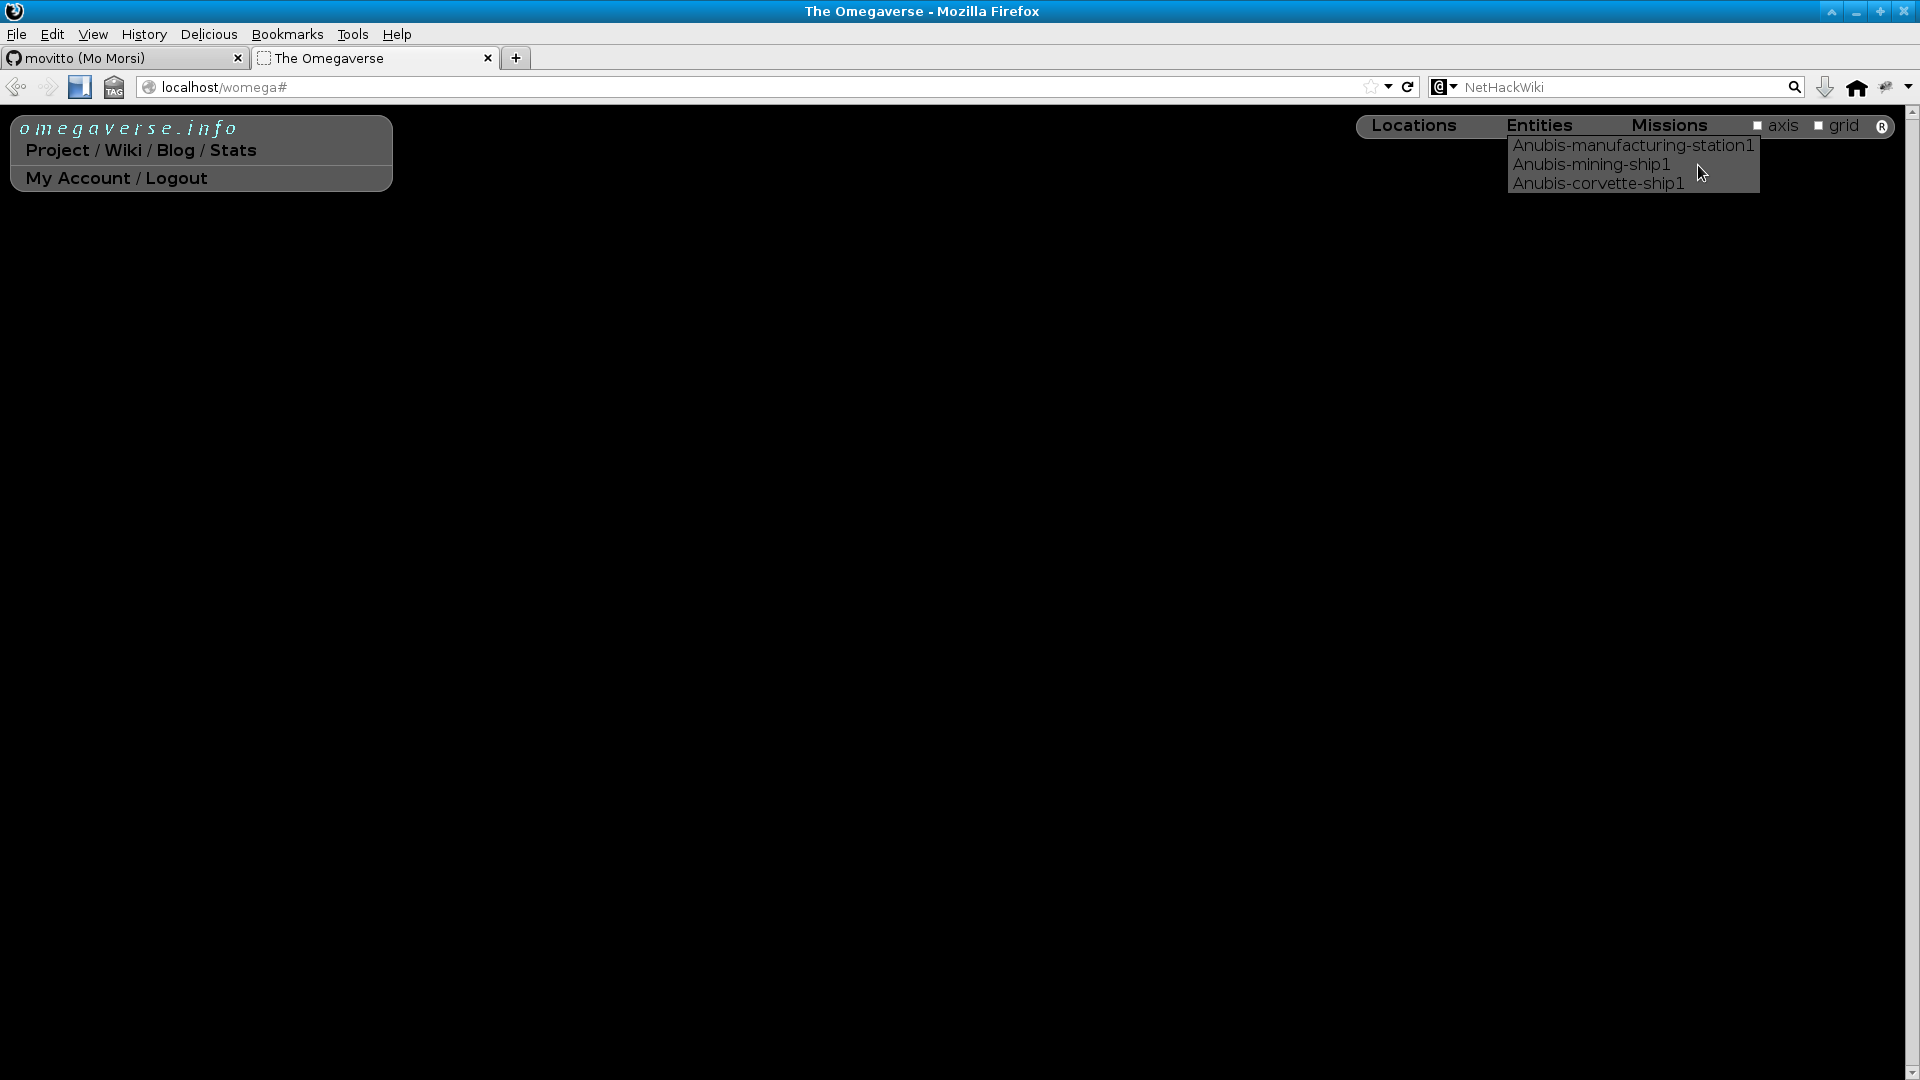
The 'Logout' link will replace the 'Login' link. Sessions will automatically log out if there is no activity for 1 hour.
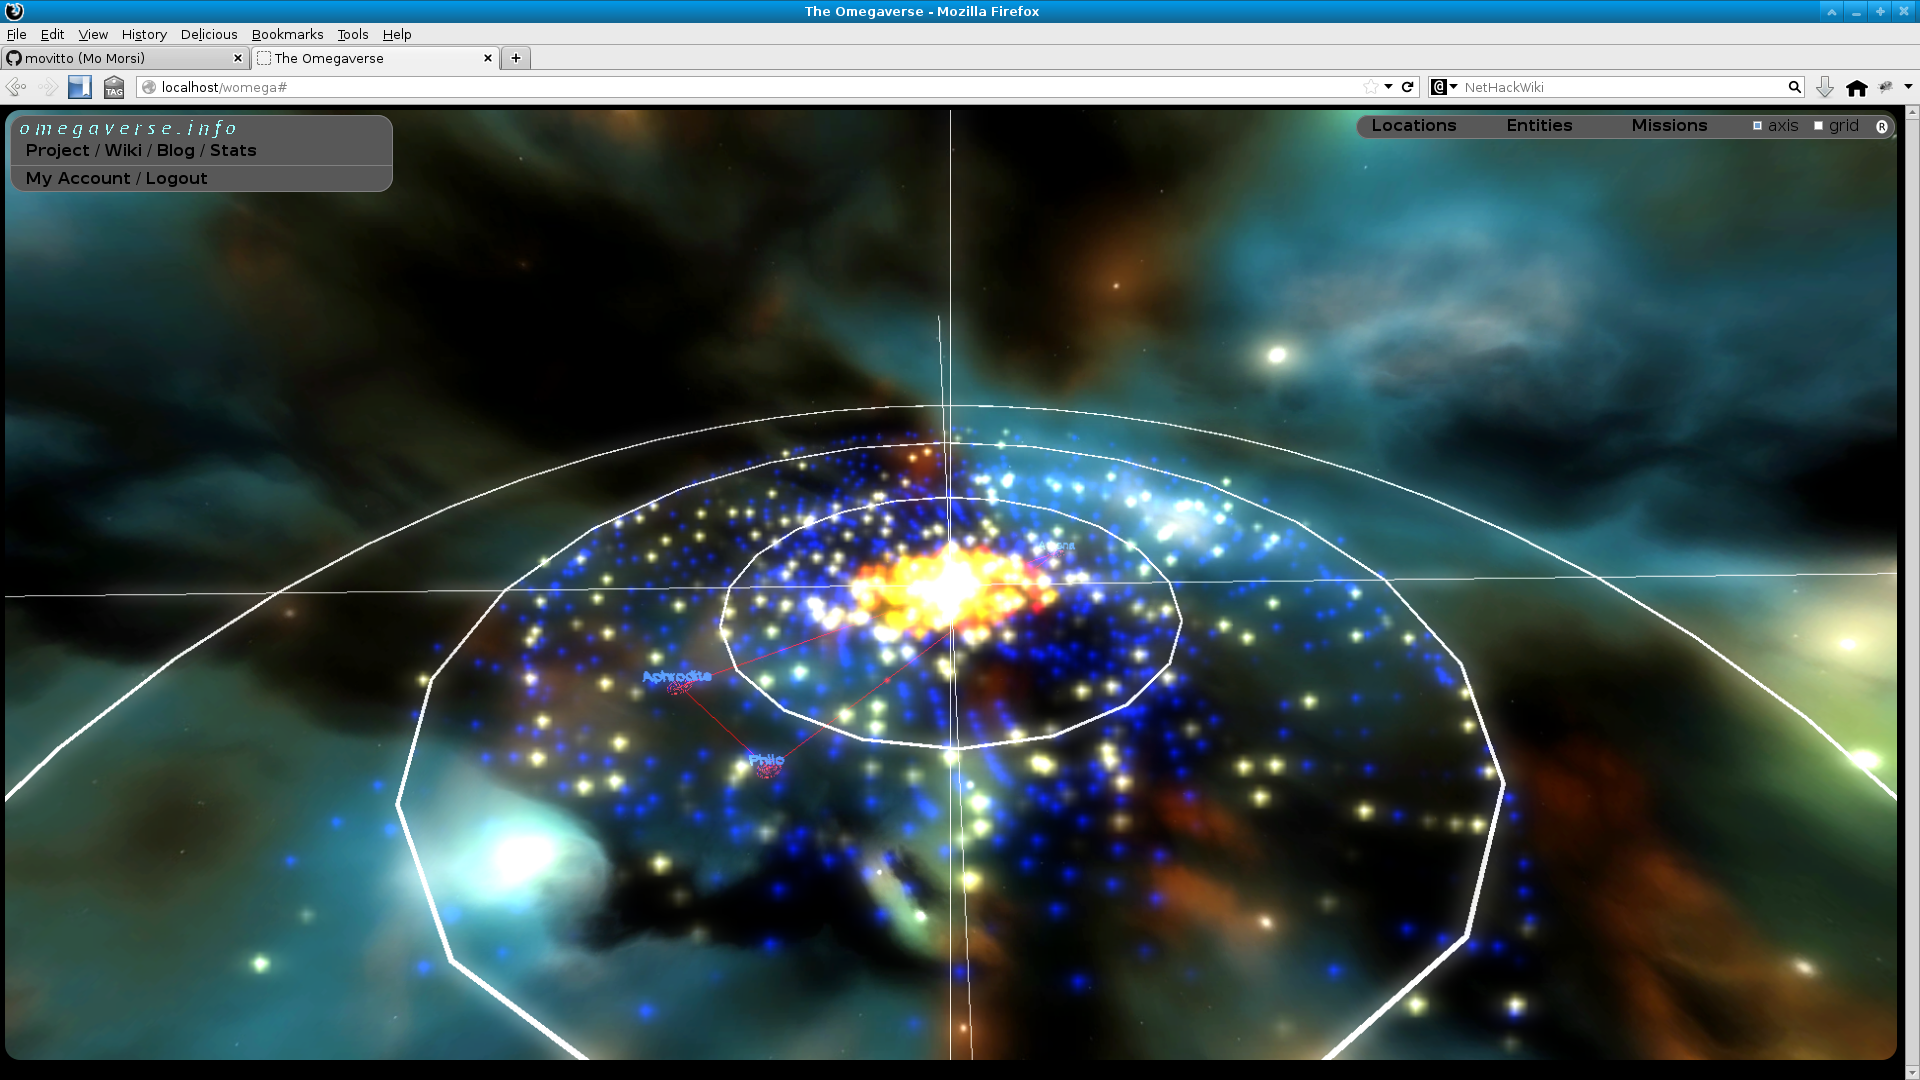
Click on a system or galaxy on the page to bring it up in the canvas. Various entities in the galaxy (system) and in the system (jump gates, stations, ships, asteroids) can be clicked on to interact with furthur.
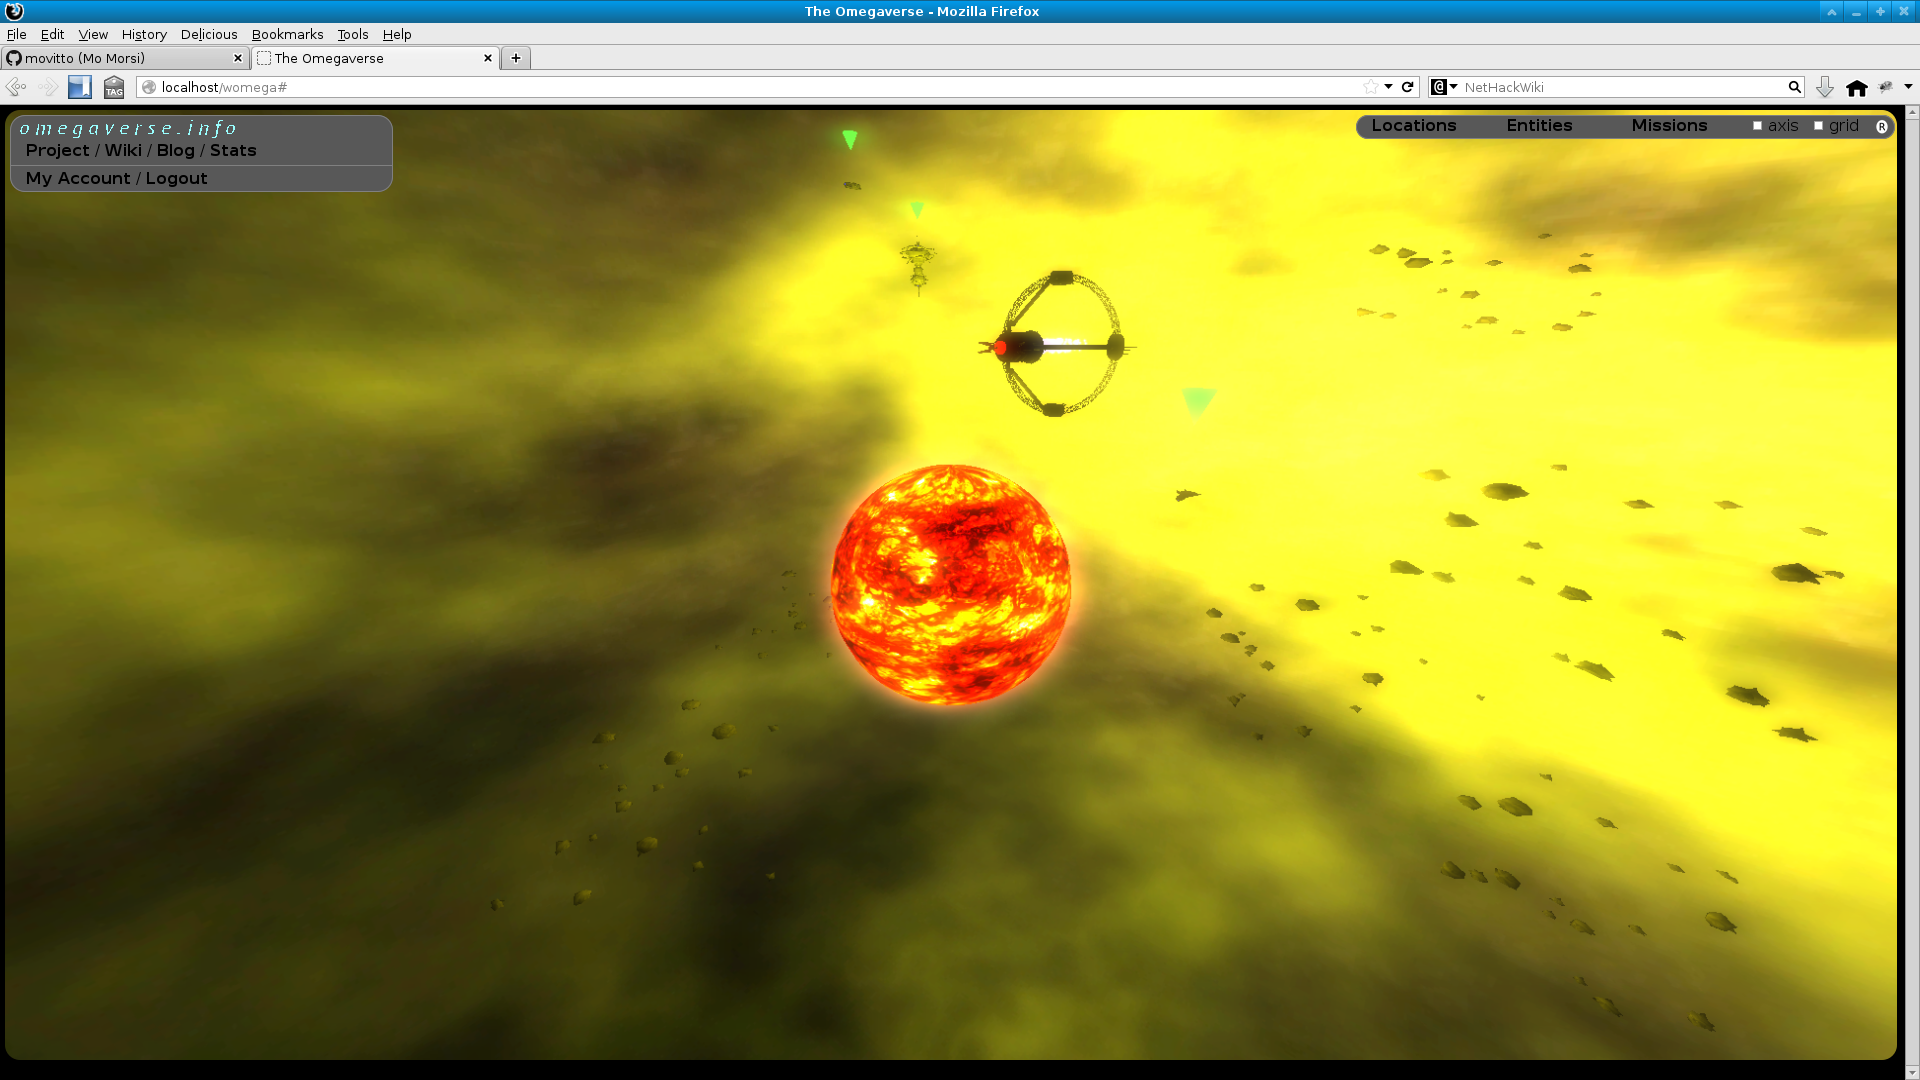
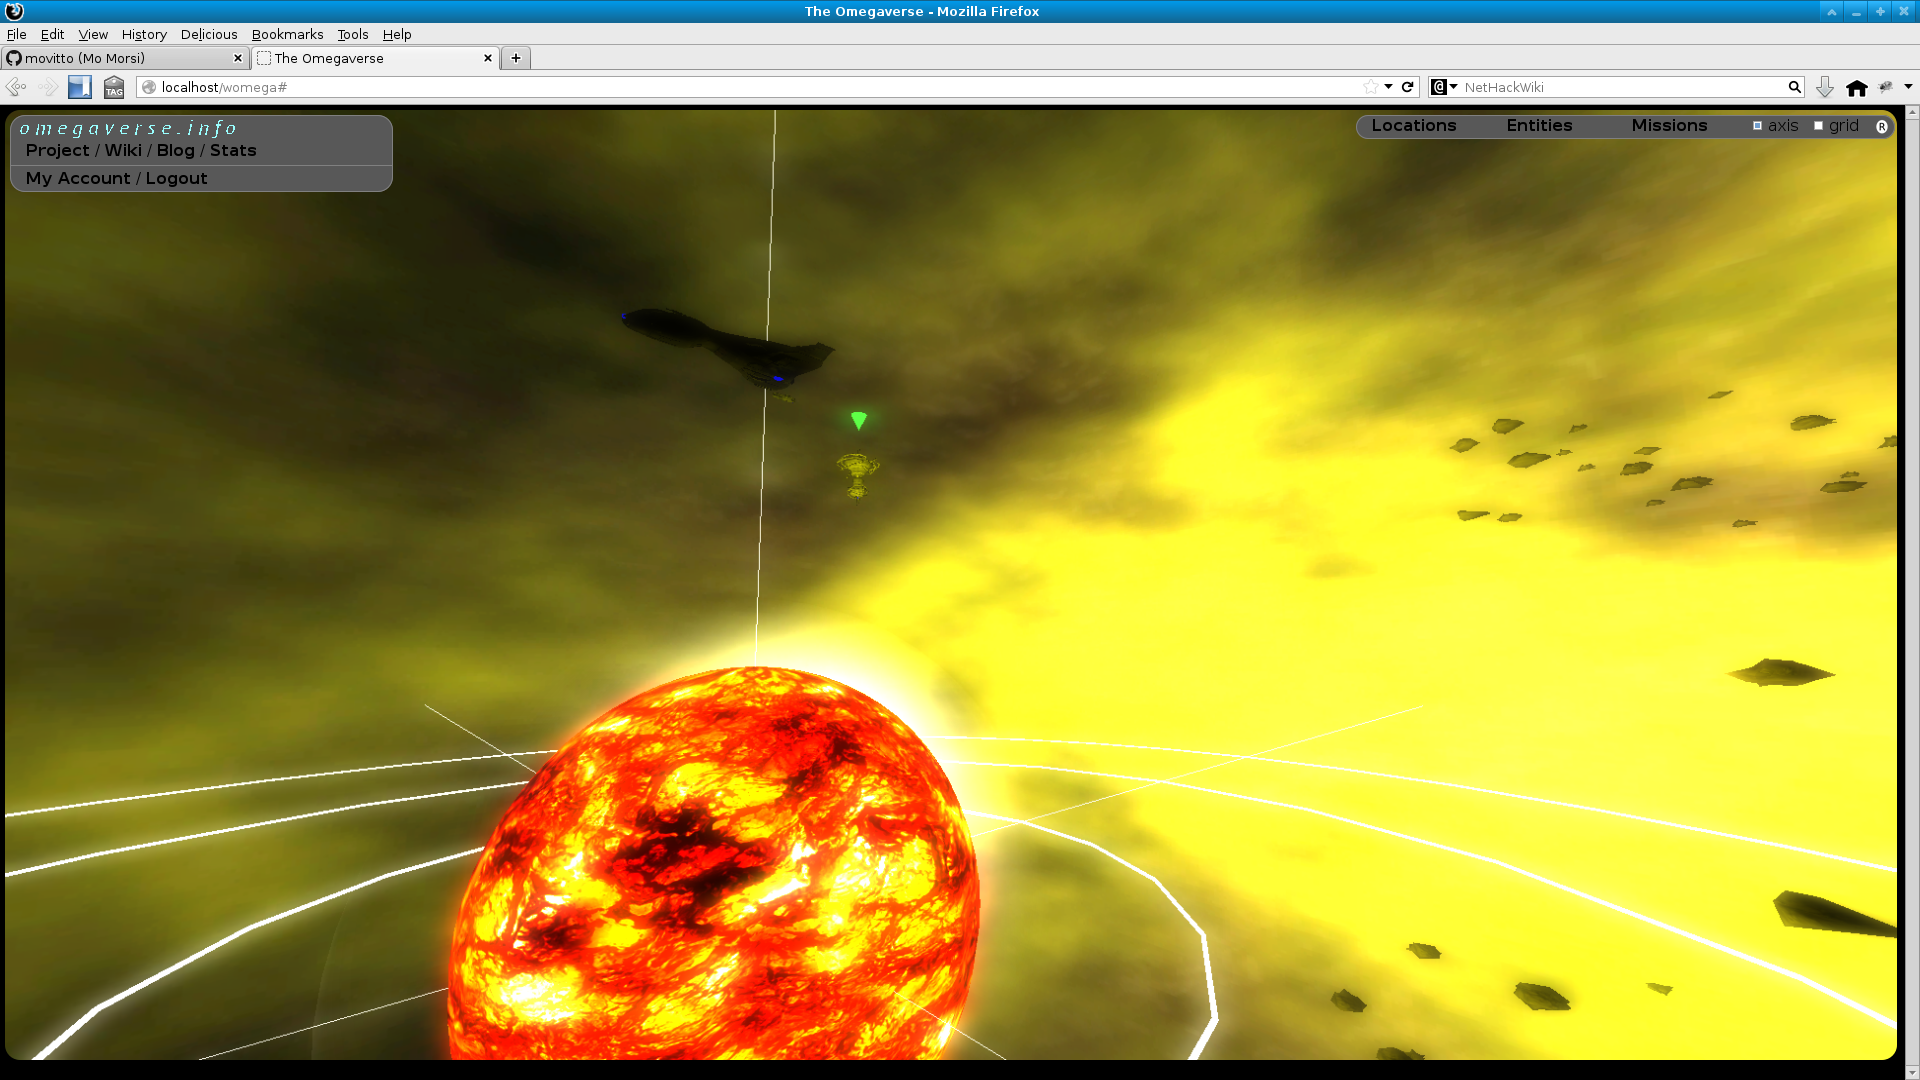
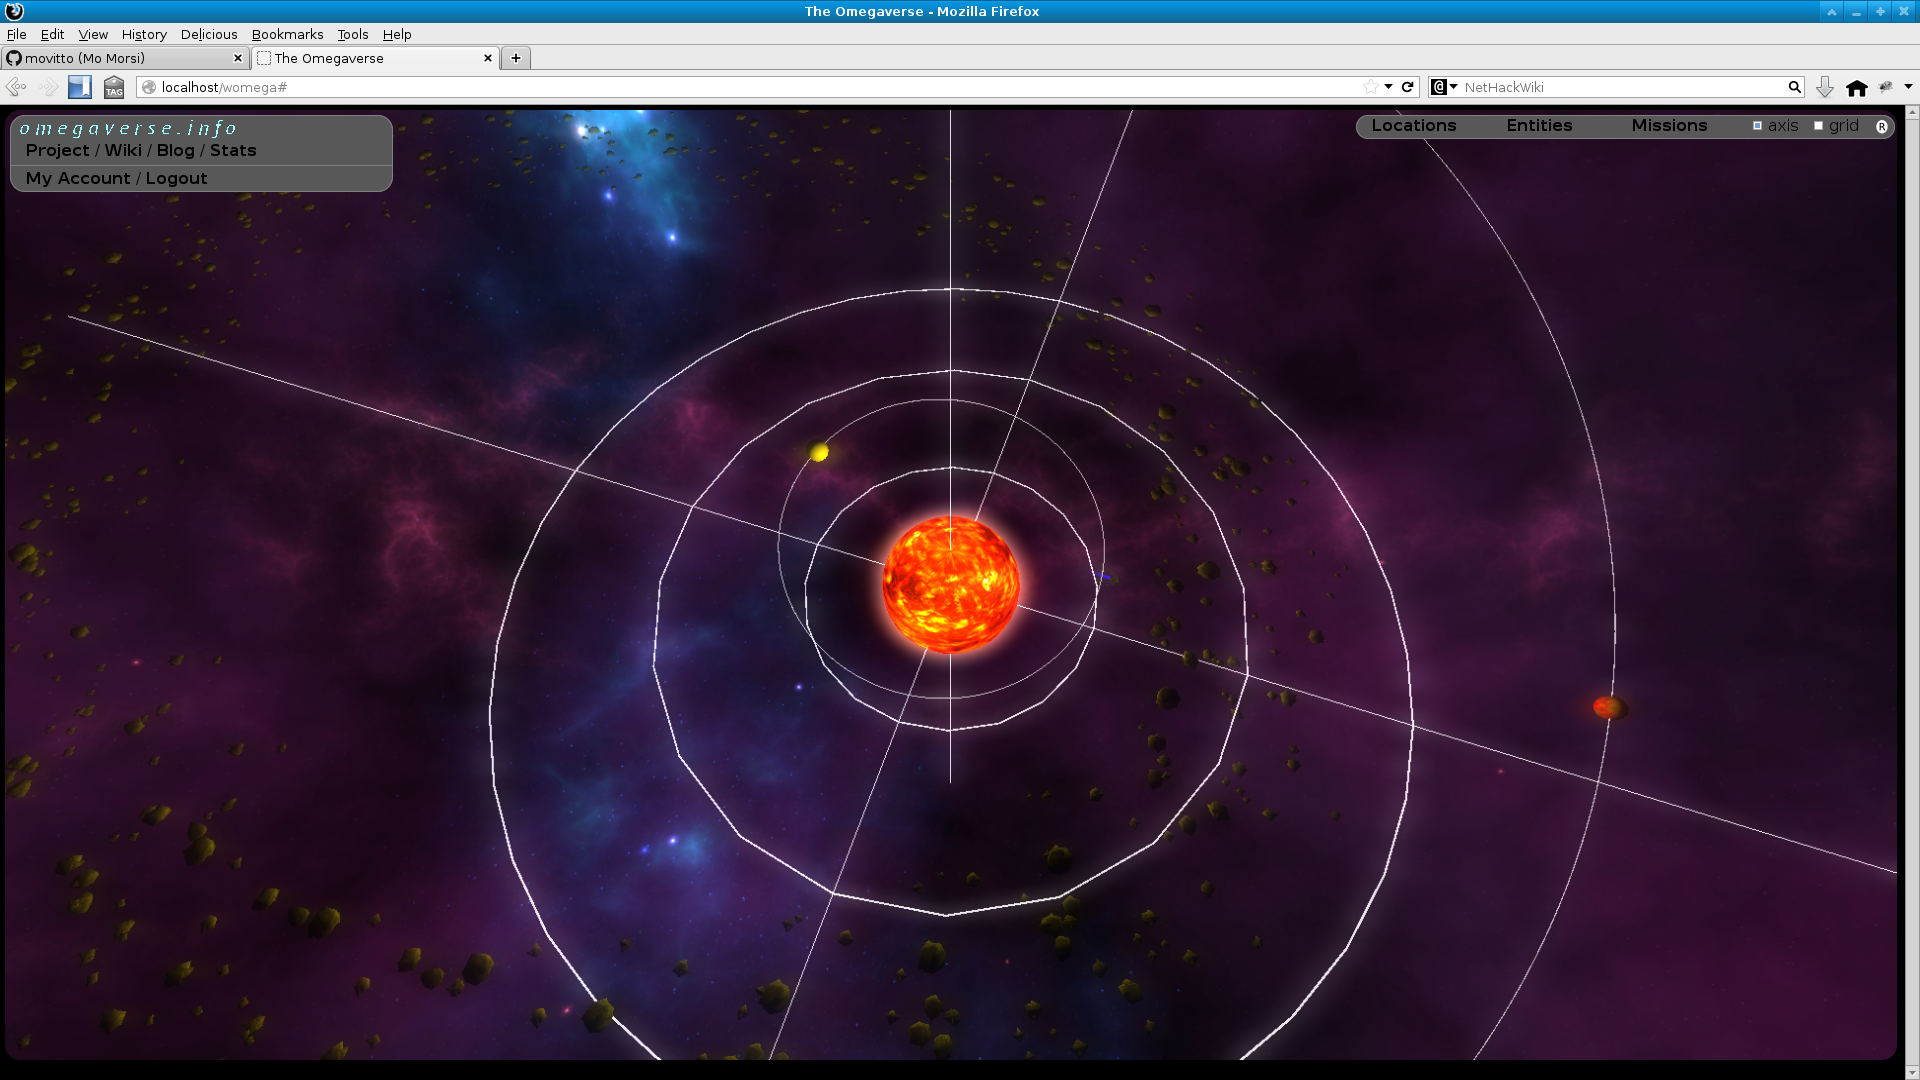
(Also see some older system screenshots)
Click on any asteroid to see the mine-able resources which the asteroid contains.
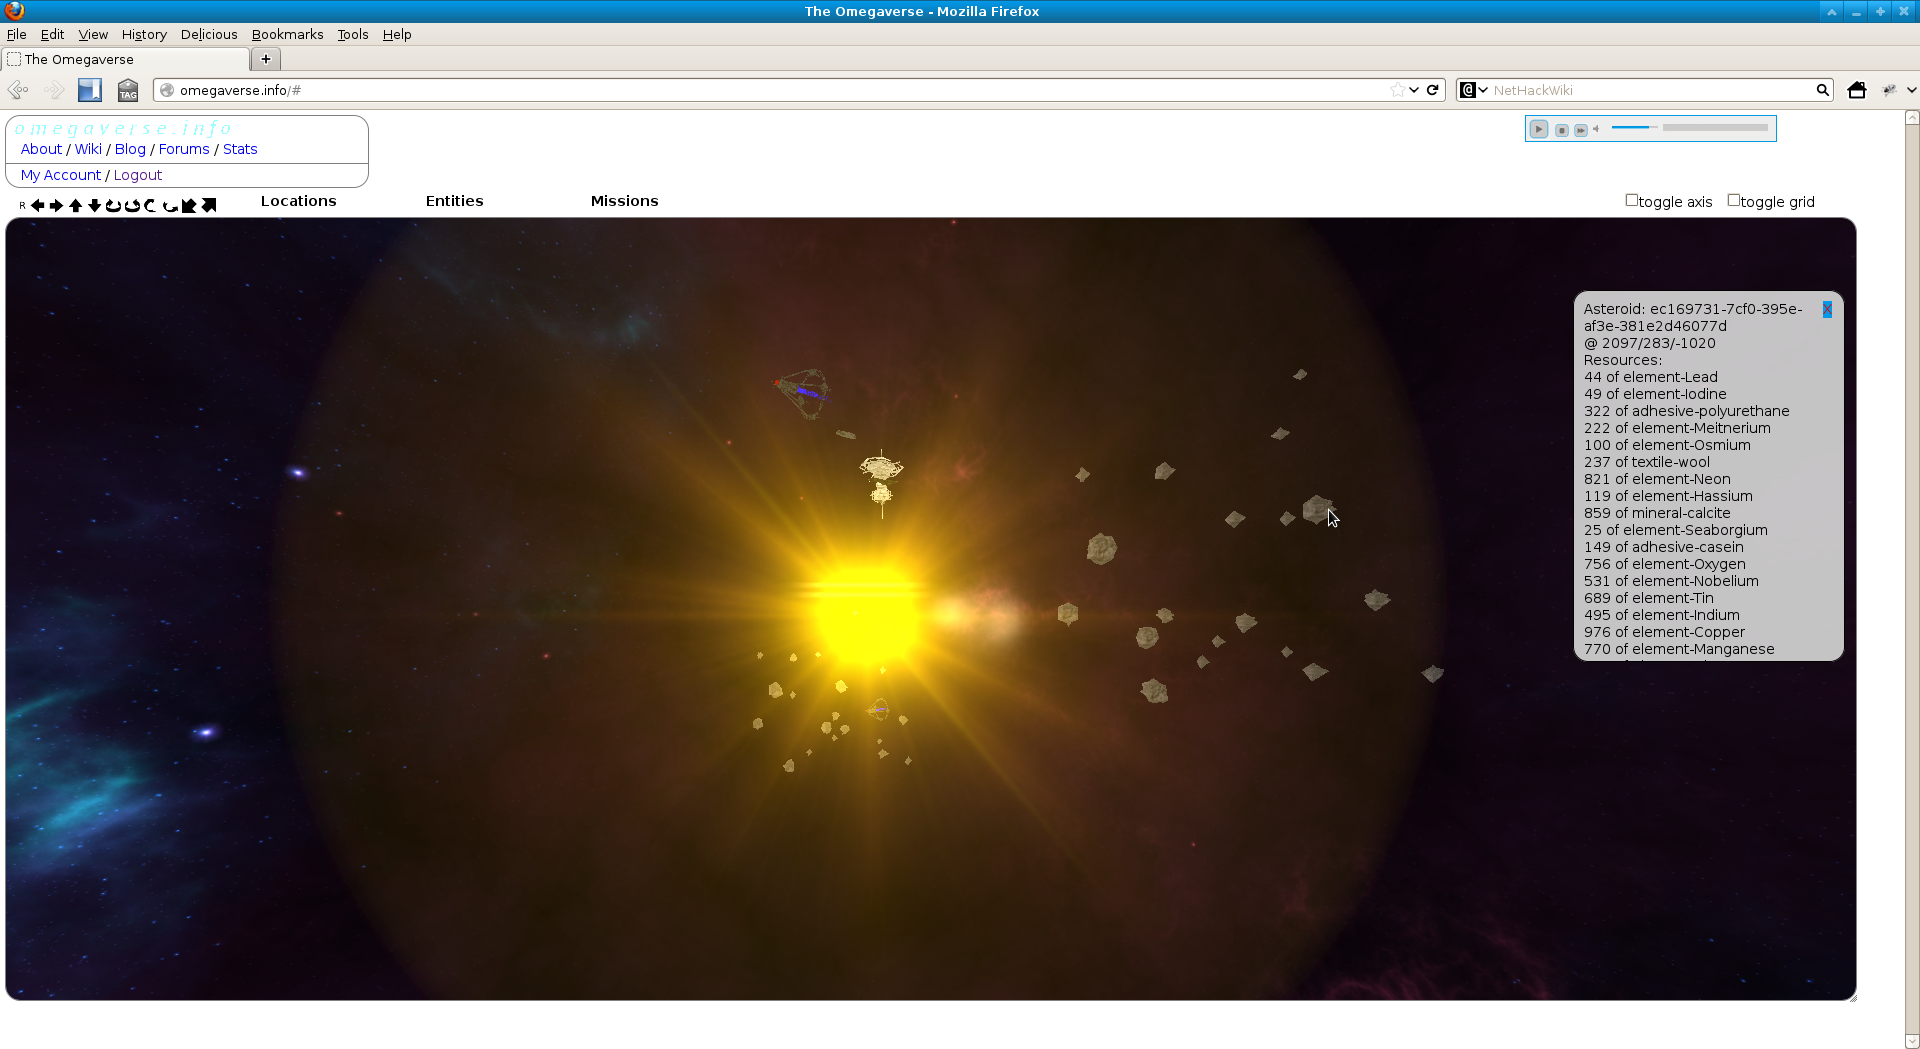
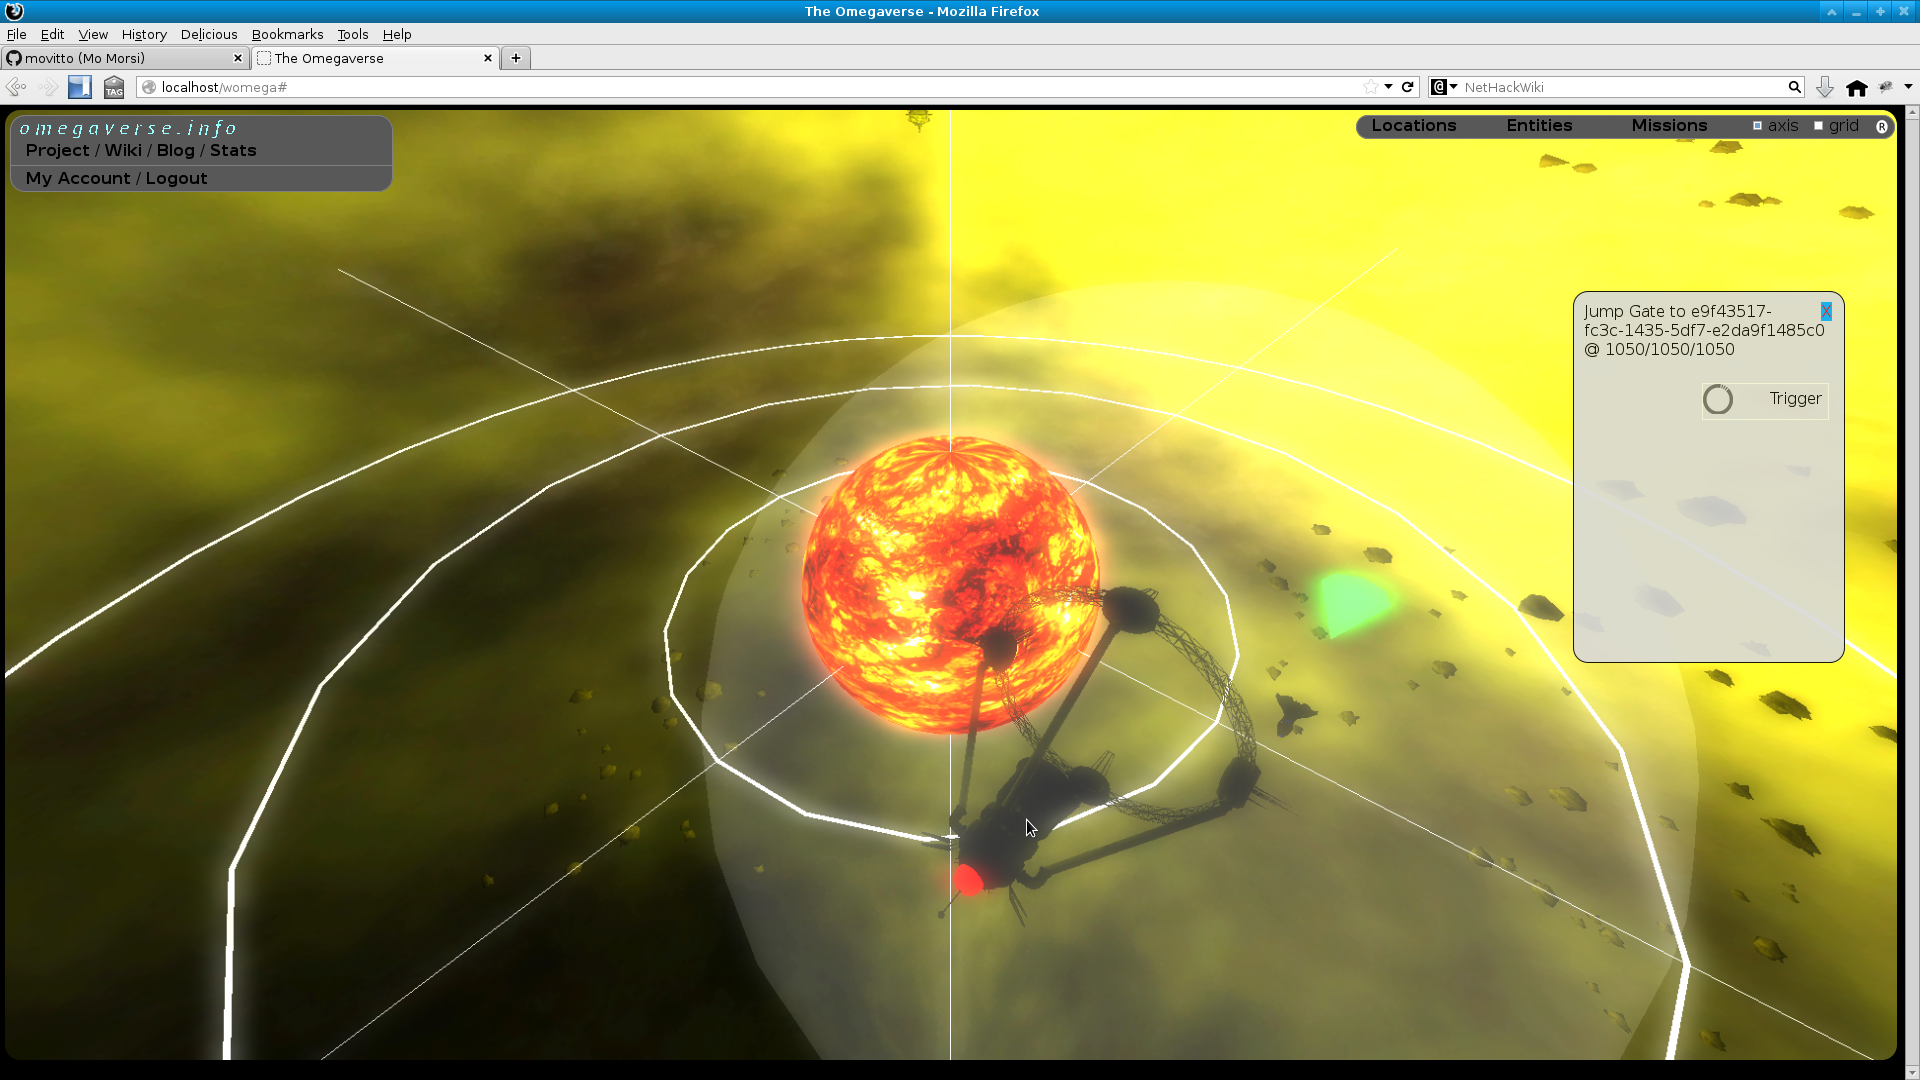
Clicking on a jump gate will visually bring up its trigger radius in the viewing area. Any player owned ships within this distance will jump to the destination system once the trigger command is issued.
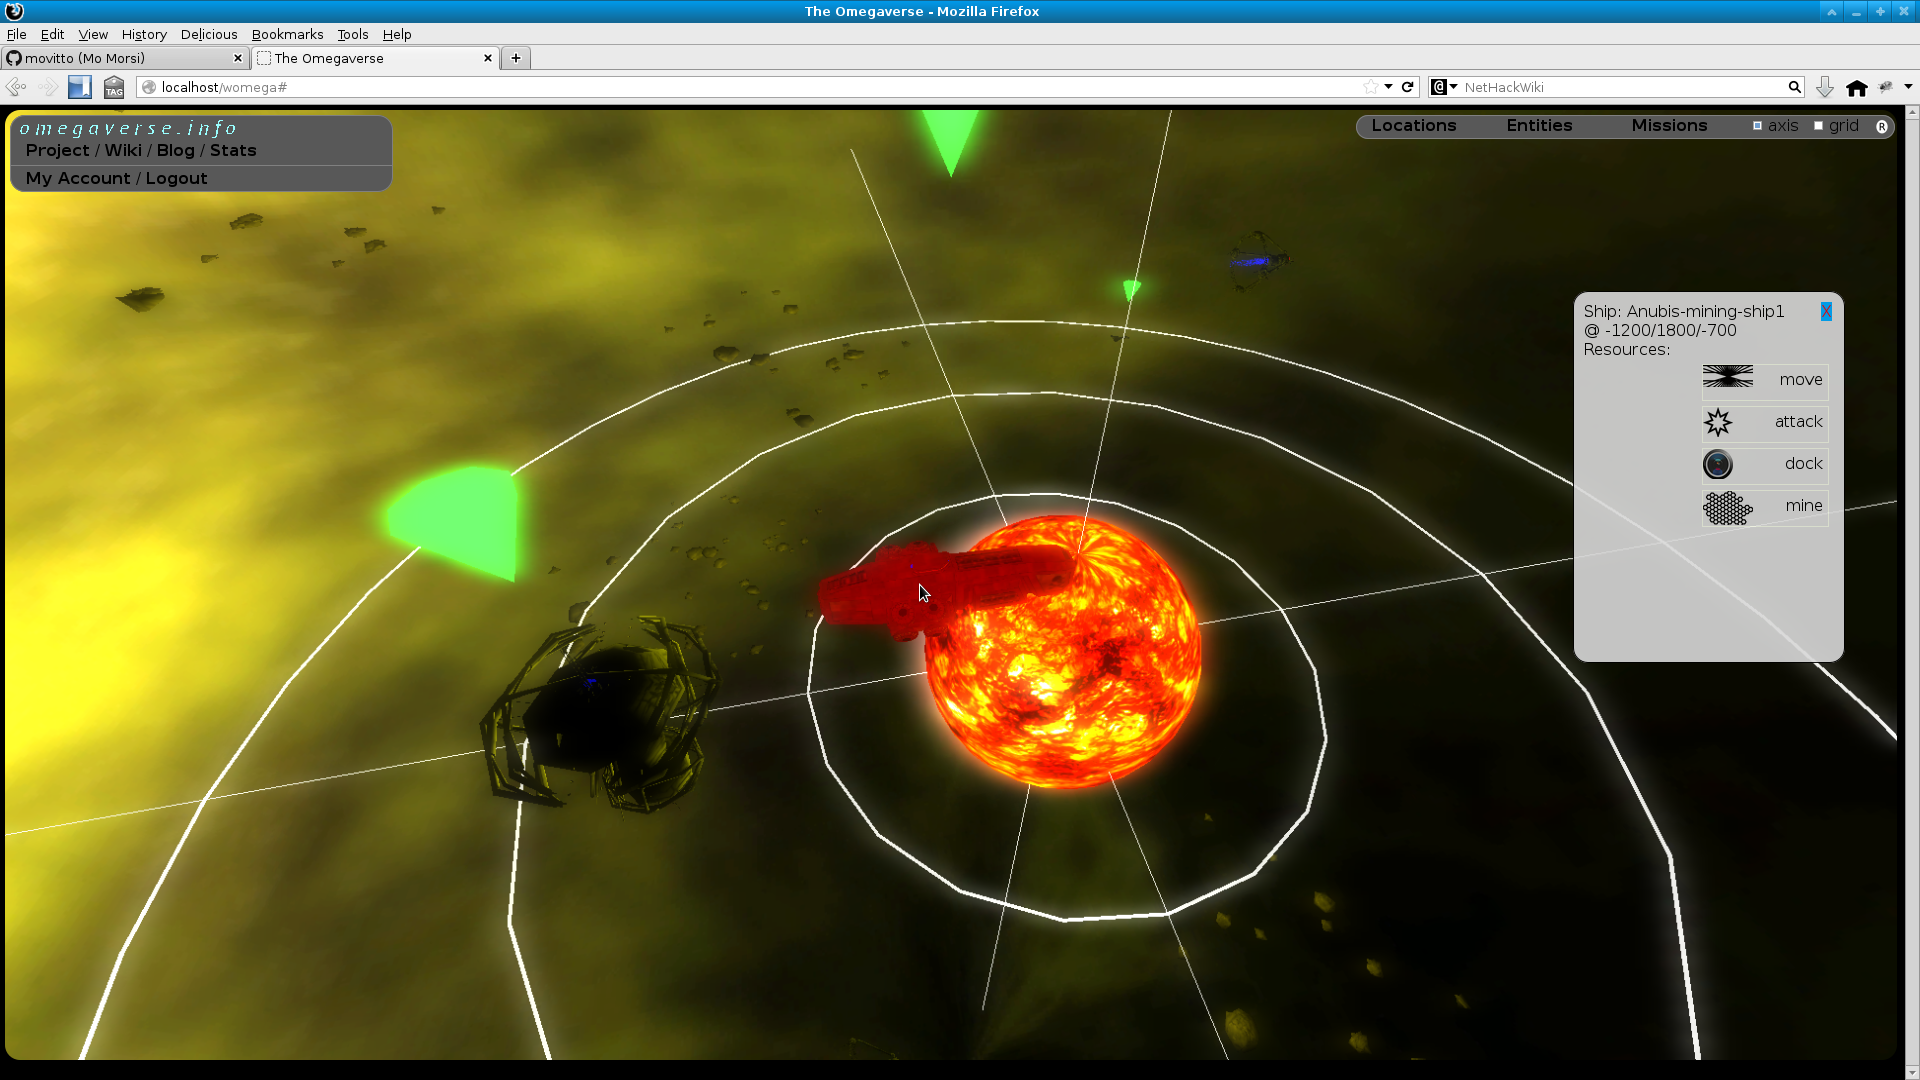
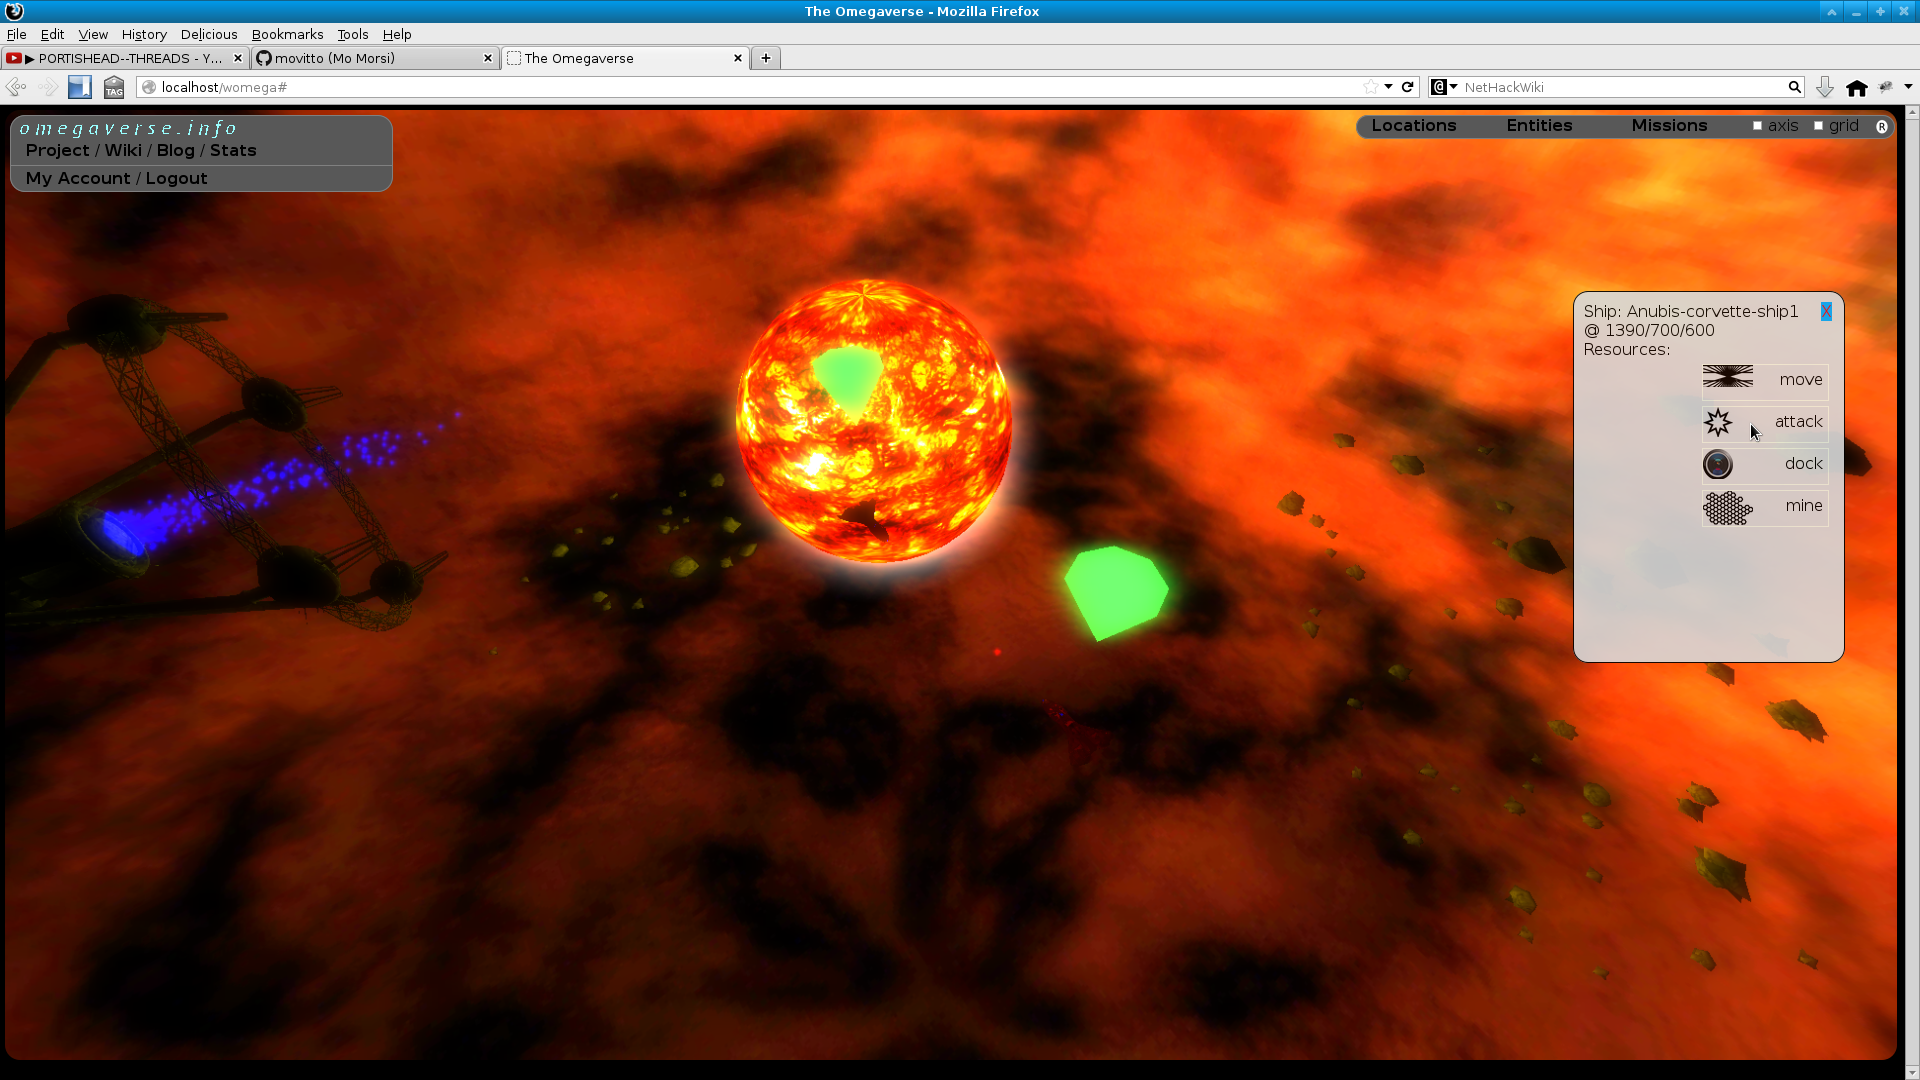
Clicking a ship will bring up its details in a popup. Various ship attributes such as the current position, system, resource and more can be accessed from here. A list of commands which are available for the ship in its given state will be accessible here. Some commands take effect immediately, while others will prompt the user for further parameters.
The mining command is displayed in the details container of any ship with mining capabilities. Clicking on this brings up all the resources in the area in a popup. Clicking on any of these begins mining that resource with the miner. On the server side the miner will periodically extract a fixed quantity from the resource until its cargo is full or mining cannot otherwise continue.
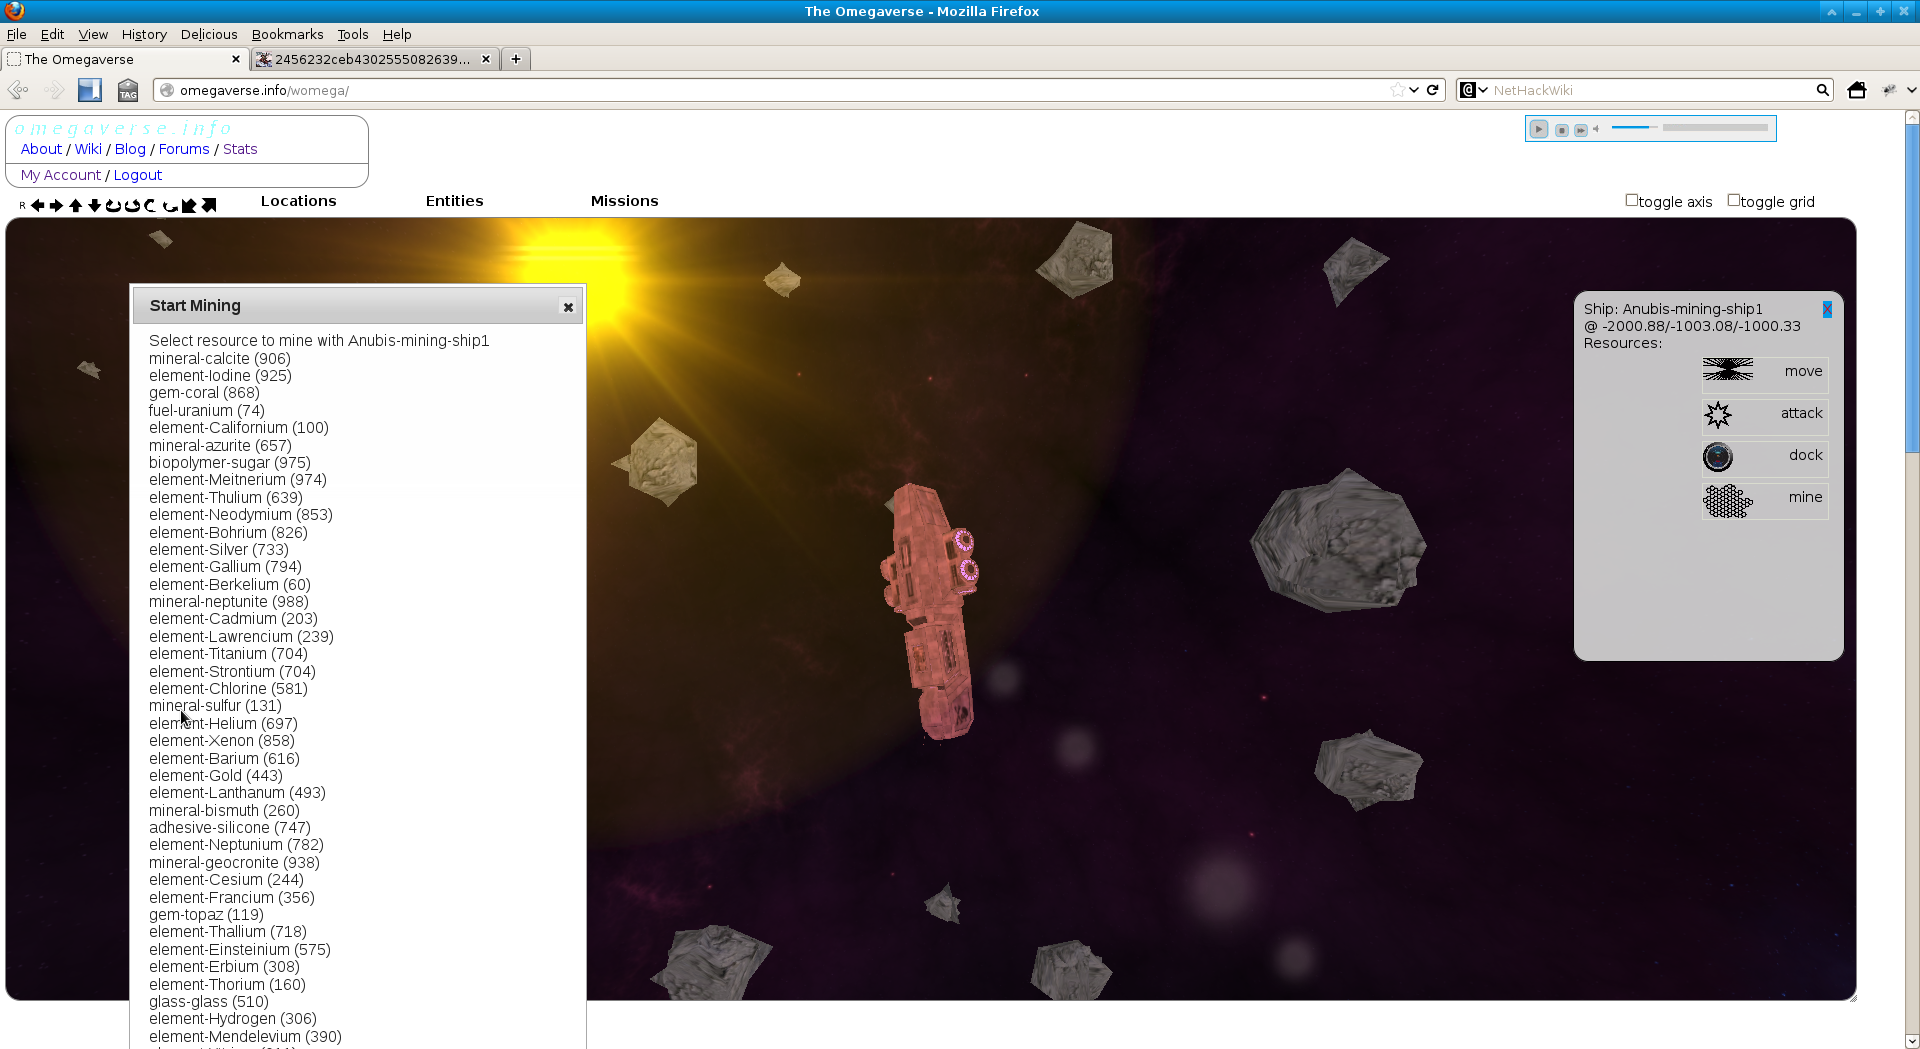
Clicking on the movement command in any ship container brings up a coordinate selection popup. The user can then specify the location to move the ship and submit the form. The ship will rotate towards the direction of movement, move to the specified location and stop.
The attack command is displayed in the details container of any ship with attack capabilities. Clicking on this brings up all the enemy ships in the area in a popup. Clicking on any of these commences the attack. On the server side the attacker will periodically attack the defender, depleting its shield (periodically refreshed by the defender) then its hp, which if it is reduced to 0 results in the defending ship being destroyed. This continues until the defender is destroyed, moves outside the attacker's attack radius, or the attack cannot otherwise continue.
The dock command is displayed for all ships that are not currently docked. Clicking it scans for and displays stations in the vicinity of the ship. Clicking a station docks the ship to it.
The undock command will be displayed for all ships the are docked. Clicking it will undock the ship from the station it is currently docked at.
Any entity can transfer resources to another provided the destination is within transfer distance and has space for the resource. Currently the UI only supports transferring on resources from docked ships to the stations they are docked at. Simply click the transfer command with any docked ship selected to transfer all contained resources to the station.
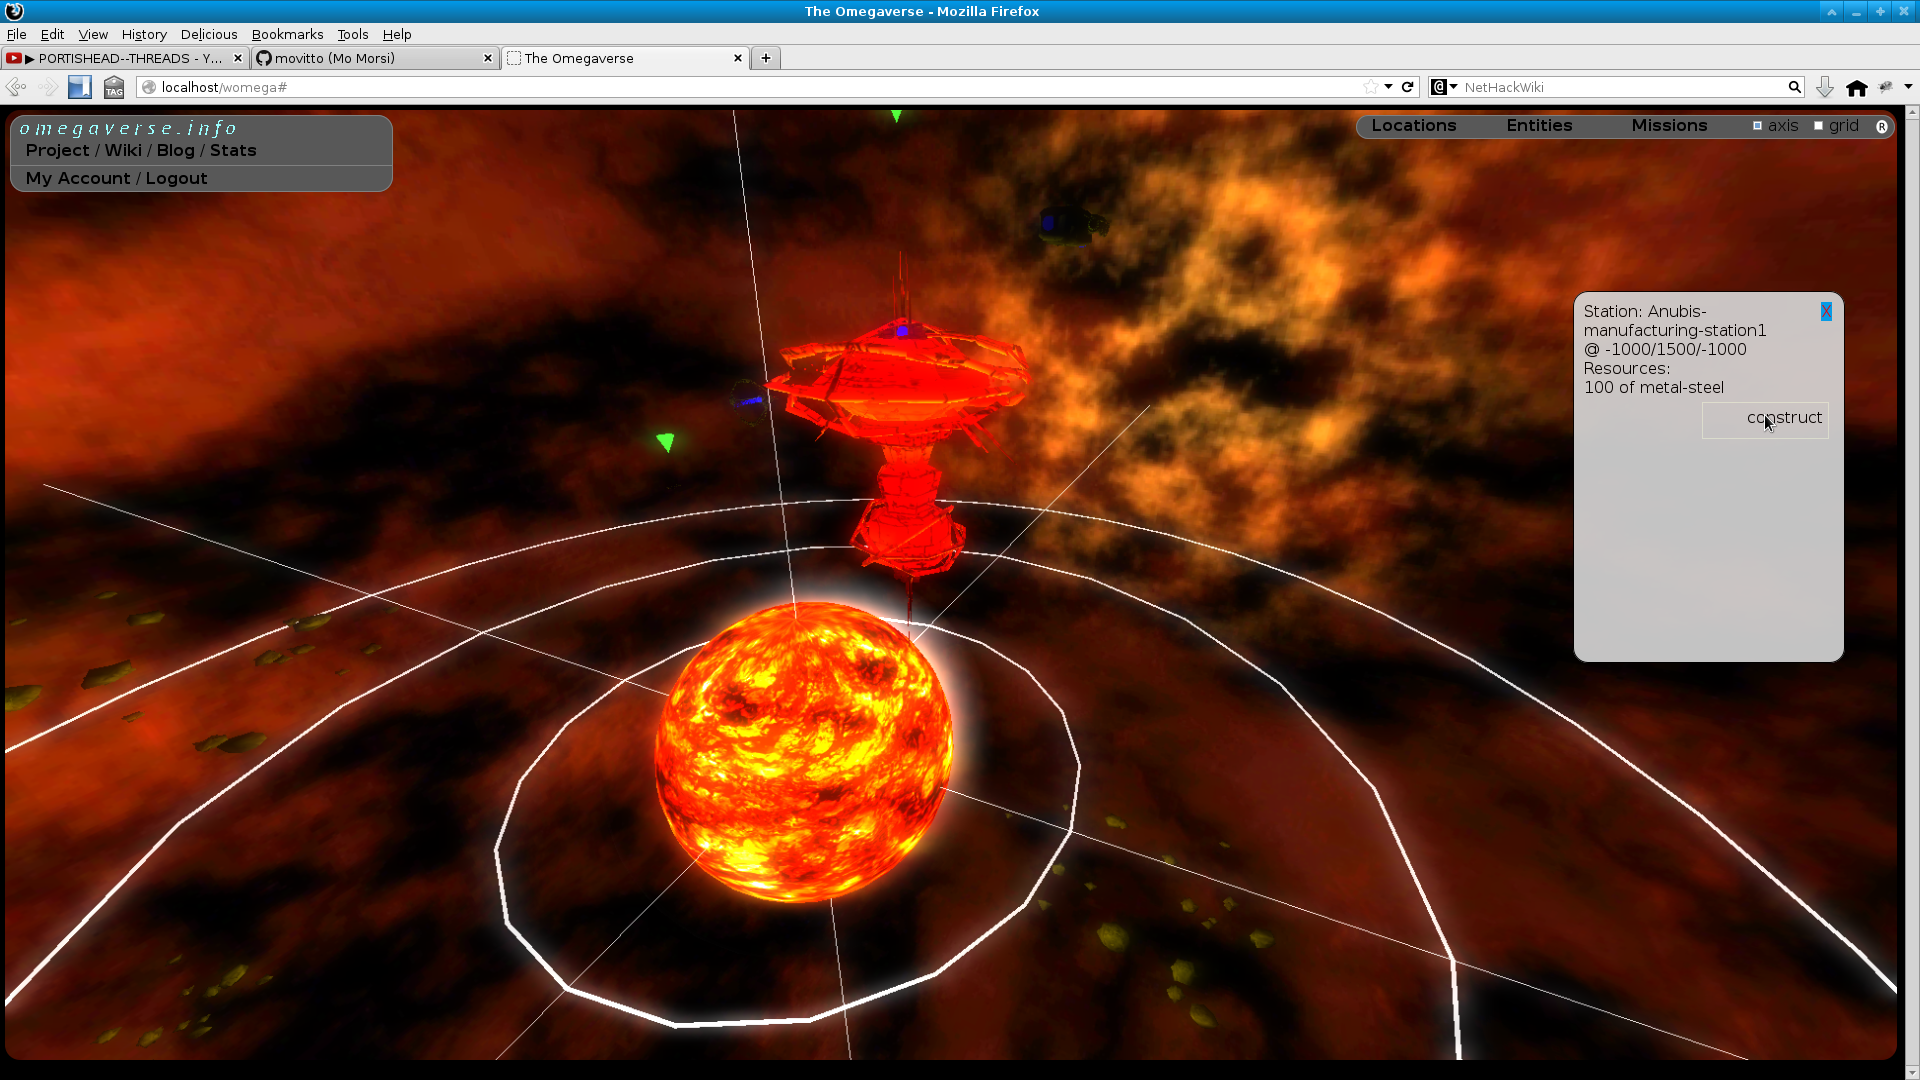
Manufacturing stations can construct new ships / stations on demand. Simply click the construct command with a station selected to begin the process. While the resources for the entity are used immediately, construction takes place in stages over time (the user can subscribe to the progress of these if needed). Once it's complete the constructed entity is placed in the vicinty as the manufacturer and is available for use.
Missions can be viewed / acceped by clicking the missions button on the page. The number or missions the current user has completed and failed will be displayed as well as the current active mission or a list of missions the user can accept. Clicking one will bring up mission details and will allow the user to accept it if they so choose.
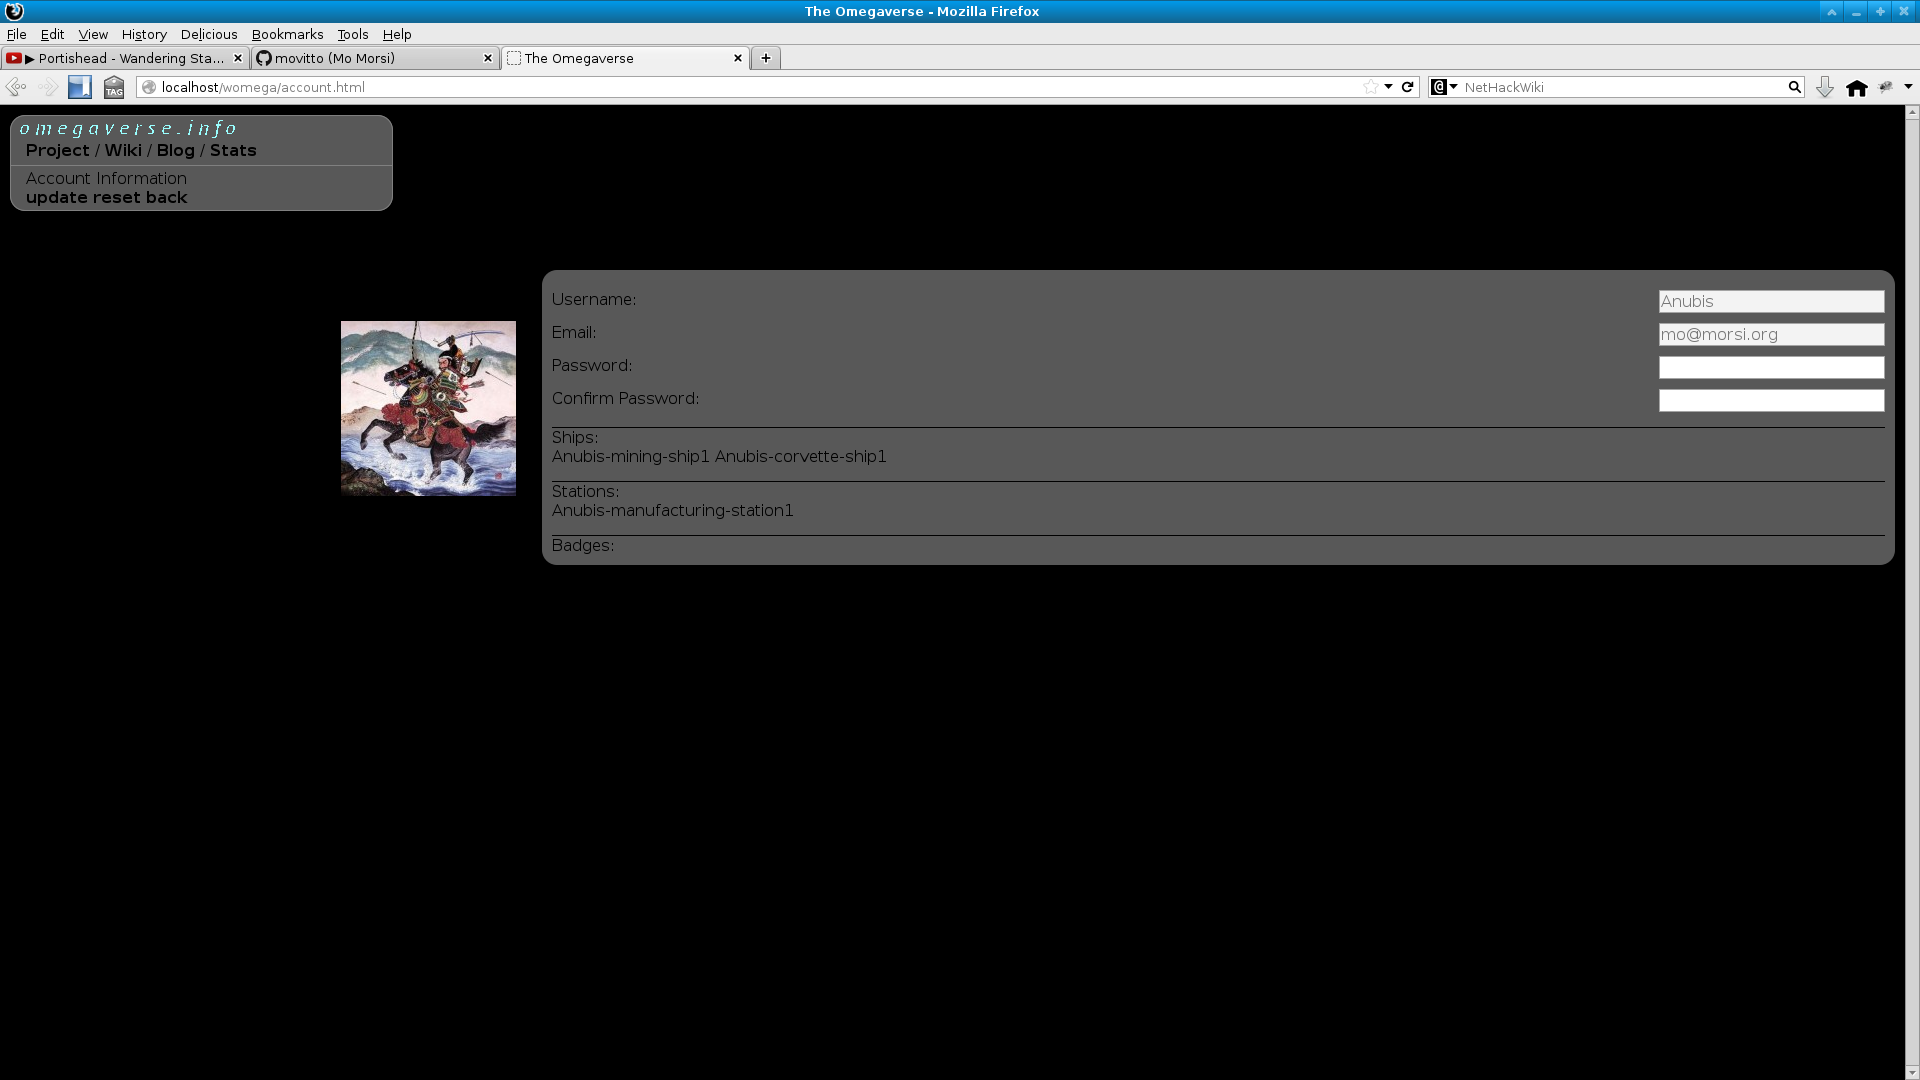
The main navigation allows the user to access their account page. From here they can change their password, view the entities they own, as well as any badges/title which their user may have earned..
The user's avatar will be loaded from the gravatar associated with their email address.
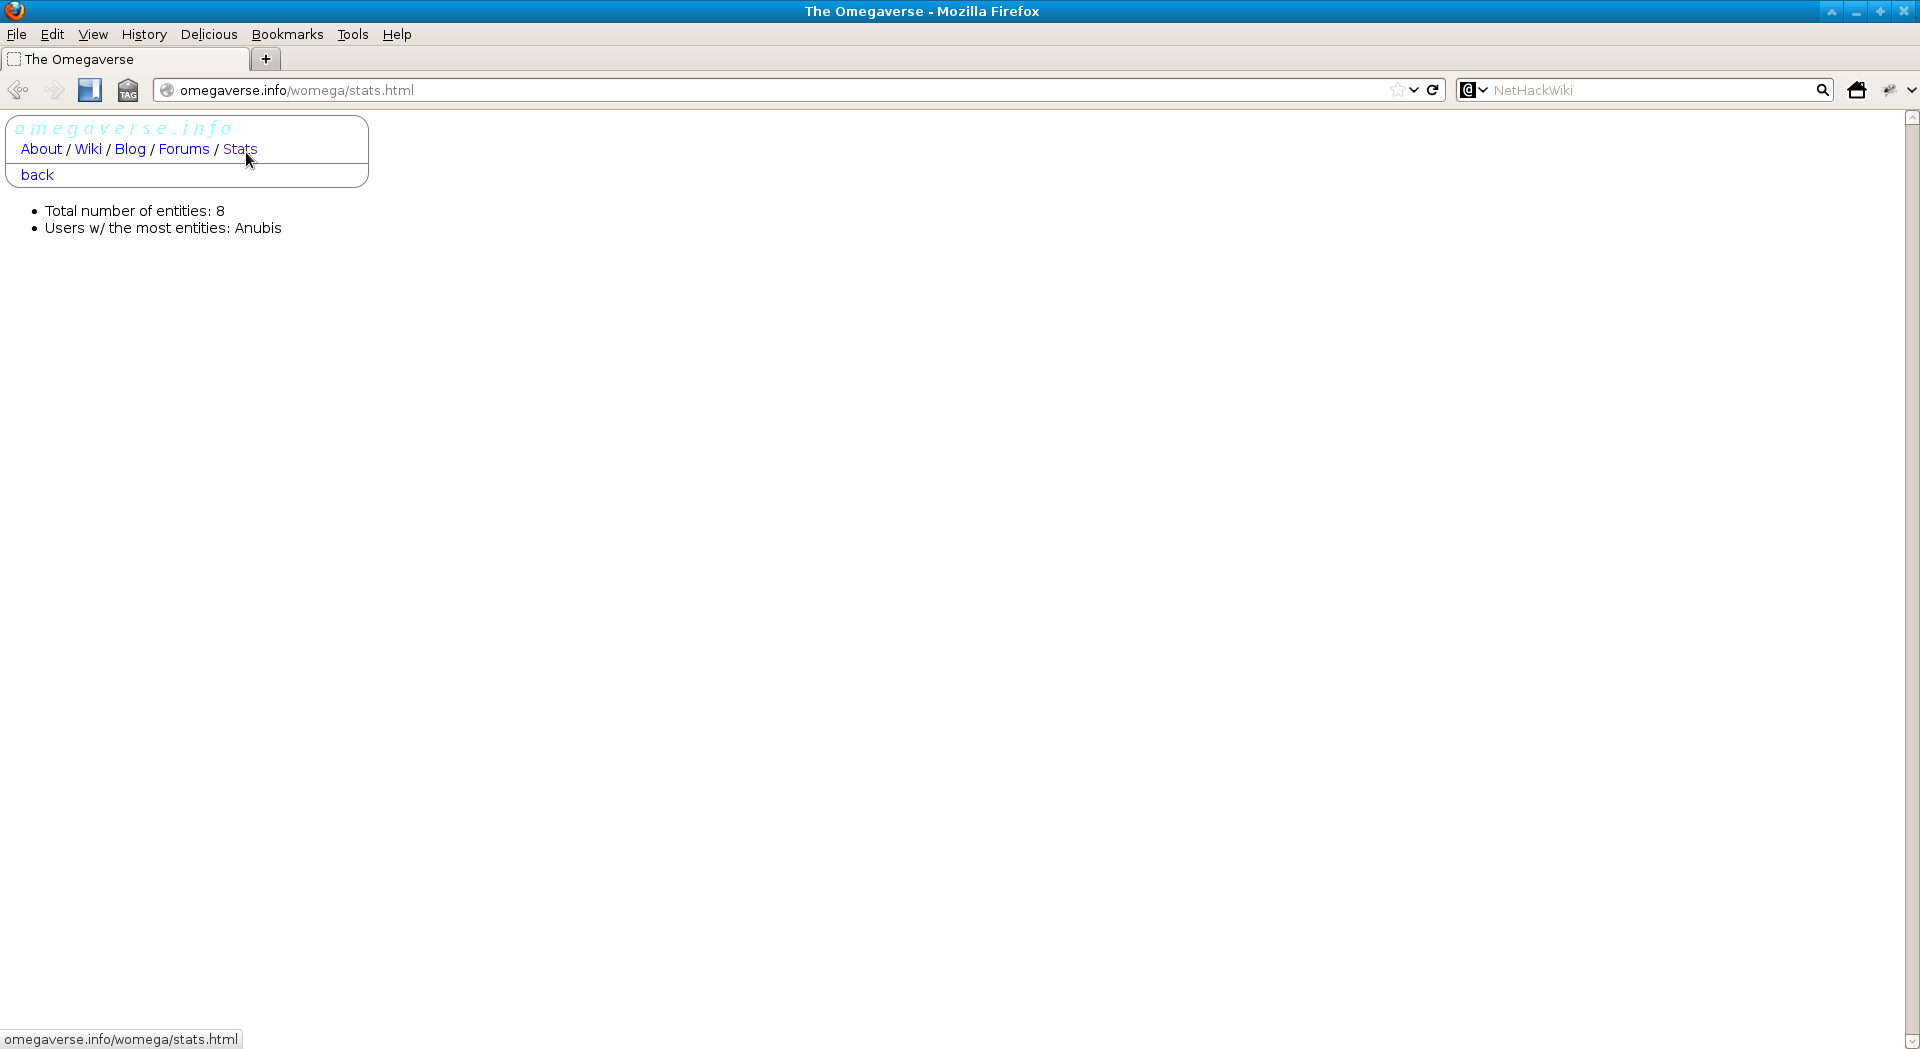
The main navigation also allows the user to access overall system stats. Additional stats and debugging interfaces are provided if configured in the omega server. See Configuring the Server below.
