This repository has been archived by the owner on Aug 17, 2021. It is now read-only.
VirtualBox
This page details how to run Rancher server and 2 agents on VMs created via Oracle VirtualBox.
- Install VirtualBox, if you haven't done so already.
In case your host is running Windows 10 Pro + Hyper-V, please remove this hypervisor before running any VirtualBox VMs! - Have the ability of accessing a machine using SSH
- On Windows, you can use Git Bash, which is included in Git for Windows
| # | VM Name | Role | OS | CPU Cores | RAM (MB) | Disk (GB) | Comments |
|---|---|---|---|---|---|---|---|
| 1 | rs | Rancher server | CoreOS | 2 | 1024 | 10 |
|
| 2 | ra1 | Rancher agent | 2048 | 20 | |||
| 3 | ra2 | Rancher agent | 2048 | 20 |
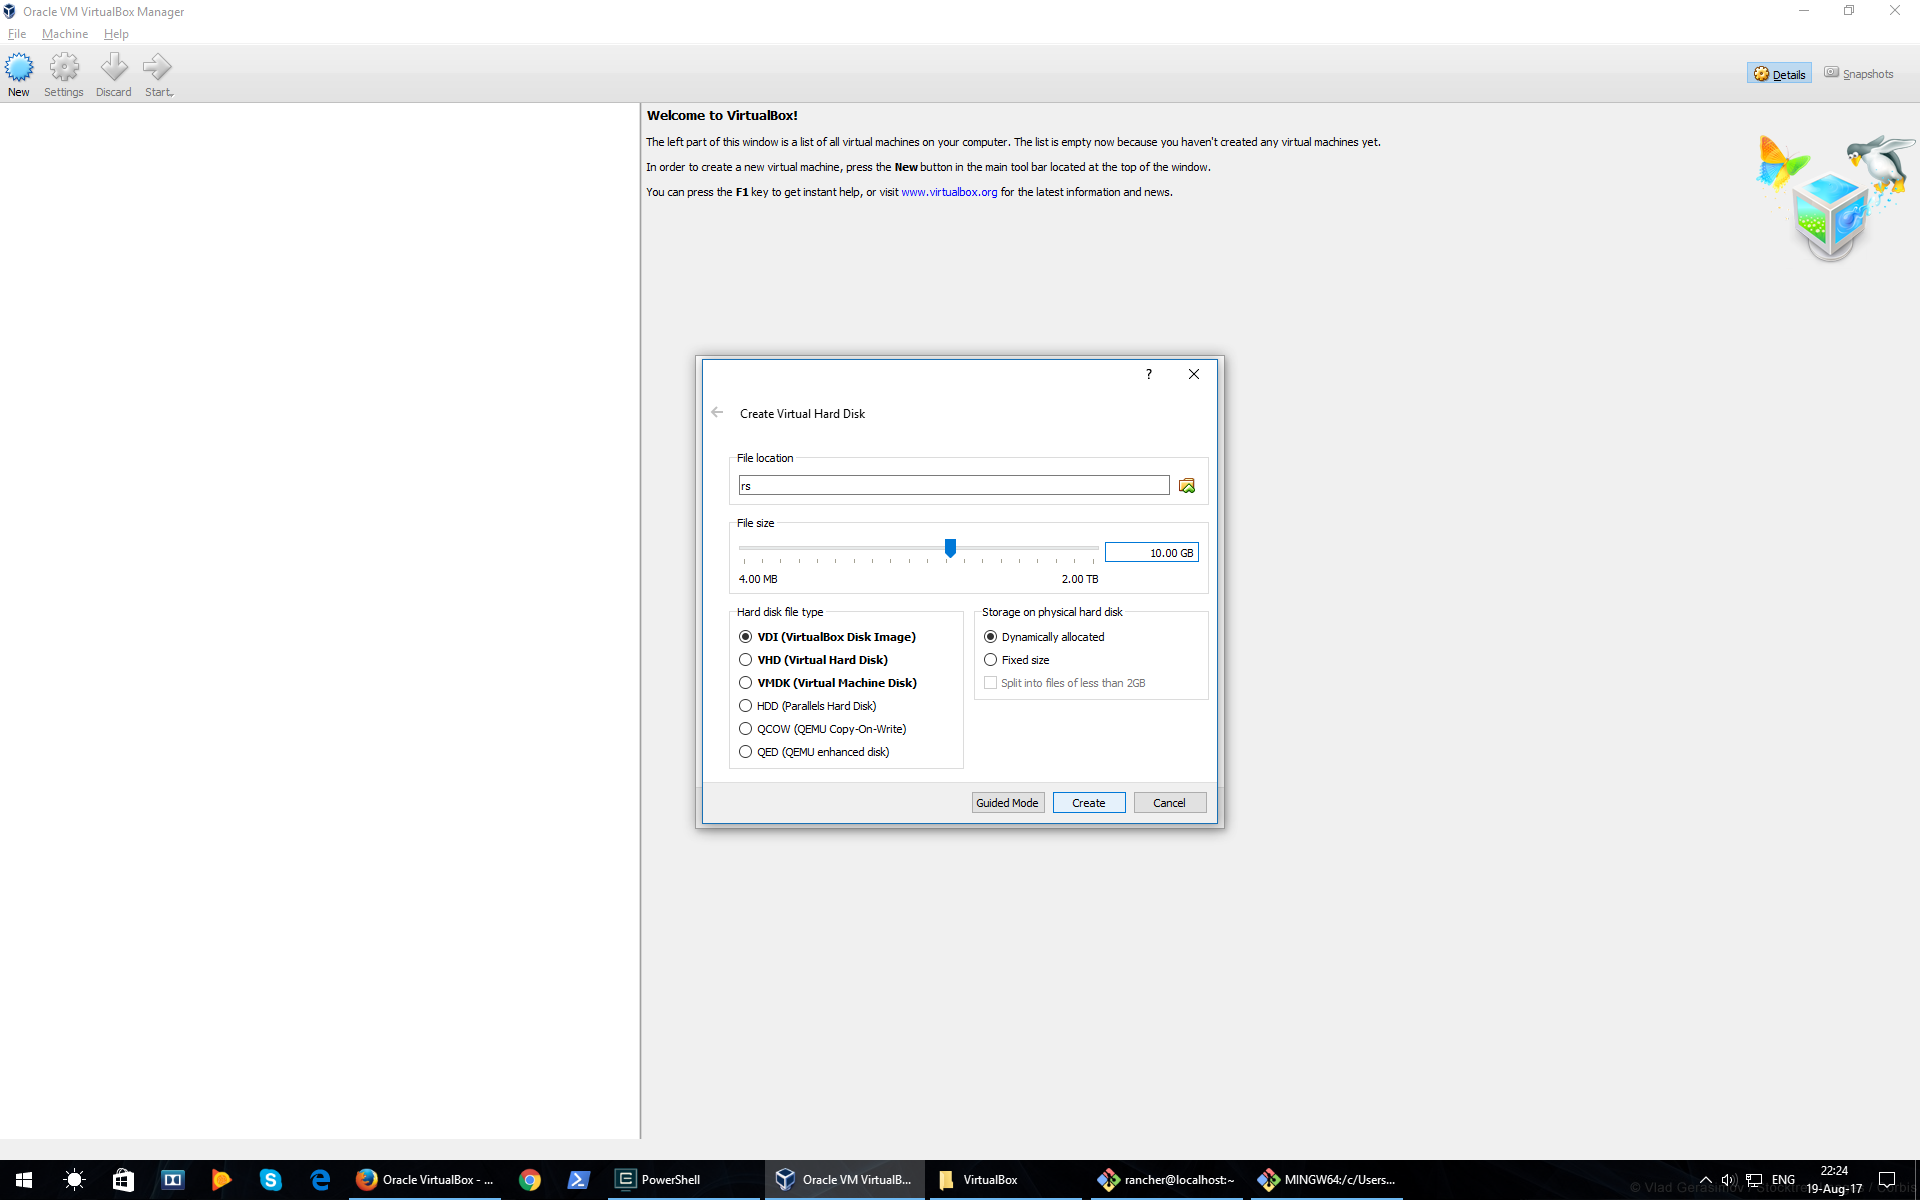
Storage on physical hard disk: Dynamically allocated
In case your host is running Windows 10 Pro + Hyper-V, please remove this hypervisor before running any VirtualBox VMs!
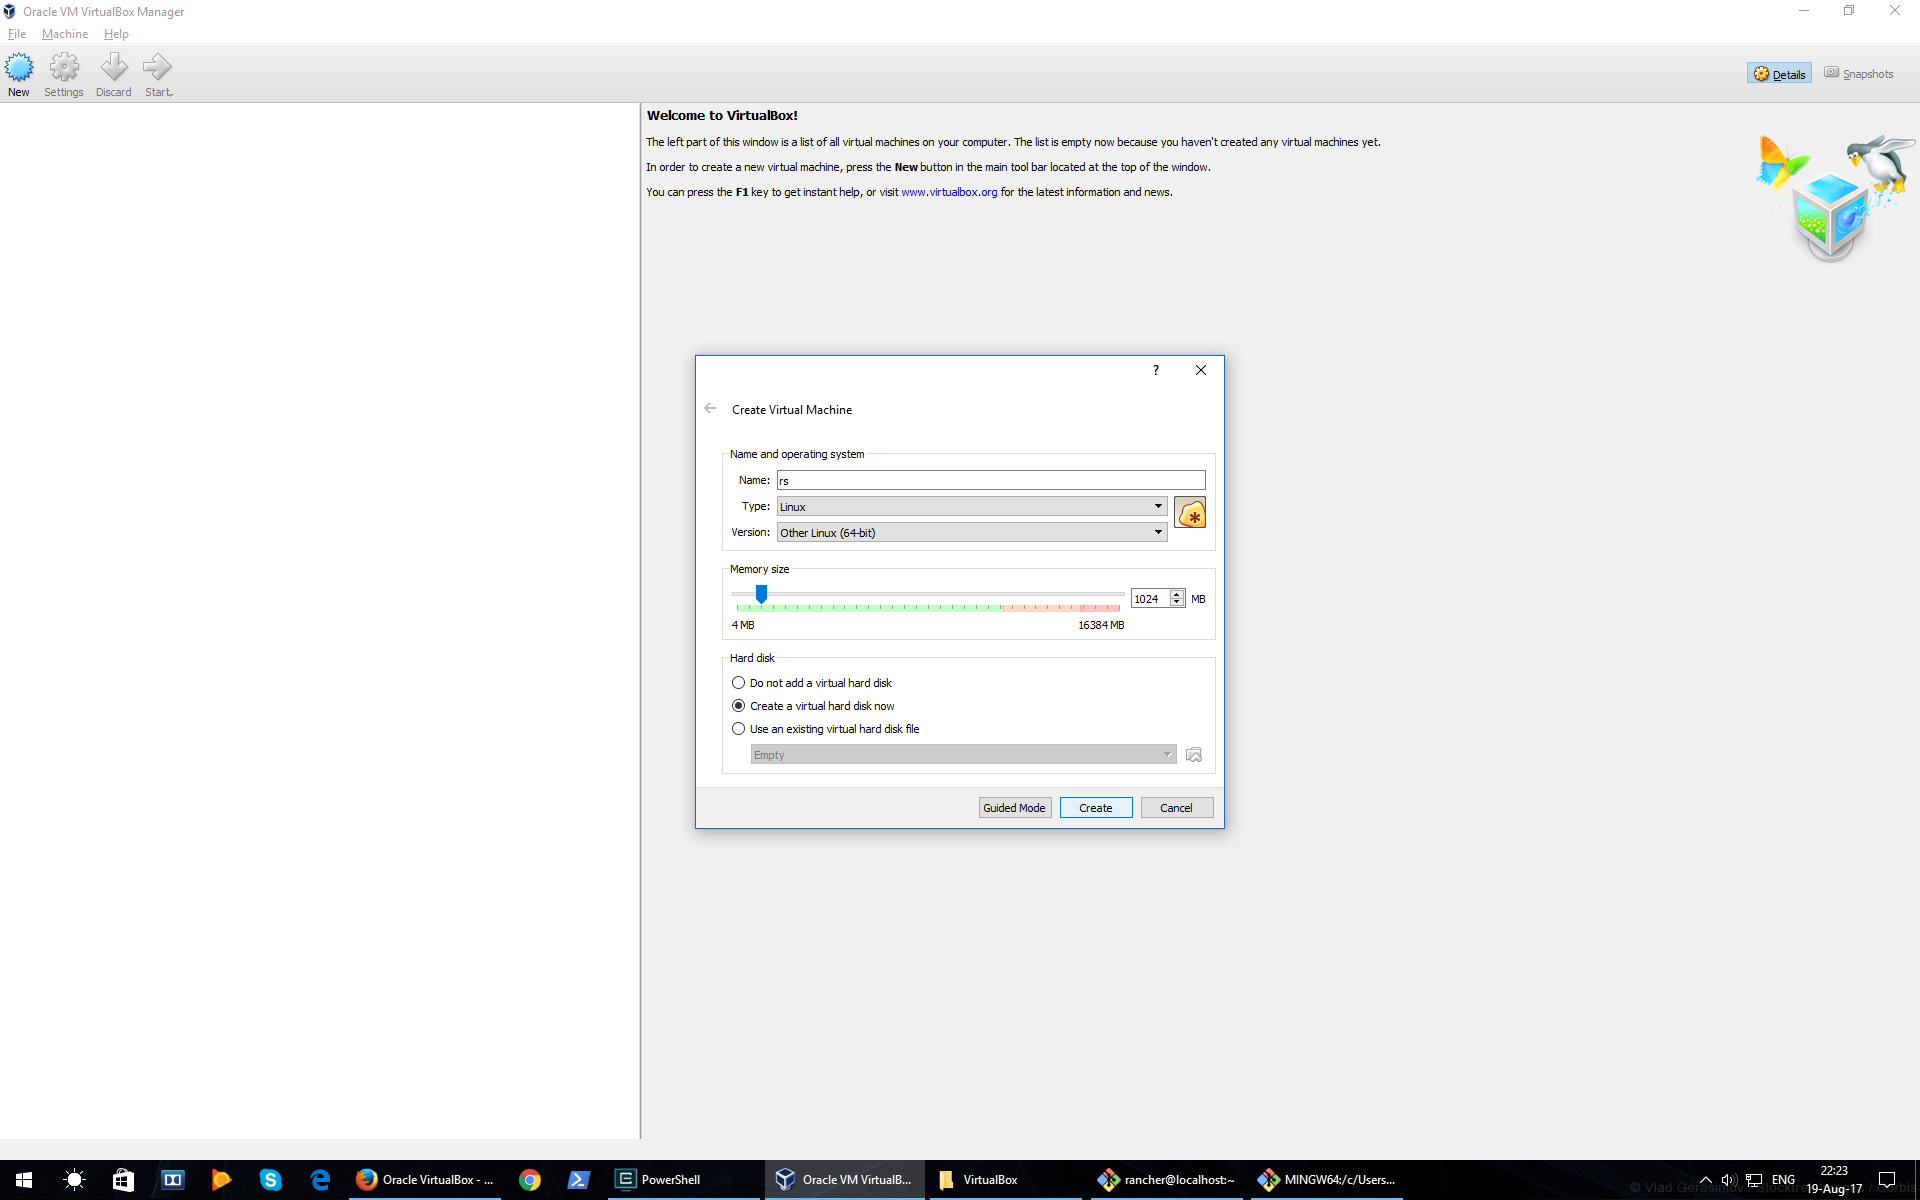
- Specify name and operating system

- Specify file location

- Specify amount of RAM

- Specify number of CPU cores

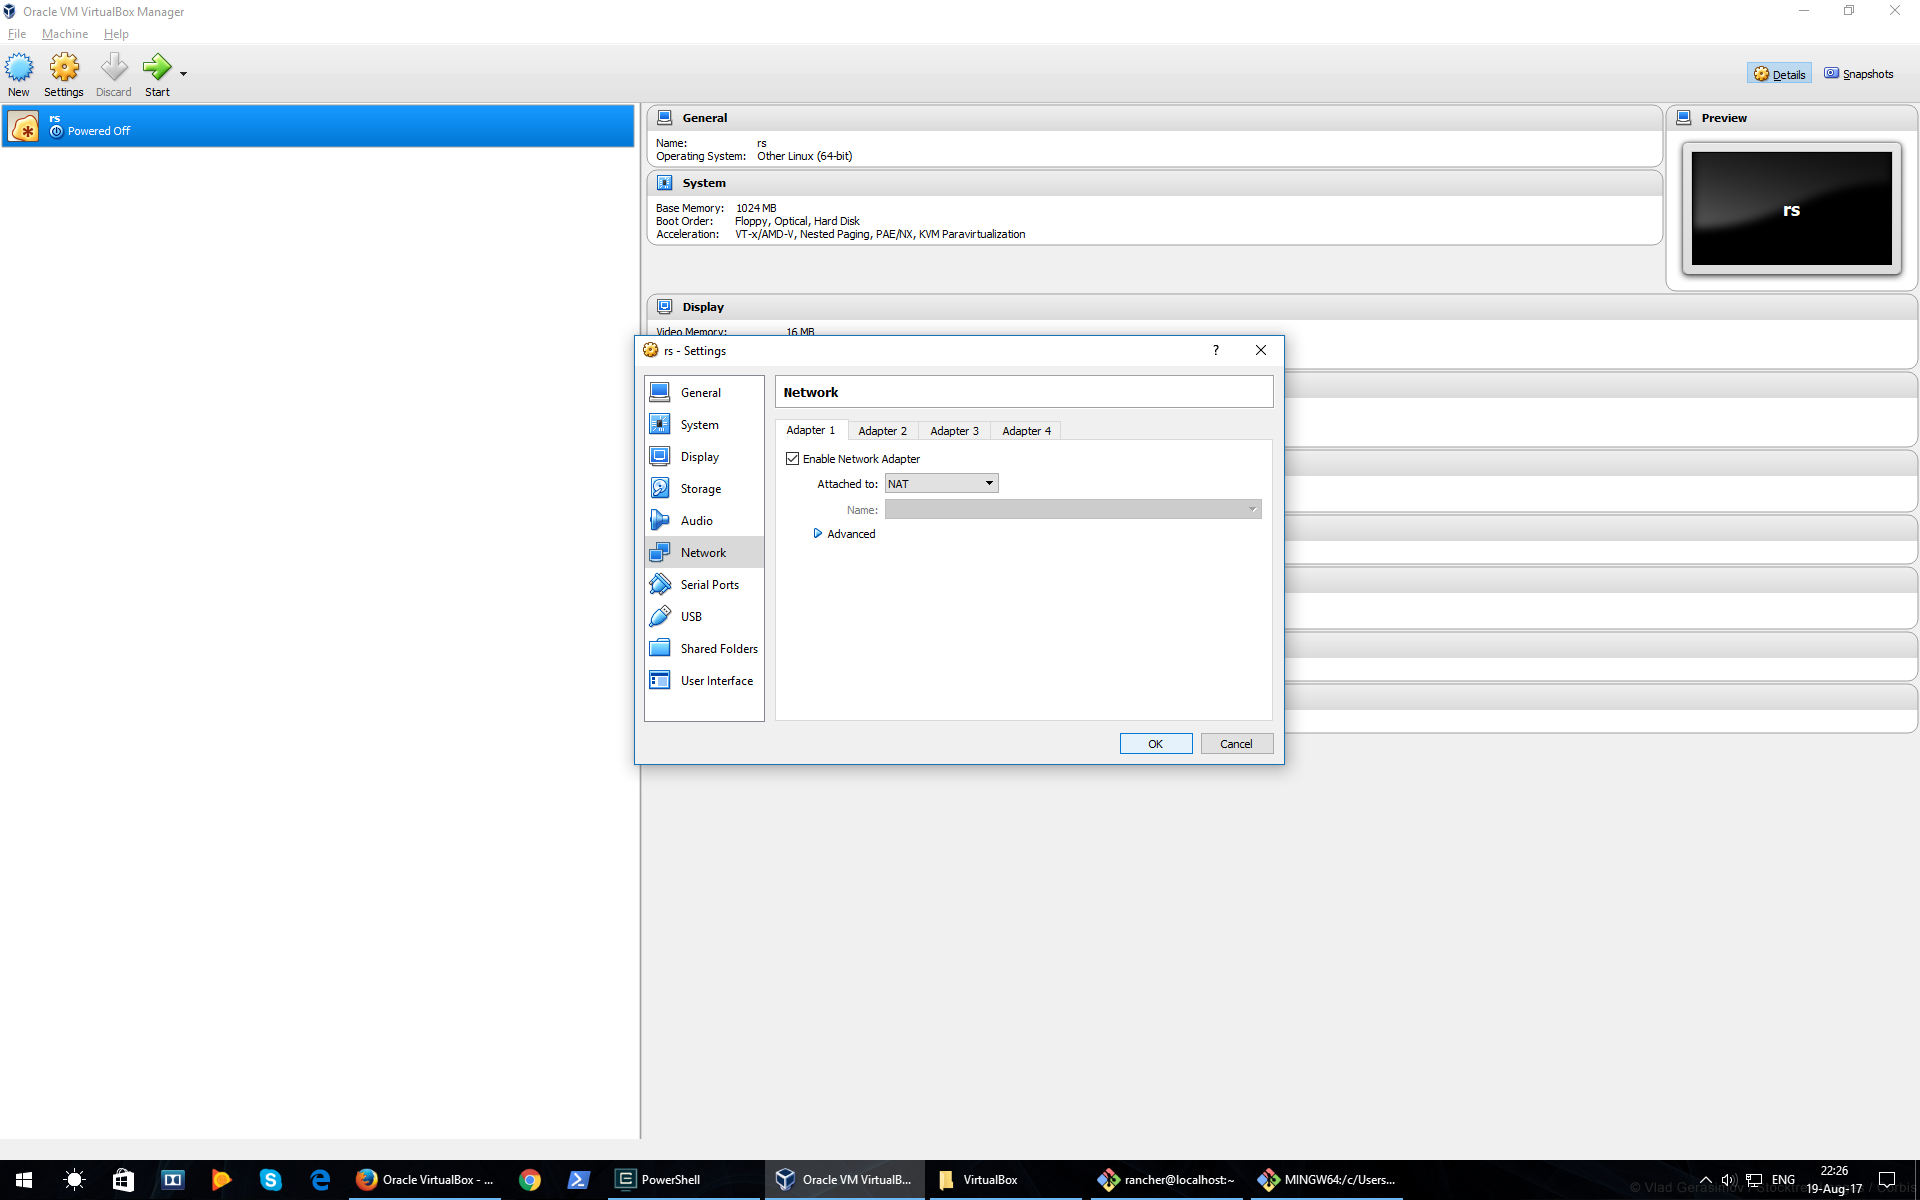
- Enable network adapter: NAT

- Enable network adapter: Bridged Adapter

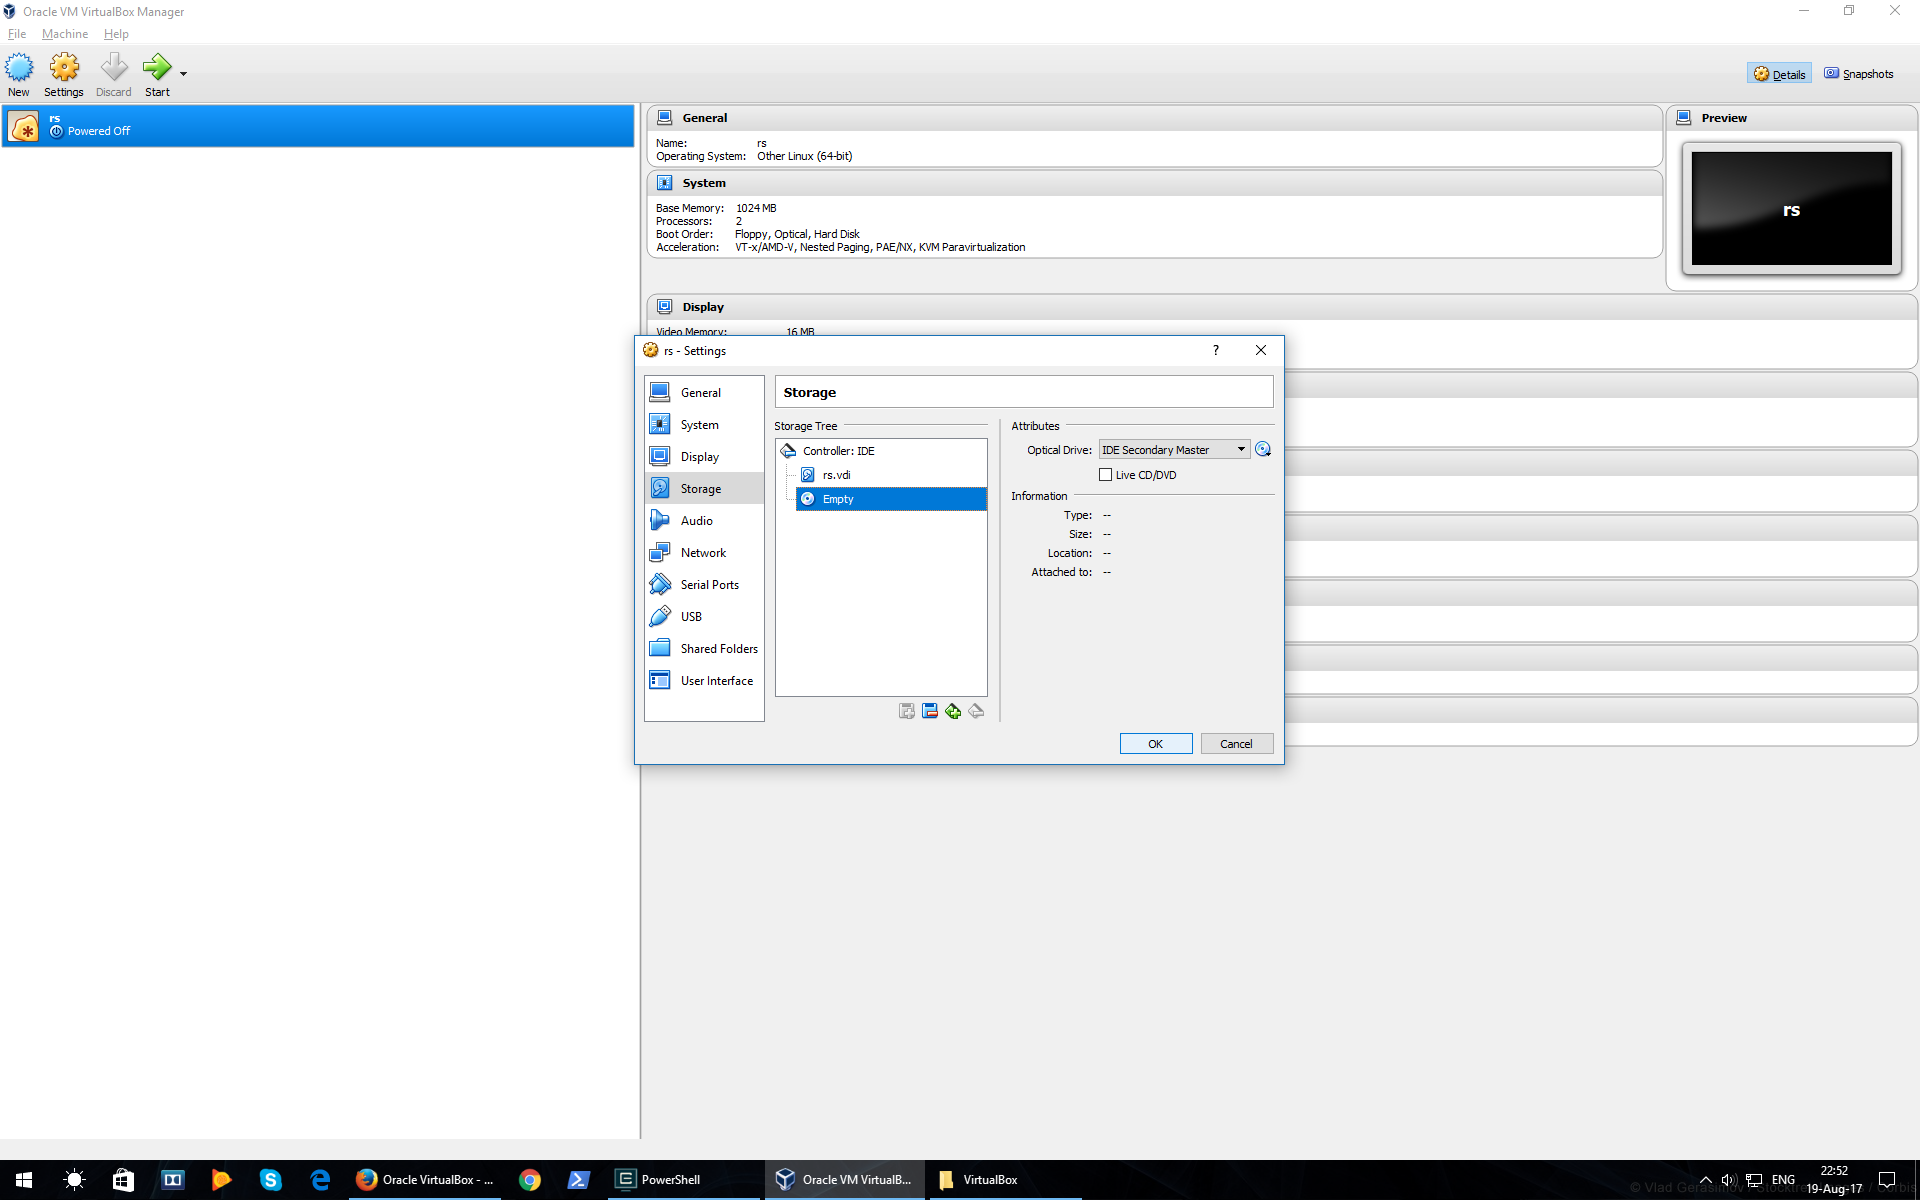
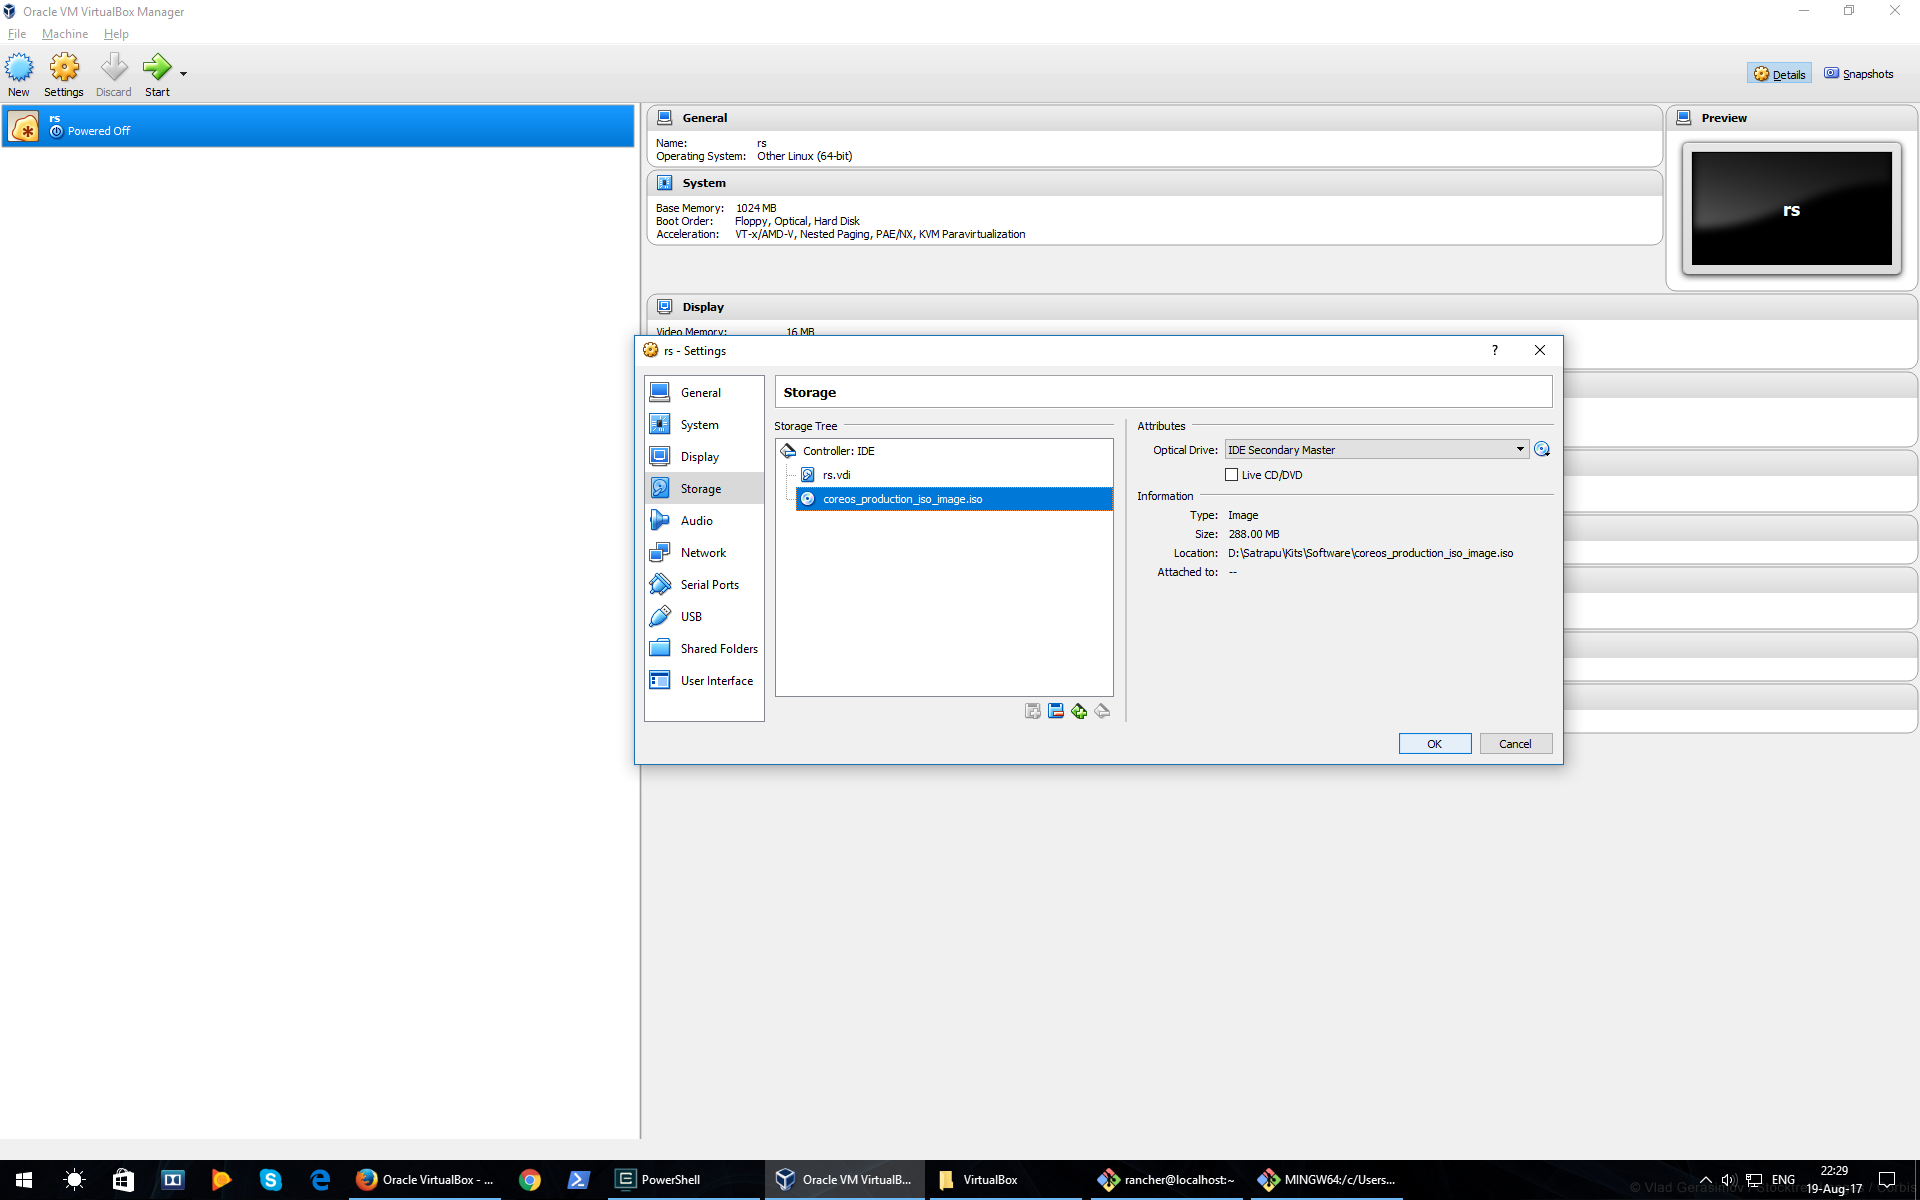
- Mount CoreOS ISO

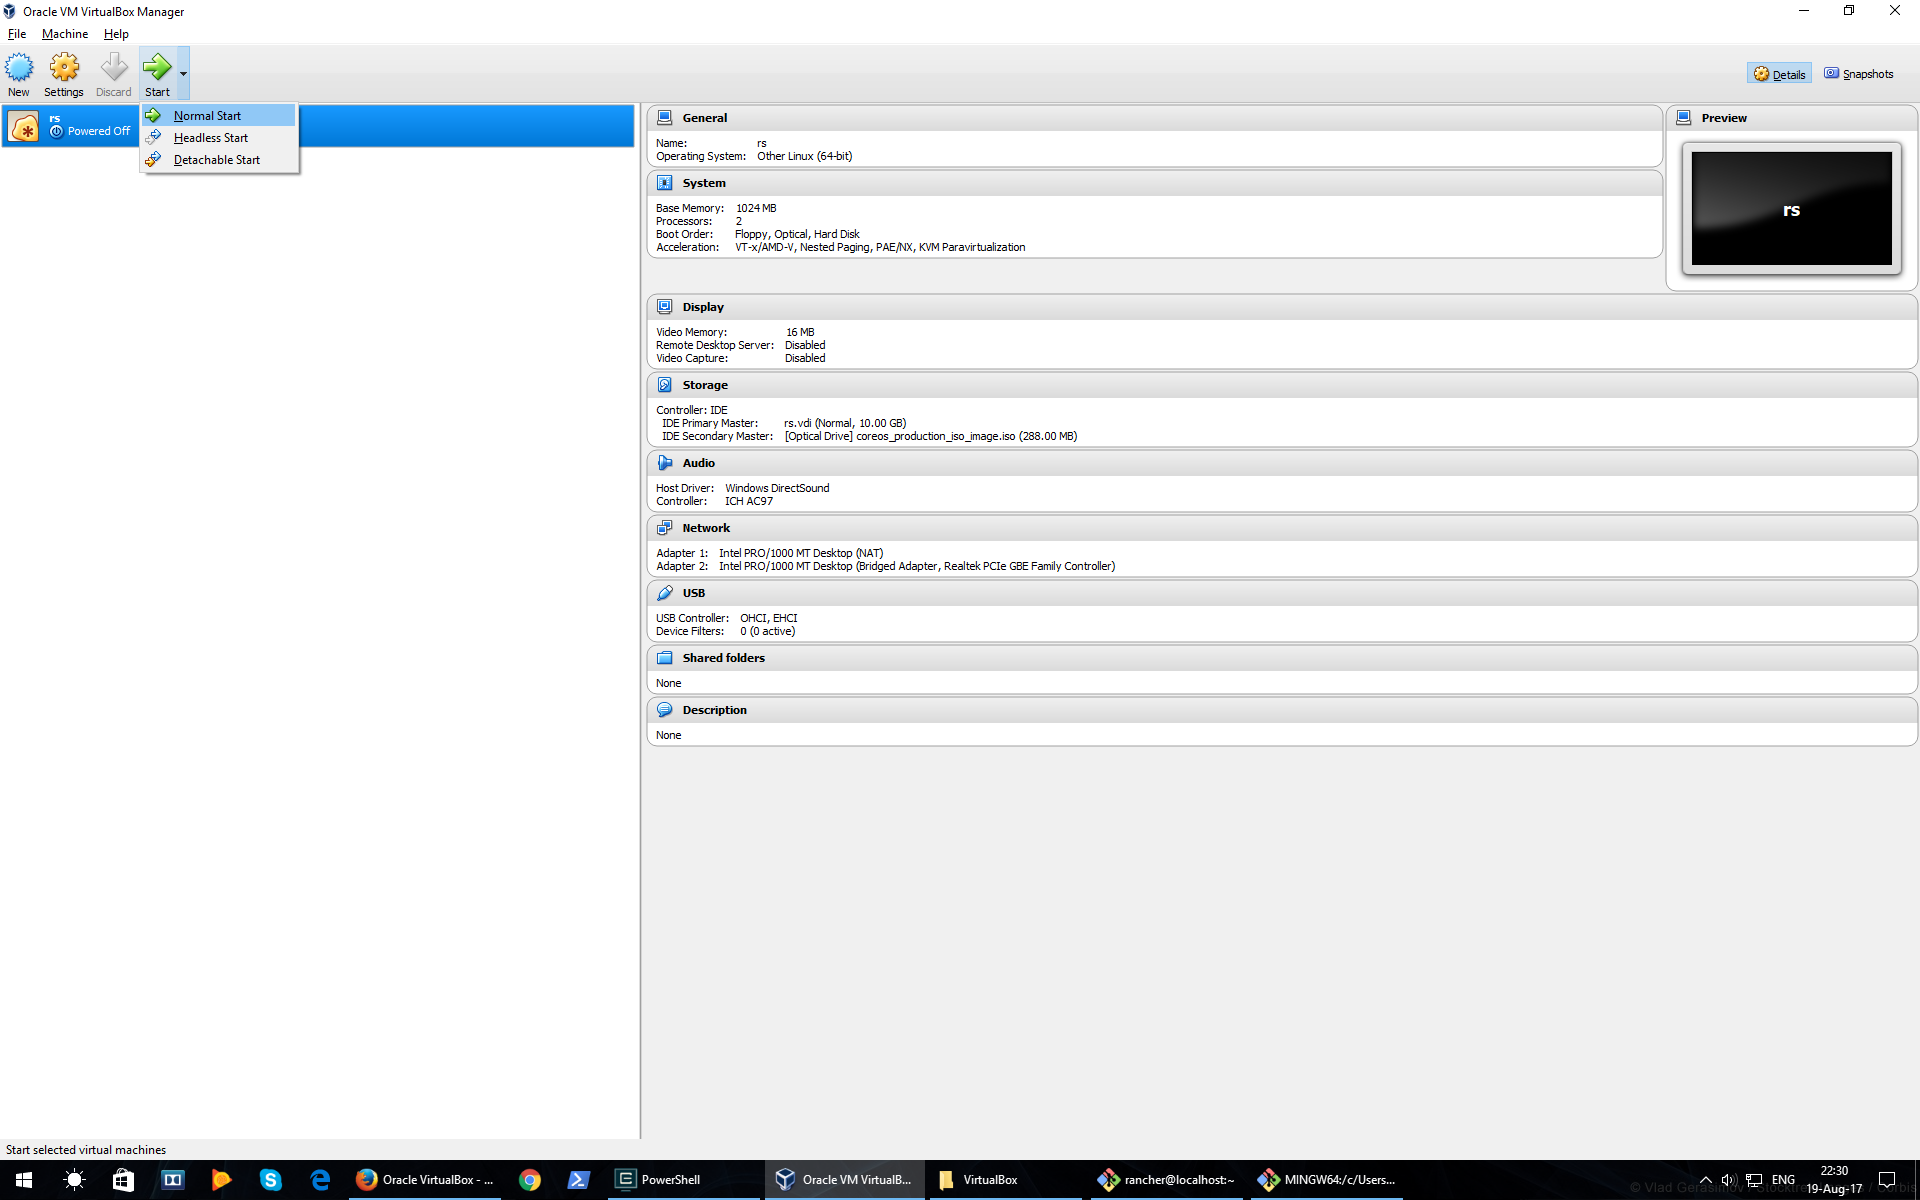
- Start VM


CoreOS is a OS which was built specifically for hosting Docker containers; it not officially supported by Rancher server.
- CoreOS Home: https://coreos.com/
- CoreOS Official Documentation: https://coreos.com/os/docs/latest
- CoreOS Quick Guide (Unoffical): www.liberidu.com/blog/2015/04/11/basic-newbie-install-coreos-on-virtualbox-getting-started-with-docker/
Follow the steps below when creating one VM for hosting Rancher server and another one for hosting one Rancher agent, then, for each additional agent, just clone the VM hosting the first agent!
- Start VM from VirtualBox GUI
- Generate password inside cloud-config.yml file
sudo openssl passwd -1 > cloud-config-file - Edit cloud-config.yml file
vi cloud-config.yml
- Cloud-config.yml contents
#cloud-config

users:
- name: rancher
  passwd: <PASSWORD_HASH>
  groups:
  - sudo
  - docker
- Install CoreOS
sudo coreos-install -d /dev/sda -C stable -c cloud-config.yml
- Shutdown machine
sudo shutdown -h now
- Unmount CoreOS ISO from VirtualBox GUI

- Start VM from VirtualBox GUI
- Login using rancher/rancher (or the credentials you have previously set)
- Display VM IP v4 Address (something like 192.168....)
ip addr | less - Optionally, change the hostname accordingly
sudo vi /etc/hostname

# add the new hostname, e.g. rs for Rancher server host or ra1 for Rancher agent #1 host

sudo reboot