|
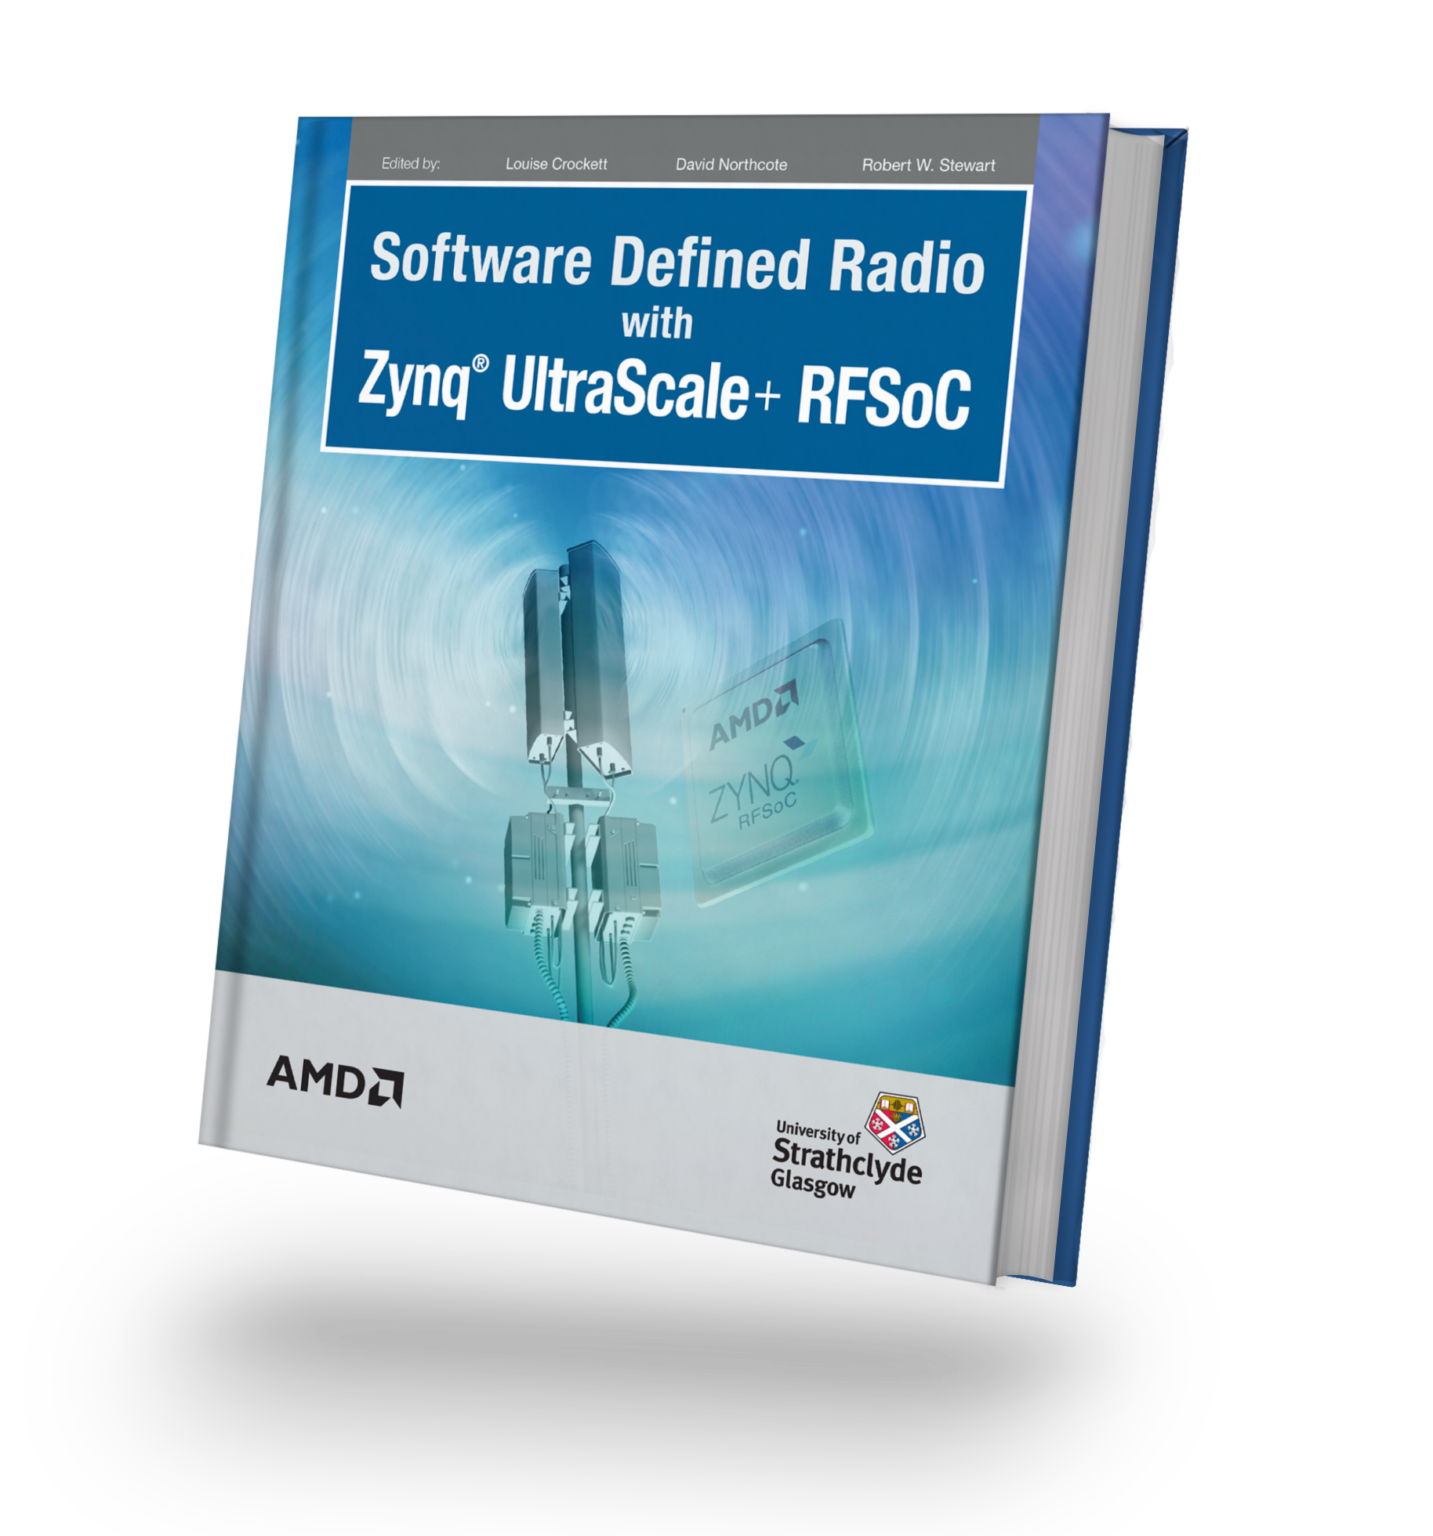
Available Now! Software Defined Radio with Zynq® UltraScale+ RFSoC Free Download Printed Edition |
This repository is compatible with PYNQ images v2.7 and higher for the following RFSoC development boards:
This repository contains a BPSK & QPSK transceiver radio design for RFSoC platforms. The radio is capable of transmitting and receiving BPSK & QPSK modulated waveforms in loopback, or between RFSoC development boards running the same design. A simple "hello world" example is presented demonstrating that transmitted waveforms can be received, synchronised, and the payload extracted for analysis. Check out the demonstration below and the quick start guide to install the project on your RFSoC platform.
Follow the instructions below to install the radio demonstrator on your development board. You will need to give your board access to the internet.
- Power on your RFSoC development board with an SD Card containing a fresh PYNQ v2.7 image or higher.
- Navigate to Jupyter Labs by opening a browser (preferably Chrome) and connecting to
http://<board_ip_address>:9090/lab. - We need to open a terminal in Jupyter Lab. Firstly, open a launcher window as shown in the figure below:
- Now open a terminal in Jupyter as illustrated below:
- Now simply install the radio demonstrator through PIP by executing the following command in the terminal:
pip3 install https://github.com/strath-sdr/rfsoc_radio/releases/download/v0.3.4/rfsoc_radio.tar.gz
python -m rfsoc_radio install
Once installation has complete, you will find the radio demonstrator notebooks located in the jupyter home workspace in the rfsoc_radio folder.
The following software is required to use the project files in this repository.
- Vivado Design Suite 2020.2
- System Generator for DSP
- MATLAB R2020a
The Tx and Rx IPs are in separate directories in rfsoc_radio/boards/ip/sysgen/ that can be opened using the appropriate System Generator dialogue. Due to the large amount of decimation and interpolation in both IPs, simulating the output can take an extraordinarily long time. A less extreme multirate system would simulate much faster!
This project can be built with Vivado from the command line. Open Vivado 2020.2 and execute the following into the tcl console:
cd /<repository-location>/boards/<board-name>/rfsoc_radio/Now that we have moved into the correct directory, make the Vivado project by running the make commands below sequentially.
make block_design
make bitstream
Alternatively, you can run the entire project build by executing the following into the tcl console:
make all


