-
Notifications
You must be signed in to change notification settings - Fork 14
Editor (Scene)
An action object is describing some real part, device, or robot of the workspace. It can have methods (so-called Actions). It may or may not have a pose, collision model, URDF model (robots only), etc. They can represent physical objects (box, tester, robot, etc.) or they can represent virtual objects, such as collisions (safety walls, collision bounding boxes).
Action objects are visualized as 3D models (they can have mesh, or can be visualized as a simple object - cube, sphere, or cylinder). The types of action objects need to be defined on the ARServer, along with their model and/or available actions.
If a type of action object is defined on the ARServer, its instance can be added to the scene.

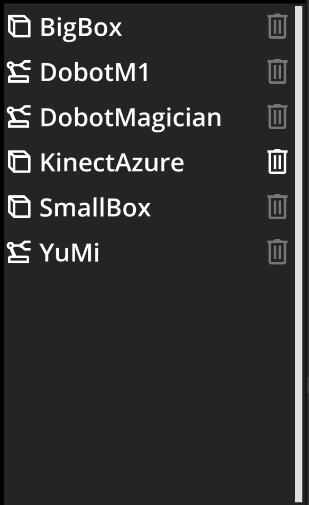
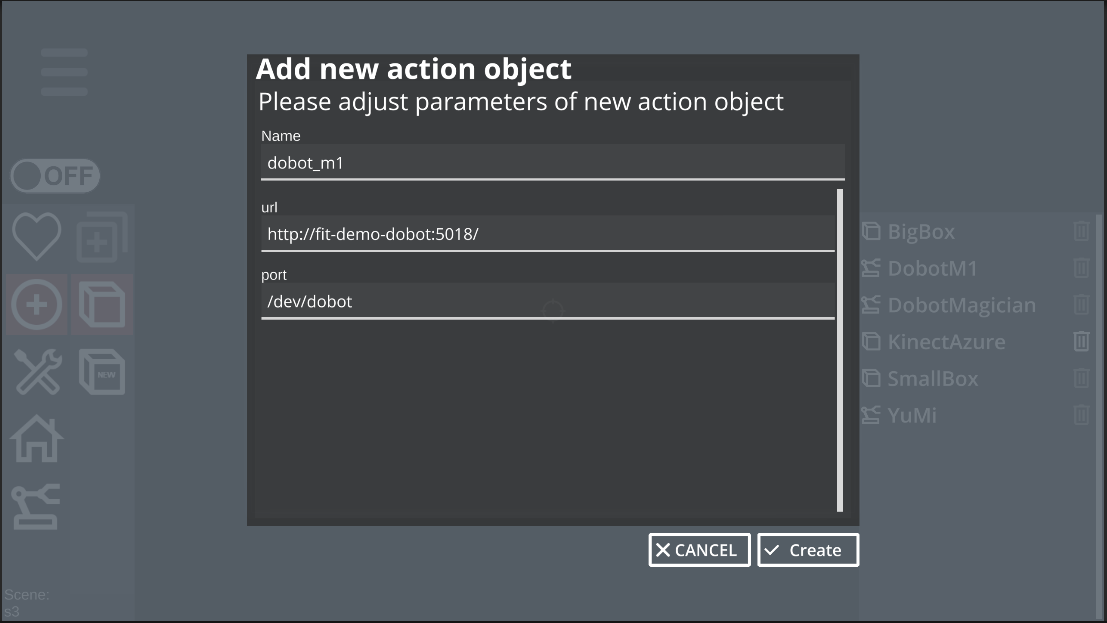
After clicking on the wanted object type, a dialog with parameters adjustment pops up, where a name can be defined. In the case of robots, there are also parameters such as URL and port on which the robot is connected to the ARServer. After filling the parameters and clicking the Create button, an action object is created and added to the scene. It is added 0.6 m in front of the camera.
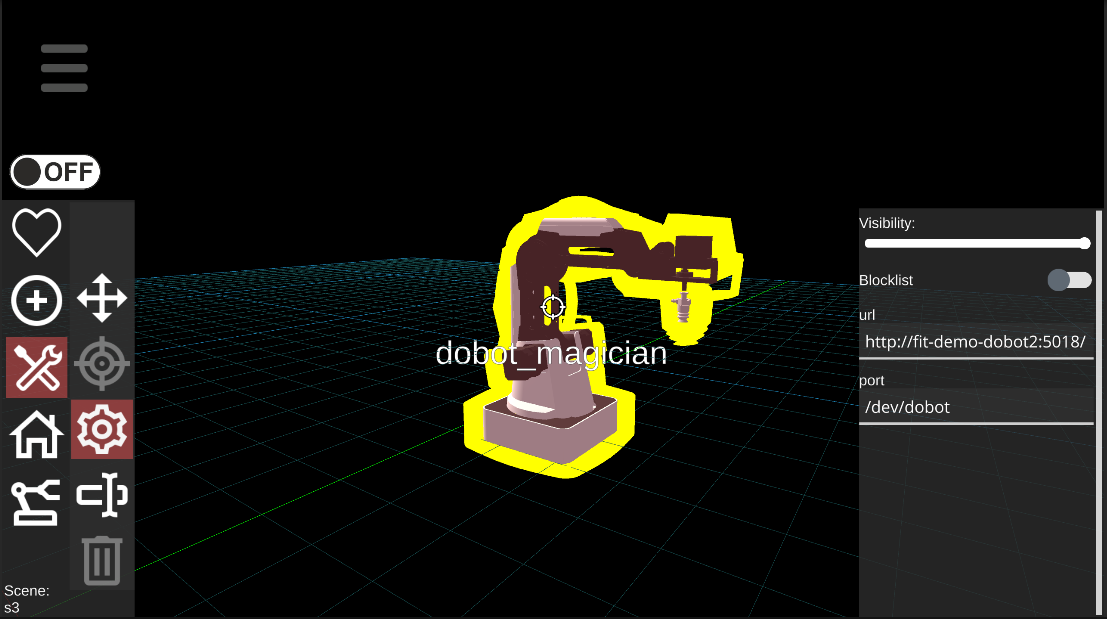
Parameters of action object that is already added to the scene can be changed by hitting the Utility and Open menu button in the left menu.
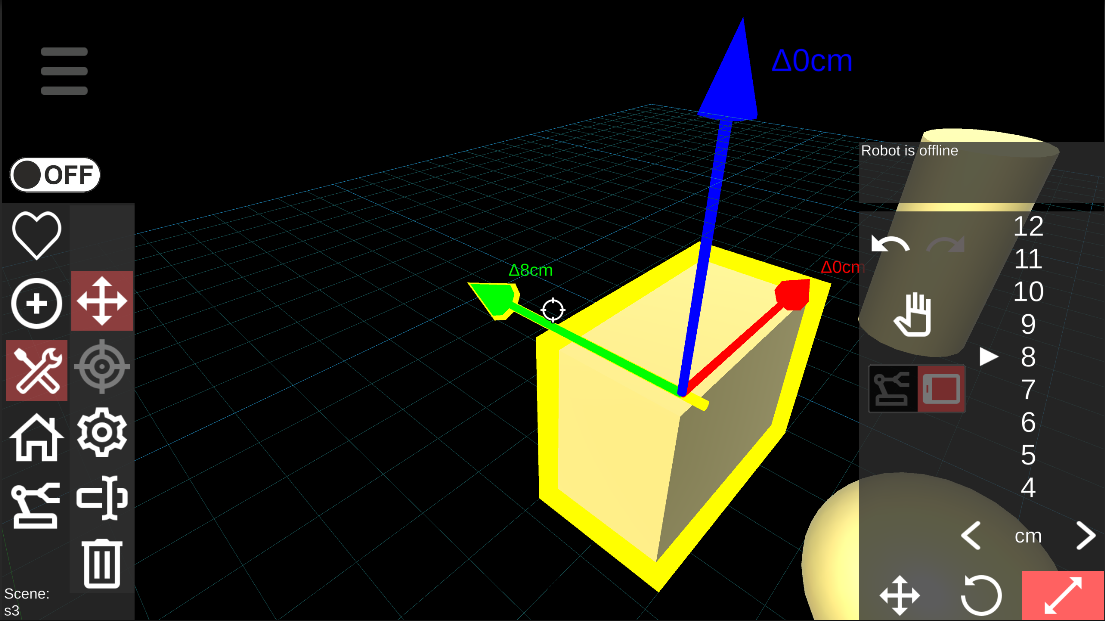
Action objects can be positioned either manually, using the transform menu, or they can be aimed using the robot.
See Editor | Object manipulation
When aiming using the robot, the action object snaps to the robot's end-effector and can be positioned in a very precise position within the workspace. There are also undo and redo buttons for reverting the transformations.
Action objects, with defined 3D mesh and set of aiming points, can be iteratively aimed by setting the positions of individual aiming points using the robot's end-effector. For this purpose, there is a menu allowing manual or automatic selection of these points and saving their positions. At the top of this menu is a description of the currently selected robot that will be used for aiming. The following buttons are used to control the aiming process itself and allow you to start, complete and cancel it. Using the Save position button, the current position of the robot's end-effector for the currently selected aiming point is saved (the given point is successfully aimed). The active aiming point can be selected either automatically, based on its distance from the end-effector (suitable only if the action object is already at least approximately aimed) or manually using the Next point and Previous point buttons. The aiming point selection method can be picked using the Automatic point selection switch.

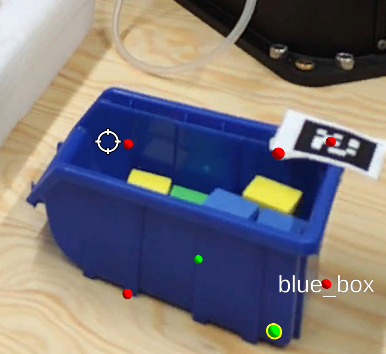
A virtual collision object is a special type of action object, which represents a collision area within the workspace, such as safety walls or robot no-go zones. They can be added dynamically directly from the AREditor, there is no need of having them pre-defined on the ARServer.
There are 3 types of collision objects: cube, sphere, and cylinder.
A collision object can be added to the scene by clicking the Add and Create new object type button from the left menu. In the right menu, 3 basic types of collision objects can be selected and added.
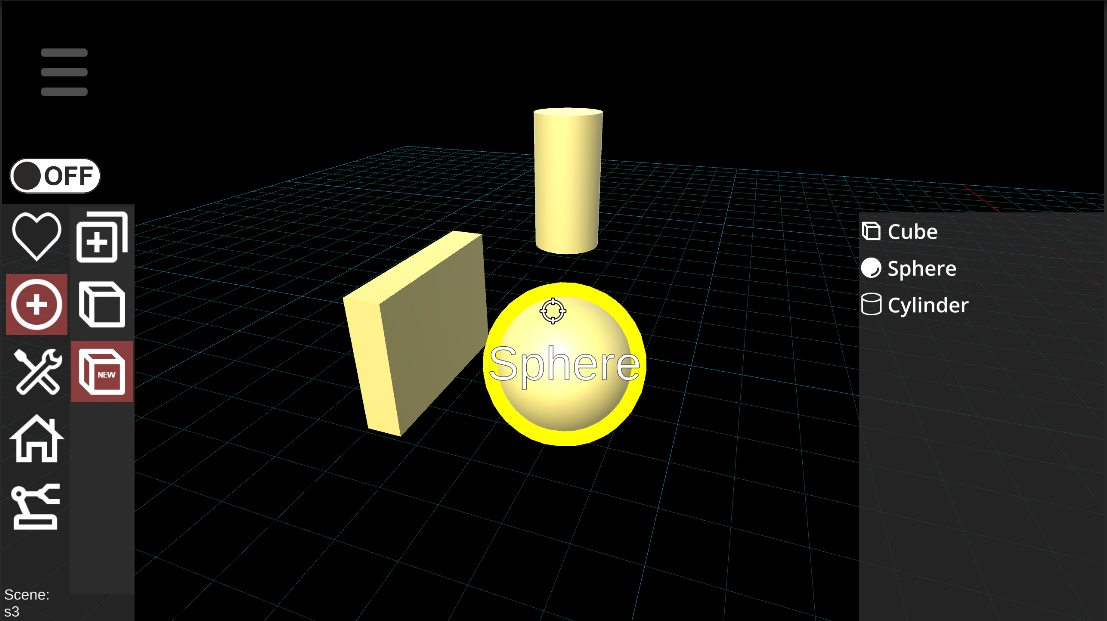
Collision objects can be positioned in exactly the same ways as action objects, either manually using the transform menu (see Editor | Object manipulation) or precisely using the robot.
Collision objects can be also scaled using the transform menu. The right-most button of the menu and corresponding axis must be selected, by moving the transform wheel the object is scaled.
